フォーマット ルールを作成する
リストに新しいフォーマットルールを作成する方法。
プロジェクトに移動して [リスト] を選択します。
[フォーマット] を選択します。
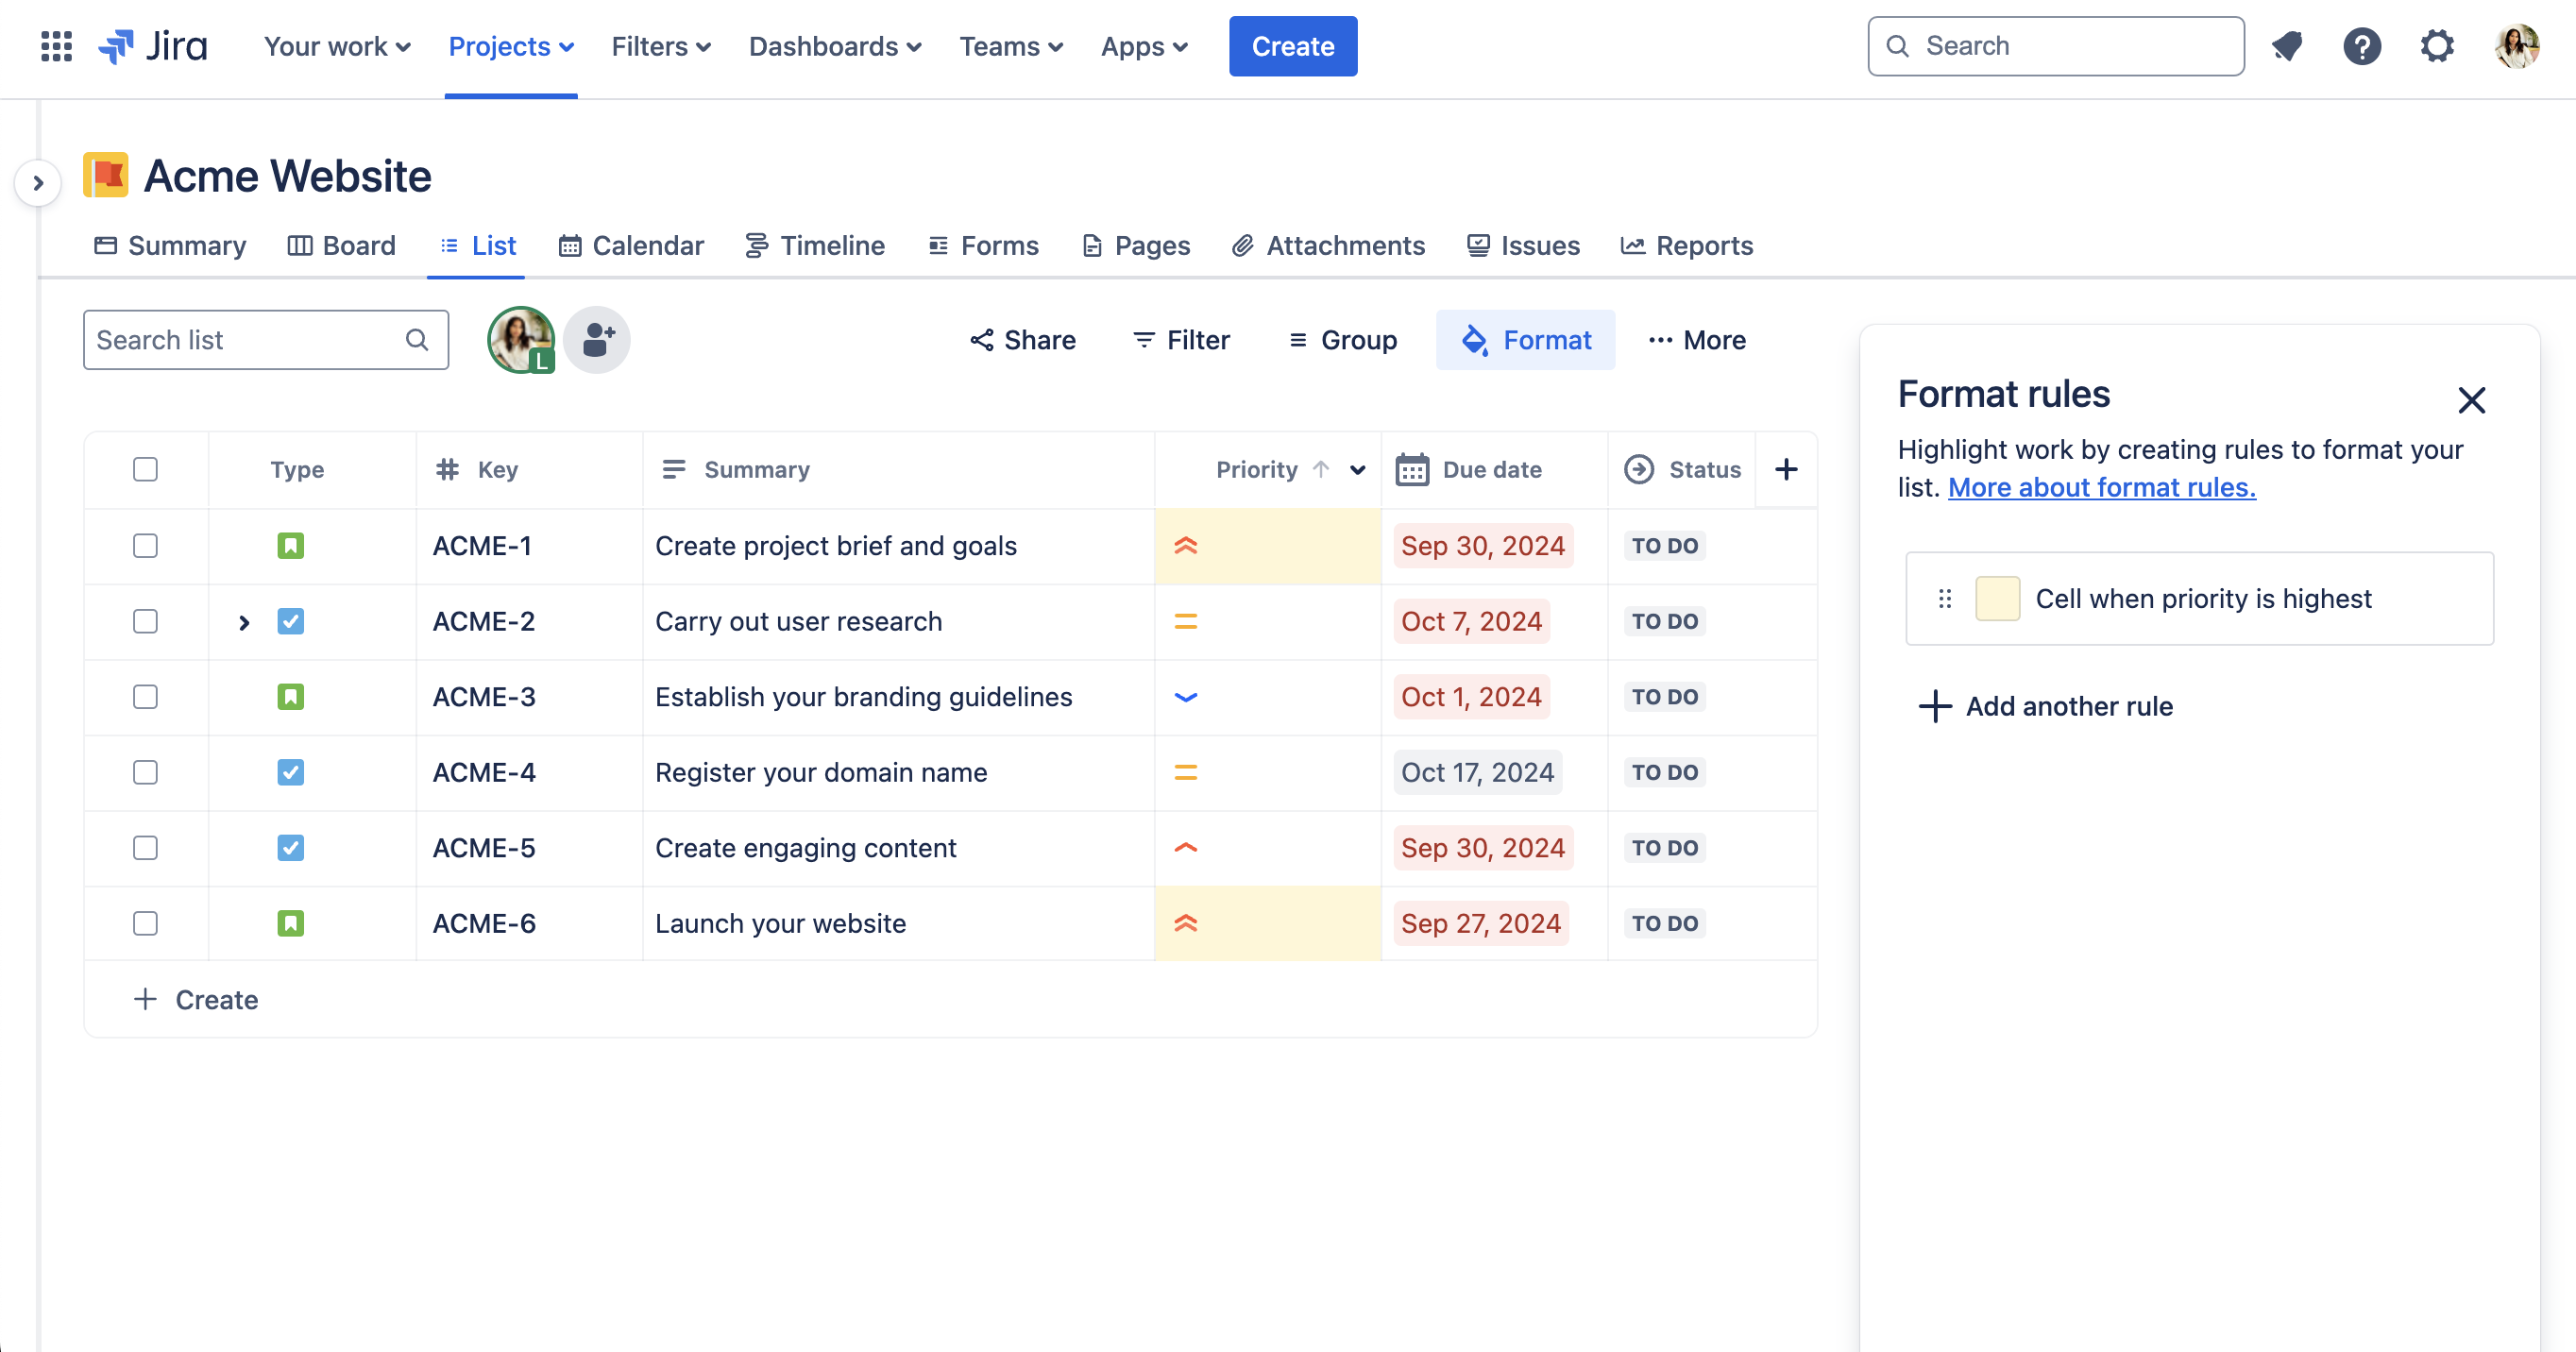
機能サイドパネルで [+] (ルールの追加) を選択します。
まず、フォーマットのオプションを選択します。
カラーピッカーから使用する色を選択します。該当するフィールドの背景に、その色が塗られます。
書式設定ルールの適用方法を選択します。初期設定では、 行 全体が選択されていますが、 セルに変更できます。
次に、ルールを作成します。
フィールドを選択します。各フィールドはリストの列に対応しています。
条件を選択します。選択したフィールドに基づいて自動的に条件が選択されますが、これは変更できます。
値を選択します。ルールによっては、値を選択する必要がありません。
[ルールを保存] を選択します。フォーマット ルールがリストに適用されます。保存されたフォーマット ルールを見つけます。
行とセルの仕組みの違い
リストが表示される方法は、フォーマット ルールを行全体に適用したのか、個々のセルに適用したのかによって異なります。
たとえば、優先度が最も高い行にルールを適用するように設定されている場合、優先度列に「最高」を含む各行が強調表示されます。
優先度が最も高いセルにルールを適用するように設定されている場合は、優先度列に「最高」を含むセルのみが強調表示されます。

複数の書式設定ルールがある場合は、リストでそれらを一緒に表示する方法を管理することもできます。
フォーマット ルールでサポートされているフィールド
フォーマット ルールを作成する場合、次のフィールドがサポートされます。
担当者
期限
終了日
グループ ピッカー
ラベル
数値
段落
優先度
Project
報告者
ラジオ
単一ユーザー ピッカー (企業管理対象プロジェクト)
短いテキスト
Sprint
要約
開始日
ステータス
ストーリー ポイントの見積もり
チーム
タイプ
この内容はお役に立ちましたか?