Enable and disable Confluence pages in Jira
The pages feature helps your team keep track of your documentation in Confluence Cloud. Set up a space in Confluence and connect it to your software space or business space and give your team direct access to your project documentation, without having to go to Confluence.
Confluence spaces are like Jira spaces — they're used by your team to store information. But while Jira spaces store work items, Confluence spaces store pages.
Enable and disable pages
This page is for software spaces
To check whether you’re in a software or business space, select More actions (•••) next to the space name in either the header or the sidebar. At the bottom of the menu that opens, your space details will be shown.
Only space admins can enable and disable features on a space.
You can enable or disable pages by:
In the top navigation, Select Add to navigation (+).
Select Pages.
A new menu item, Pages, will be added to the horizontal menu.
Set up pages
Step 1: Sign up for Confluence
If you don’t already have access to Confluence Cloud, you can sign up for a free trial from your Jira space:
Navigate to your Jira space.
Select Pages from the space menu.
Create a Blank page from scratch, or select one of the templates if you want help getting started.
Whichever option you select, you'll be taken to Confluence to set up your trial and create your page.
Step 2: Create a Confluence space, or connect to an existing space
Create a new Confluence space for your team
When you sign up to Confluence via pages, you will have to select a Confluence space to join or create a new one. If you want to create a new one via Jira, you’ll need to:
Navigate to your Jira space
In the space navigation, select Pages.
Select Connect to Confluence.
Select Create a new space to create a new Confluence space that will be automatically connected to Jira.
Connect your team's existing Confluence space to your Jira space
To connect an existing Confluence space from pages in Jira, you’ll need to:
Navigate to your Jira space.
In the space navigation, select Pages.
Select Connect to Confluence.
Select a Confluence space from the dropdown menu.
Select Connect and your Confluence space will be connected to your Jira space.
To view, add or remove a Confluence and Jira relationship, you must have Browse spaces, Create work items, and Edit work items permissions for that Jira space.
Create a page
Navigate to your Jira space.
In the space navigation, select Pages.
Select one of the templates if you want help getting started, or select Blank page to create a page from scratch. Whichever option you select, you'll be taken to Confluence to create your page.
Navigate pages and templates
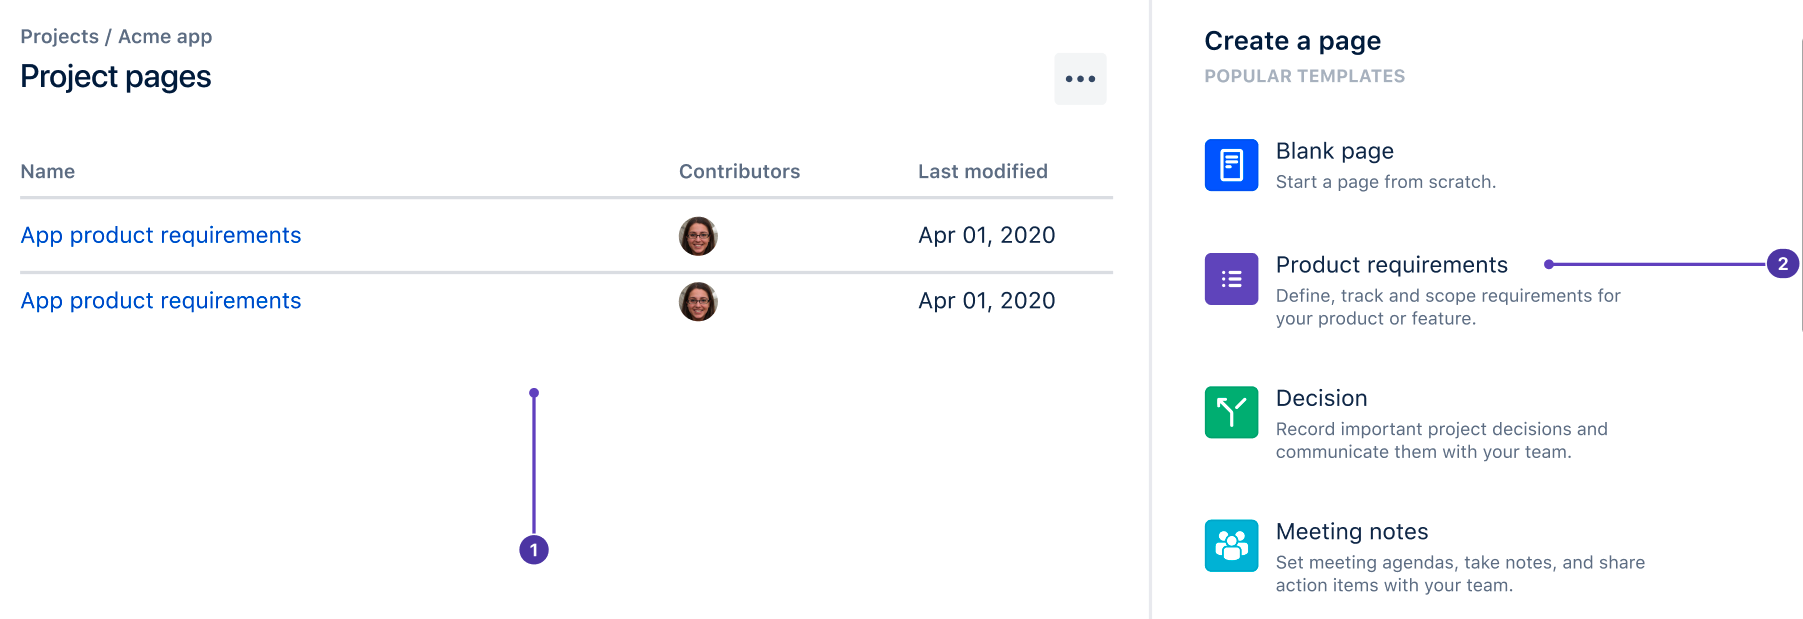
Pages list: The pages you create in your team's Confluence space will be listed here for easy access.
Templates: Create a new Confluence page with pre-filled content to help you create documentation for your project.
Connect to a different Confluence space or page
Jira spaces can only be connected to one Confluence space or page at a time. When you connect a Confluence space or page, all its child pages will be visible in Jira. If a page is restricted in Confluence, the same permission settings apply in Jira.
To change which Confluence space is connected to your Jira space:
Navigate to your Jira space.
In the space navigation, select Pages.
Select the Connect to different space or page icon (represented by two arrows in the top right).
Select an existing Confluence space or page from the dropdown menu. You can also create a new one and connect to it by selecting Create new space.
Select Connect and your selected Confluence space or page will be connected to your Jira space.
Understanding how users get access to Confluence via pages
Once you have pages set up, Jira users will be able to see the Pages tab in the space navigation. If a user selects Pages and they don’t have access to the connected Confluence space, they’ll see a prompt to use pages.
If the user is on an approved domain, they can select the “Join Confluence” button to start using pages right away. Users that join Confluence this way will get default app access.
If the user isn’t on an approved domain, they’ll have to request access. They won’t be able to use pages or Confluence until they’re approved by a site admin.
If a page is restricted in Confluence, the same permission settings apply to pages in Jira.
Find out about specifying how users get access.
Was this helpful?