Reuse content with synced blocks
A synced block lets teams maintain a single authoritative version of important content and reuse it across Confluence, Jira, and other Atlassian apps. Instead of copying and pasting, you edit once at the source and every instance stays up to date, reducing rework and errors. This keeps shared messaging consistent wherever people see it.
Use synced blocks to turn a piece of Confluence content into a reusable block. Every copied instance stays in sync with the original, so you only edit it in one place while viewers on other pages always see the latest version. Edits to the source flow automatically to the destinations in near real time.
Permissions and security
Synced blocks respect permissions. The destination block inherits the content permissions from the Confluence source. The destination only renders the block to users who have view access to the source.
If someone lacks access, they will see an option to request access from the source's owner or their admin.
Create a synced block
You create a source block in a Confluence live doc or page. You can add this block to other live docs, pages, or Jira work items as a view-only element.
Synced blocks support text, layouts, tables, images, cards, and just about any other Confluence editor element.
Create an empty block and add content
While editing, type
/syncor select + on the toolbar and select Create synced block.Enter anything you want to reuse elsewhere.
Turn existing content into a synced block
You can select any existing content (text, tables, images, and other elements) and create a synced block around it.
Select your content.
For text, you can select and drag, highlighting the text you want to use.
For other elements such as tables, layouts, or images, select the element.
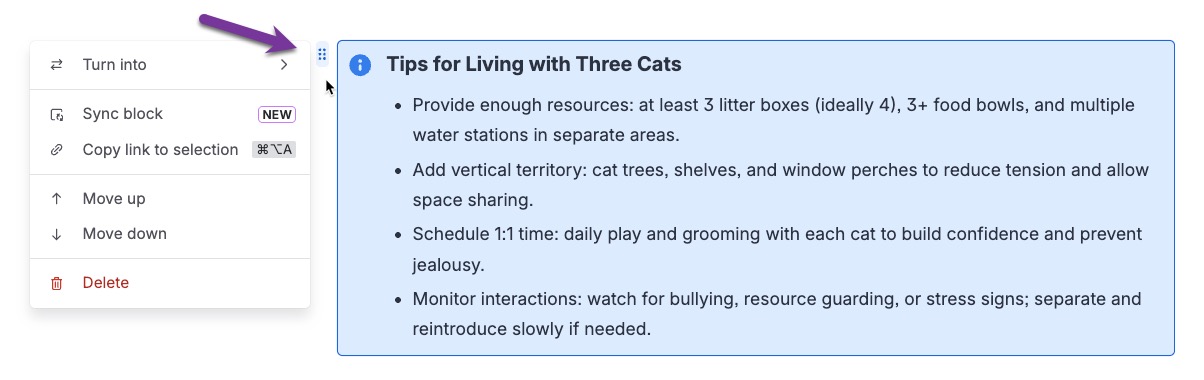
Select the drag handle to the left of the content to open the block menu.
Select Sync block.
Pro tip: You can use the shift key to select more than one element or multiple paragraphs of text. Select one element then hold shift, and select somewhere else. Everything in between those two points will be selected.
Copy and use synced blocks
You can copy and paste a synced block from the source in Confluence to another page or live doc or to a Jira work item. The synced block is added as view-only content. Unlike typical copy/paste actions, the content is view-only everywhere you paste it.
Anyone with access to view the source content will be able to see the synced block’s content at the new destination. It will update in near real time.
Go to the source and select a synced block to see the floating toolbar.
Select Copy.
Open another live doc or page in Confluence, or open a Jira work item.
On a page, you will need to be in edit mode.
Paste the synced block.
View block info
Hover your cursor over the title in the top-right corner of the block to see the source’s full title and the last time the block content was edited.
Manage synced blocks
Select the block to see the the floating toolbar. If your block has other elements such as tables, you may need to select the edge of the block to activate the block’s toolbar.
Select Synced locations to show a drop-down list of everywhere the block is used. The place you can edit is marked as SOURCE.
To remove the block from all other locations, select Unsync. This will change the block to an empty unsynced block at every other location but you can still keep the content at the source.
To add the block elsewhere, select Copy synced block. Then paste it into another live doc, page, or into a Jira work item. Unlike typical copy/paste actions, the content is view-only wherever you paste it.
To delete the block, select the More actions () menu and then select Delete. This will result in an empty unsynced block at every other location and the block and its content will be removed from the source location.
Edit a synced block at the source
You can only edit a synced block by editing the source content item. Only people with edit permission for the source can edit the block.
From a synced location, select the block to see the floating toolbar.
Select Edit synced content at source location. If you don’t have edit permission at the source, you won’t see this option.
The source item opens in a new browser tab and you can edit.
On a page: Your changes flow to the destination when you select Update to publish the new version.
On a live doc: Your changes flow to the destination soon after you make them. You might need to refresh the destination to see recent edits.
Unsync a block at the destination
To turn the synced block into normal unsynced content, go to the destination and select the block.
From the floating toolbar, select Unsync. This will remove the synced connection and make the content editable at the destination. It will no longer receive updates when the source is updated, but you’ll be able to make changes at the destination.
When you unsync a block, the content will be visible at the destination to anyone with view access. It will no longer be tied to the permissions of the source.
Was this helpful?