Use sections to organize your work
Use sections to organize your board. With sections, you can group and move related ideas or guide people through workshops with multiple activities, each in its own section.
Create a section from the toolbar
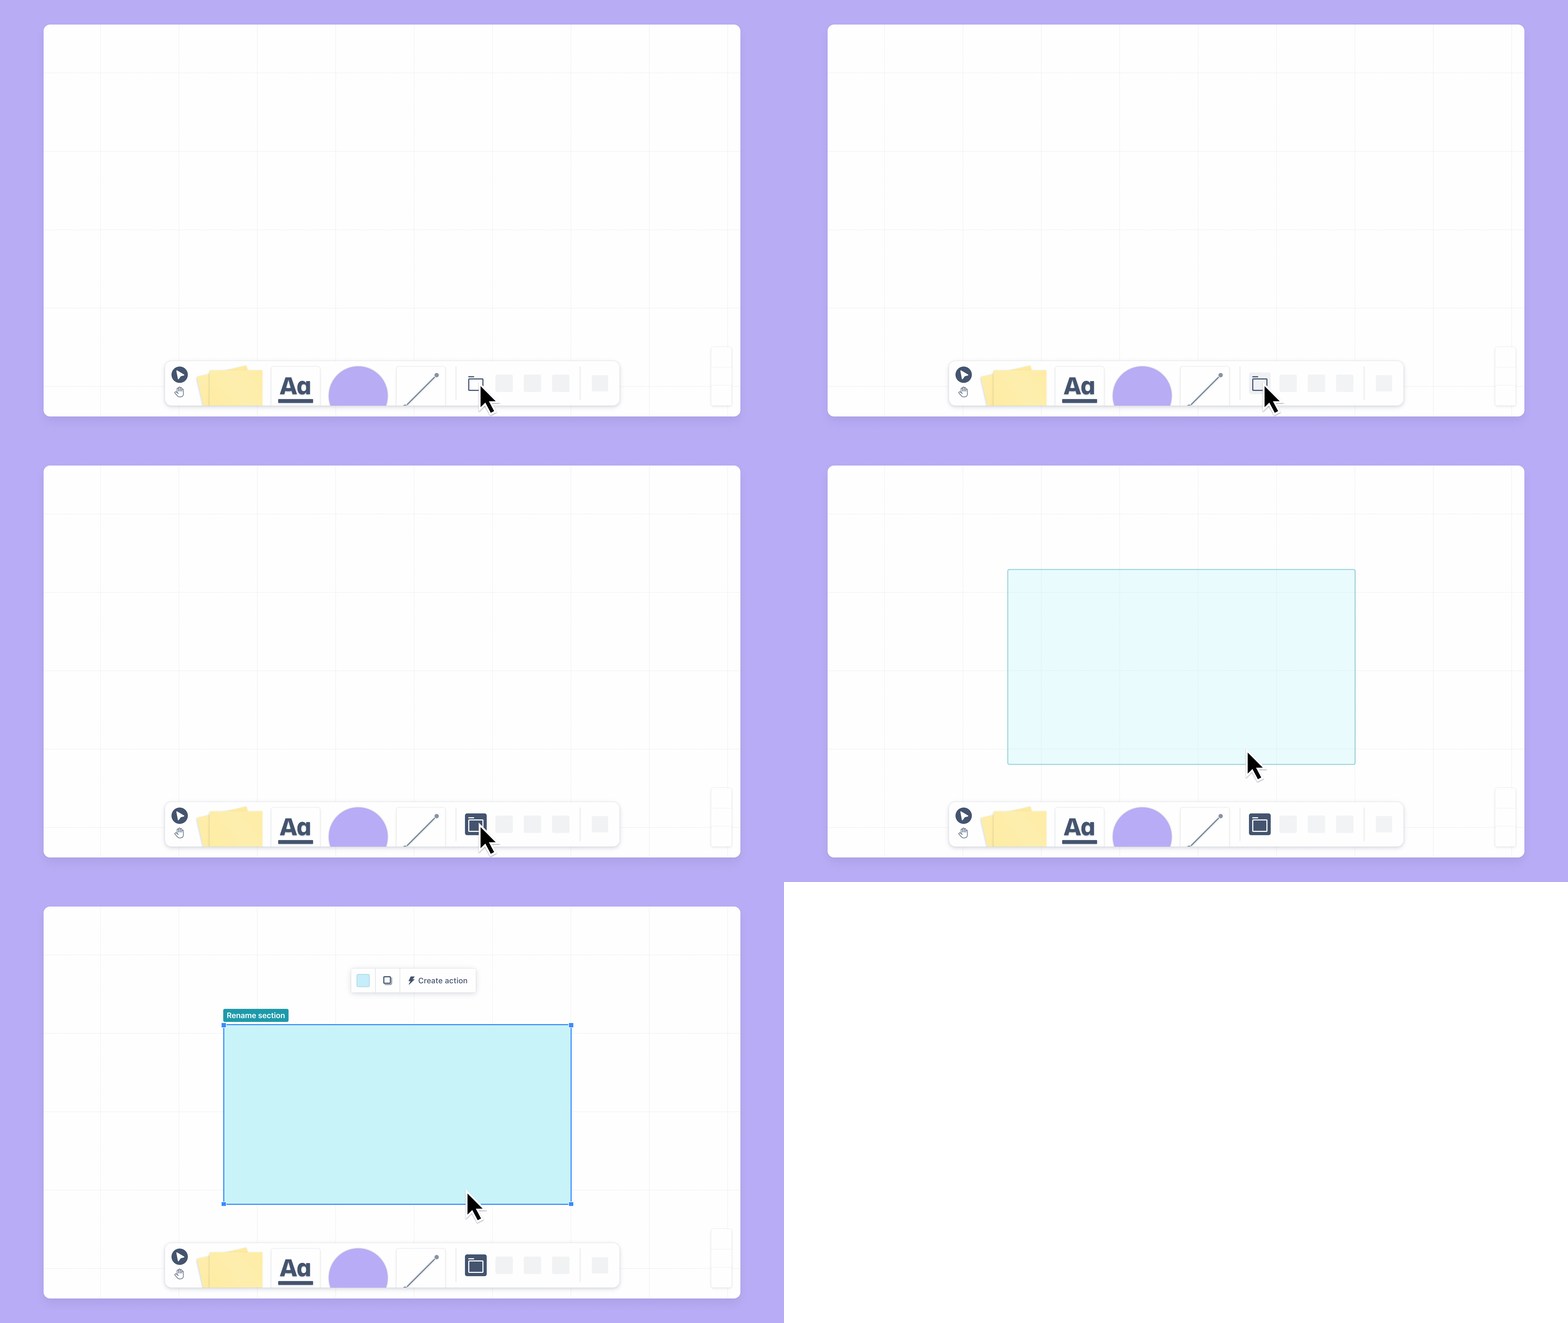
Select the Section icon in the toolbar.
A section will appear on hover. Select and drag the section to the location of the board where you’d like the section to go.

Add elements to a section
Select and move an element into a section using mouse or keyboard arrows. You can add any whiteboard element to a section except for another section.
Once you have moved elements inside the section, they’ll stay with the section when you move it around your whiteboard.
You can also select and drag to select multiple objects and add them to a section.
Edit a section title
To edit a section title:
Create or select a section on the board.
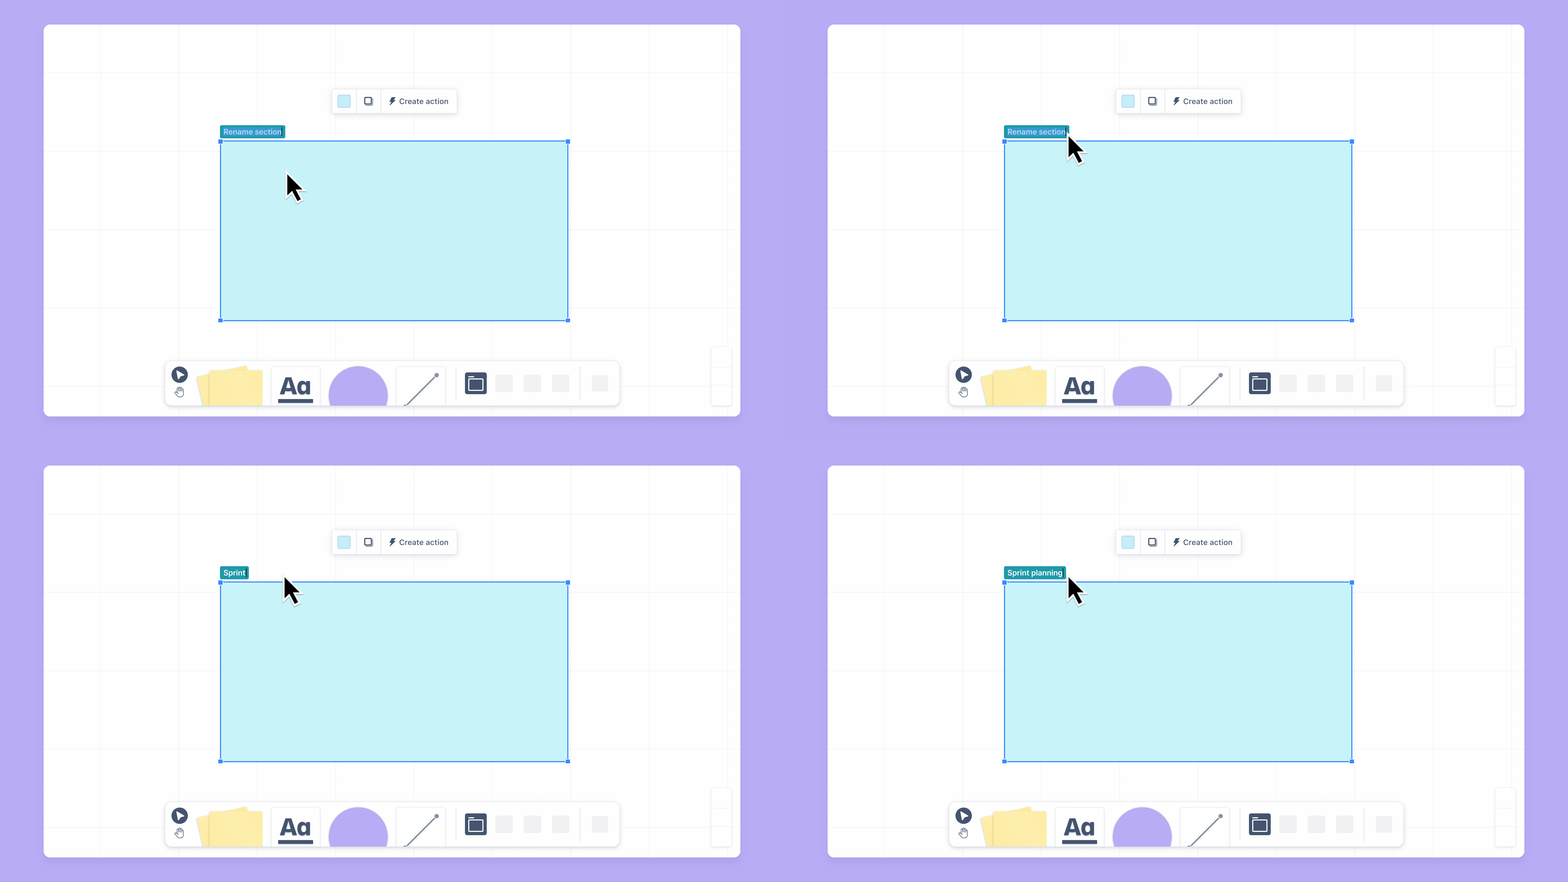
Change the name from untitled to a new name and press Return / Enter.
You can also double-click the section’s name to edit.
To remove the title:
Double-click title.
Delete text.
Press Return / Enter.

Change the appearance of a section
You can change the size and color of a section.
To resize a section:
Select the section.
Select and drag the resize handles of the section.
To change the color of a section:
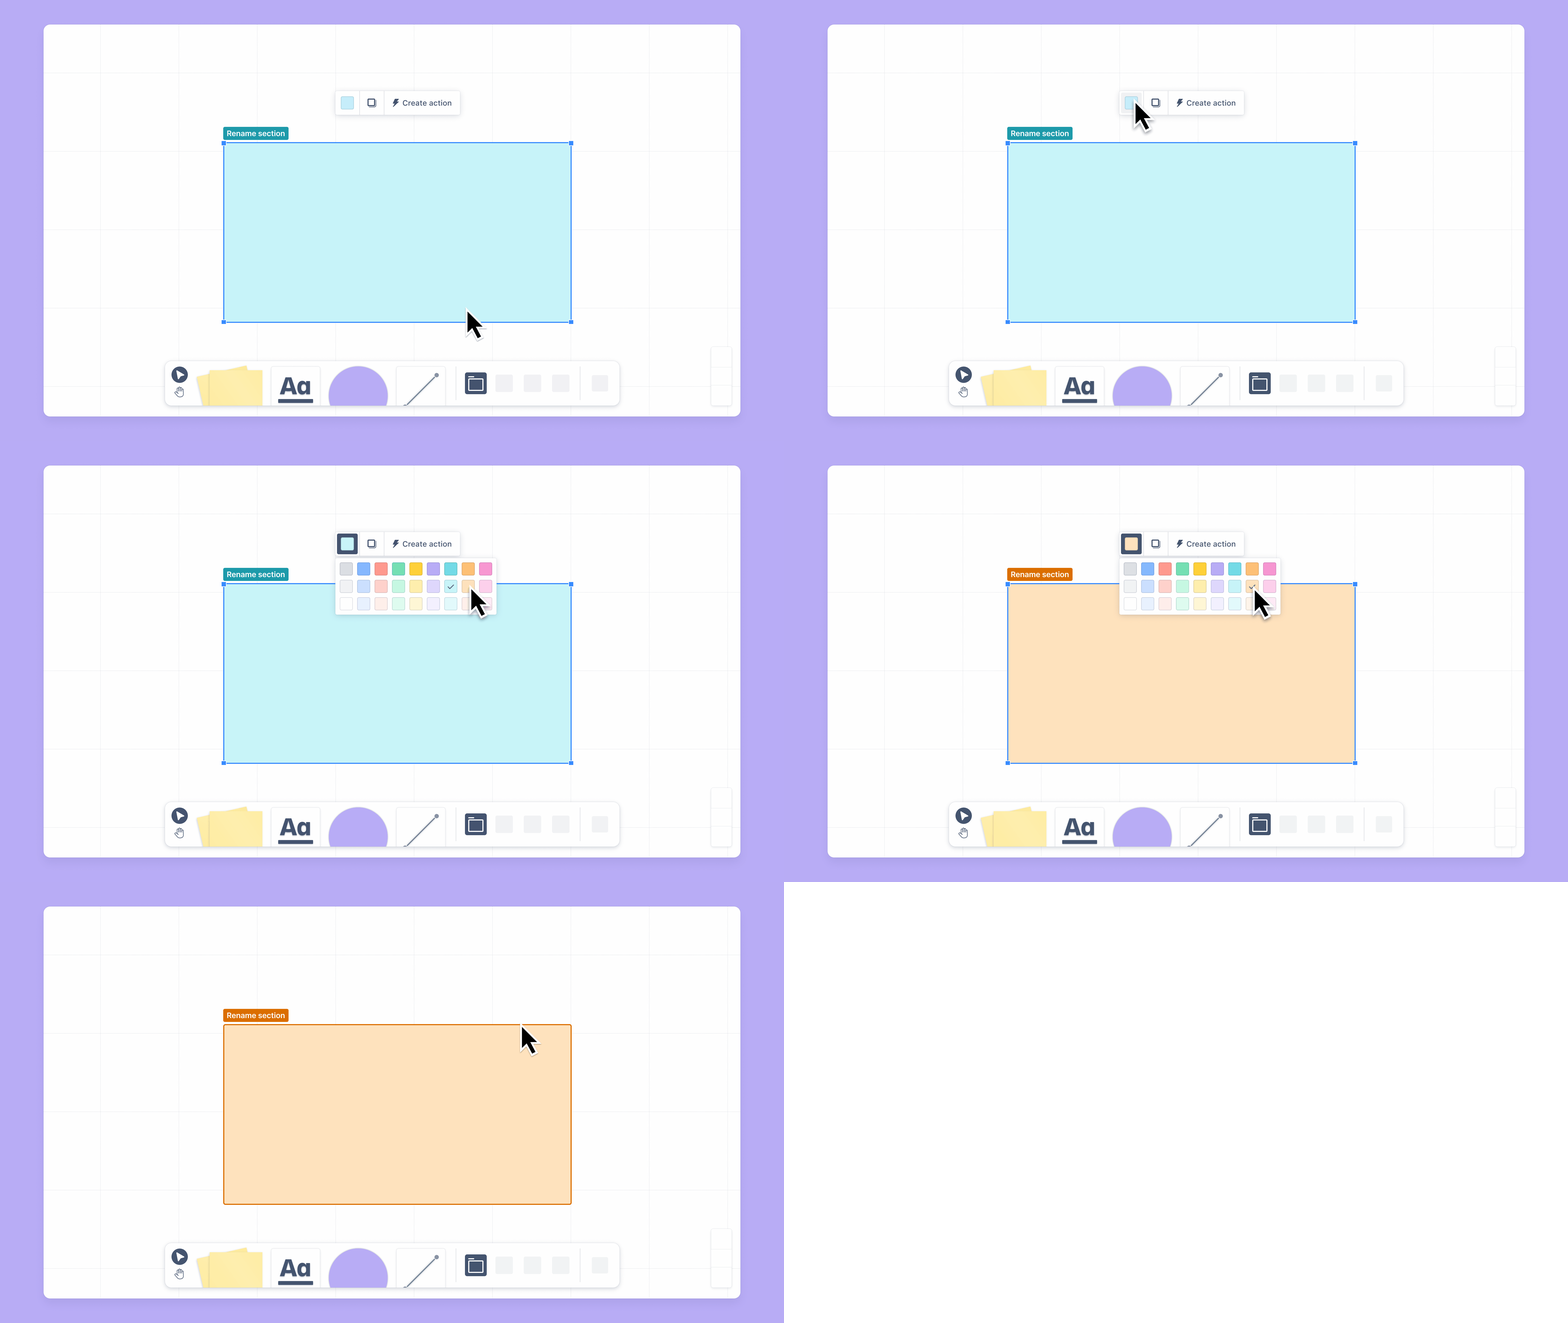
Select the section.
Select the color picker icon in the floating toolbar.
Select a new color.

Delete a section
To delete a section:
Select the section.
Press Delete / Backspace.
Deleting a section also deletes its contents. To delete a section without deleting its contents, select everything in the section and drag it to another place on the whiteboard.
Was this helpful?