Display files and images
You can upload most file types to the Editor. How you display these depends on the type of file uploaded.
How to upload files to the Editor
Insert a file, image, or video into your page
To upload a file, you'll need Add Attachments permission for your Space. Otherwise, the relevant options in the editing toolbar will not appear.
Images and videos
Inserting a file, image, or link to a page or live doc also adds it as an attachment.
To insert a file, image, or link while editing:
Drag the file directly onto the page.
Select the Add image, video, or file button from the main toolbar.
Type
/filesor/images, select Image, video, or file.
After an image or video is inserted, you can:
Resize it by dragging the handles on either side.
Set its width or height in pixels by entering a value in the toolbar.
Add a caption. The caption’s text size and alignment can't be changed, but you can apply other formatting.
When you select an uploaded image or video, a floating toolbar appears.
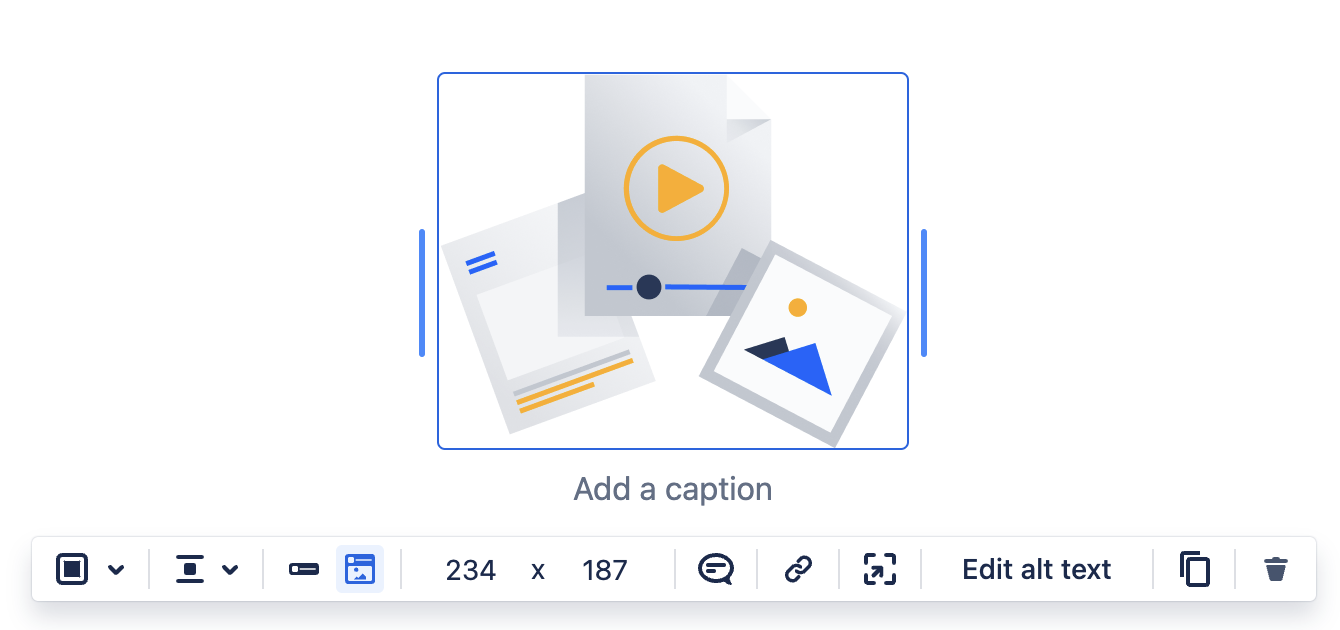
The floating toolbar lets you control:
Border options — Add borders and change their color and size.
Image alignment — Determine how the image or video is aligned on the page and how the text should flow around your image or video.
Inline (images only) — Display the image or video within the text.
Original size (images only) — Display the image as a separate block element.
Width and Height — Set the width or height of an image or video.
Add or view comment — Add or view comments on an image or video.
Link (images only) — Add a link to a Confluence page or an external URL.
Preview (images only) — Preview the image full size while editing.
Edit alt text — Add supplemental text accompanying an image or video for all users. Alt text can help add more context and meaning to the image or video and can be very effective in assisting people of all types to understand the image or video better.
Copy — Copy the image to paste it somewhere else.
Remove — Remove the image from the page or live doc.
If you delete an image from a page or live doc, you will need to upload it again to add it back. You cannot add an image from the Attachments view.
Files
When you insert a file onto a page or live doc, it will appear as an inline tile or a thumbnail.
You can use the files' floating toolbar to control:
View inline or as a card — Display the file inline or as a thumbnail.
Preview — Preview the file in fullscreen view. Select to close the preview.
Download — Download the file to your computer or device.
Copy — Copy the file to paste it somewhere else.
Remove — Remove the file from the page or live doc.
Delete files from your content
When editing a page or live doc there are several ways to delete a file:
Select the icon in the floating toolbar for an image
Select the X icon or the Delete key when focused on a file.
If you delete a file or image in the editor, the attached file isn't deleted.
To completely remove the file from a page or live doc:
Go to the
...menu →Attachments→Files→ Delete.
If you see a Failed to load placeholder on your page or live doc that indicated the attached file has been deleted from the page or live doc (or another content item).
Was this helpful?