Insert links and anchors
Create and insert links
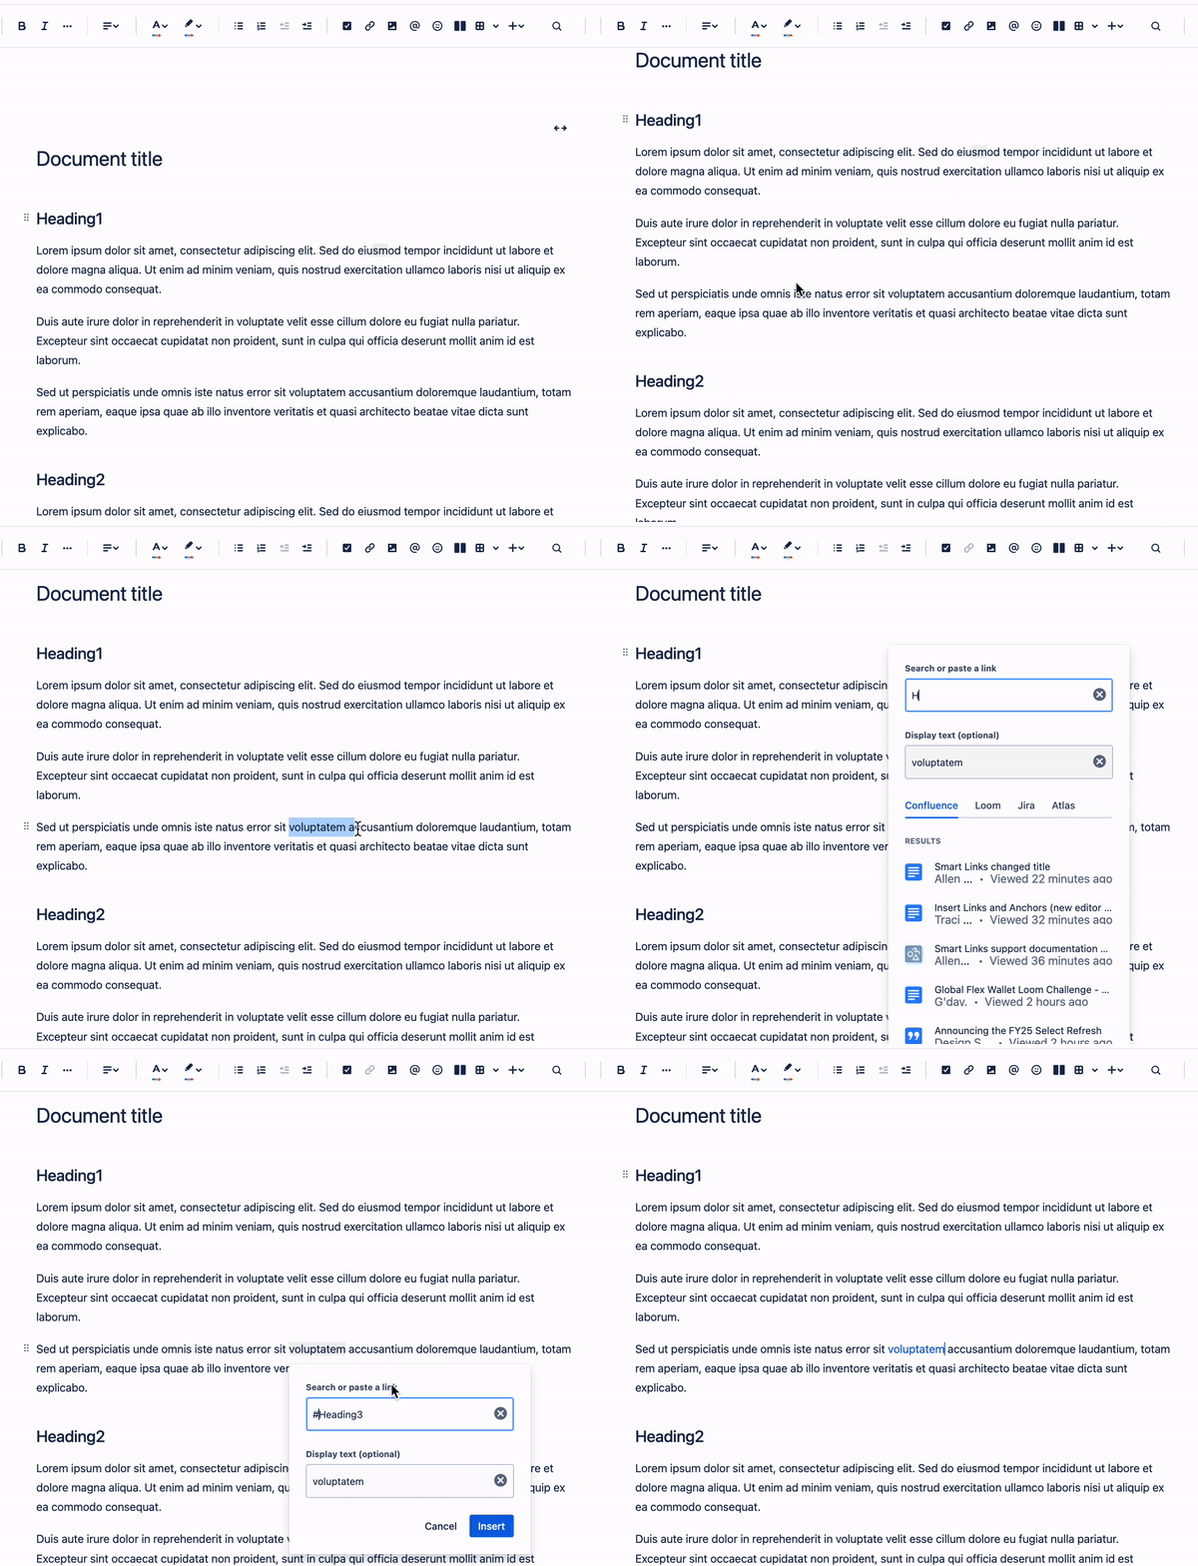
Highlight words or phrases then use Cmd + K for Mac or Ctrl + K for Windows to convert them into links. You may also select the link icon from the top menu.
Most links (also known as hyperlinks and URLs) will automatically unfurl or convert into a Smart Link when you paste them in a Confluence page.
You can cancel this by using keyboard shortcuts:
For Mac: Cmd + Z
For Windows: Ctrl + Z
You can also select the link and choose your preferred display view from the Smart Link toolbar.
Link to an anchor, heading or section
To insert a link leading to a specific anchor, heading or section of a page:
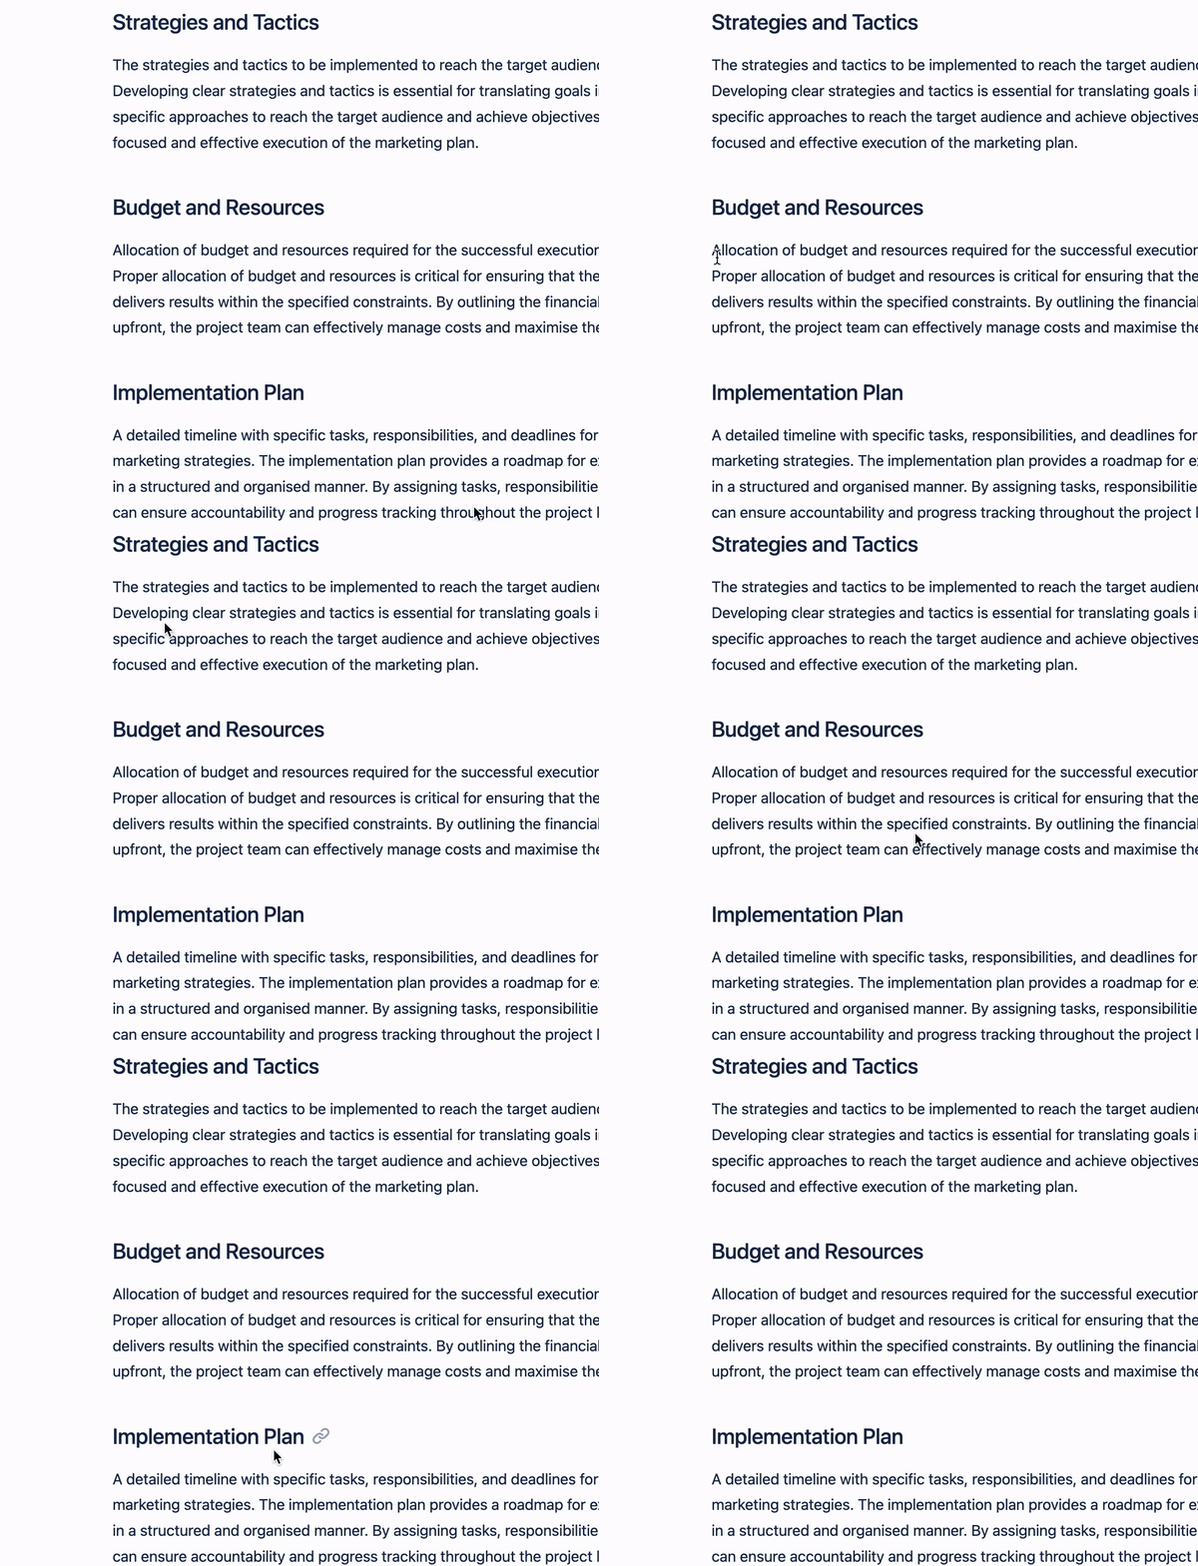
Hover to the right of the heading until the link icon appears.
Select the link icon. This will copy the URL of the heading link.
Use the URL you copied to create the link.

To link to an anchor link macro on the same page:
Make note of the name of the anchor to which you want to link. The name is displayed on the anchor when editing the page.
Highlight the text you want to use as the link.
Select the link tool .
Enter the name of the macro prefaced by a # symbol. If your Anchor Name is topofpage, you'll enter #topofpage when creating your link.
Note: Anchor link names are case sensitive.

To link to an anchor link macro on another page:
Copy the URL of the page whose anchor you want to link.
Make note of the name of the anchor to which you want to link. The name is displayed on the anchor when editing the page.
Go to the page where you want to add the link and edit the page.
Highlight the text to be used as the link.
Select the link tool .
Paste the URL to the copied page in the link field followed by a # symbol and the anchor name.
Example
page name = Project notesAnchor name = notes from today
Link = sitename.domain/wiki/Project+notes#notes-from-today
Pro tip — if you are adding a link to an anchor from a Gliffy diagram, you must use the entire URL, not just the pagename#anchorname portion.
Link to a Confluence comment
To insert a link leading to a comment from Confluence page:
Hover over the comment date until the link icon appears.
Select the link icon. This will copy the URL of the heading link.
Use the URL you copied to create the link.
Link to an email address
To insert a link that will create a message directed to a specific email address:
Use Cmd + K for Mac or Ctrl + K for Windows, or select the link icon(icon).
Type ‘mailto:’ followed by the email address in the link field. For example: 'mailto:iamawesome@email.com'
Choose the text to display.
Select Insert.
Link to attachments
To link to a page’s attachment:
Go to the published version of the page containing the attachment to which you want to link.
Go to More > Attachments.
Right-click on the file name of the attachment, and select Copy Link Address.
Go to and edit the page where you want to link to the attachment.
Paste the URL in the link tool pop-up, and give it a more friendly name if desired.
To link to the latest version of an attachment on another page:
Go to the published version of the page containing the attachment to which you want to link.
Go to More > Attachments.
Right-click on the file name of the attachment, and select Copy Link Address.
Go to and edit the page where you want to link to the attachment.
Paste the URL in the link tool pop-up, remove any text after the file extension in the URL, and give it a more friendly name if desired.
Create and link to an undefined placeholder page
Sometimes you want to link to a Confluence page that doesn't exist yet. To do this, you can add an undefined link and come back to it later. When you select on the link, Confluence will create a draft page with that title for you to then add content to and publish when you're ready.
Undefined placeholder links can't be added to templates.
Type [Placeholder Page Name]().
This follows the syntax as the keyboard shortcut for adding defined links [Link] (http://a.com).Press Enter or Return to create the placeholder.
Select Close to keep the page as a DRAFT or select Publish… or Update.
A link to an undefined page is shown in red. Until you actually publish this newly created page, anyone with create permissions in that space can select on the link, while viewing or editing, and it will continue to create new draft pages.
View undefined pages in a space
The Undefined page shows you all the undefined pages in your space.
To view a list of the undefined links in a space:
Go to the space in Confluence Cloud.
Select Space settings from the sidebar.
Select Undefined from the Manage pages card.
The undefined page links have a green badge to remind you that these pages haven't been published yet. Select an undefined page link to create a draft and add content to it.
Smart Links
Smart Links make it easy to create, edit, and view work across Atlassian and third-party products. With Confluence, Jira, and other Atlassian products, every link is a Smart Link.
Smart Links allow you to create and interact with links to:
Hover over links to display rich information and interact with link elements like changing the status of Jira issues
Control how links appear in pages you create with dynamic display options
Collaborate on tasks and projects without leaving the Confluence page
View options
Once you type in or paste a link when editing a Confluence page, you can choose how it appears after you publish.
To change the Smart Link view:
Type in or paste a link, or use the /link command. You may also use Cmd + K for Mac or Ctrl + Z for Windows:
Select the link.
From the Smart Link toolbar, select your preferred display option:
Inline view
Instead of a URL, inline view shows only the title of the link. This is useful when you want to insert multiple links in a table.
Card view
Card view offers more context by showing metadata like project details and summary. When your readers hover over Smart Links displayed in card view, they can interact with link elements or preview the content. Select Open preview to view the link at near page-width without leaving the page.
Embed view
Embed view allows you to view pages, boards, lists, timelines, or calendars in other products without having to leave the page. Watch a video from YouTube, read and edit documents, leave comments in your design files and more, all within your current page.
Smart Links from Jira and other products
You may insert links from other products and convert them into Smart Links.
For example:
Other products that use Smart Links include:
Atlassian products: | Non-Atlassian products |
|---|---|
|
|
Authentication for Smart Links
You must be logged in to non-Atlassian products that require authentication before you can display the Smart Link in your page. You’ll only need to do this once, and that product’s links will work across all of Atlassian Cloud.
For links to non-Atlassian product that requires access to view, readers need to be logged in for Smart Links to display in the correct view.
Summarize Smart Links with AI
Save time by summarizing the content of a Smart Link with Atlassian Intelligence.
To use Atlassian Intelligence in Confluence, your organization admin needs to Activate Atlassian Intelligence for products.
To summarize a Smart Link with AI:
Navigate to the Confluence page or blog post containing a Smart Link.
Hover over any Smart Link.
Select Summarize with AI.
Atlassian Intelligence will generate a summary.
A summary will not generate if there isn’t enough content to summarize or if summarizing the content might go against Atlassian’s Acceptable Use Policy.
For more on how Atlassian Intelligence works, its limitations, and our commitment to privacy, visit the Atlassian Trust Center.
Smart Link preferences
You can set your preferences on how links are displayed across Confluence, Atlas, Jira and soon for other Atlassian products. Your chosen link display option appears when you edit pages or comment on issues.
Go to link preferences from Confluence:
Select your avatar from the top-right menu.
Select Manage Account.
Select the Link preferences tab at the top.
Go to link preferences from Jira:
Select the settings cog on the top-right menu.
Under Personal settings, select Atlassian account settings.
From the left-side menu, select Link preferences.
Set your default display for new links
You can choose how to display links you create:
From Link preferences, go to the Default display section.
Choose your preferred display option from the dropdown.
Links created by other users will appear depending on the display option they choose.
Remember to refresh active editor sessions after you update your preferences.
Exceptions for specific domains
You can set different display options for links from specific domains:
From Link preferences, go to the section labeled Exceptions for specific domains.
Type or paste in a domain or URL.
Choose your preferred display option from the dropdown.
Select Submit.
Add exceptions for other domains if needed.
Exceptions for subdomains
You may enter subdomains as your URL to set default display options for links from specific sections of a website.
For example, if you set a preference for links from google.com to display as a card, all subdomains will follow the same rule.
If you only set an exception for slides.google.com, the other Google domains display as the default setting or any custom preferences you may have set.
If a domain cannot be displayed as an embed, your link will default to inline.
Was this helpful?