Convert pages to the cloud editor
This guide provides a step-by-step process to help you convert legacy Confluence pages to the cloud editor. By converting pages to cloud, you get the latest updates and improvements to creating, collaborating, and organizing your content.
Learn more about the cloud editor
Advantages of using the cloud editor
You can elevate your content creation experience with the cloud editor's powerful features:
Enhanced collaboration: Work seamlessly with your team in real-time and witness edits as they happen, with changes auto-saved.
Faster loading: Enjoy a user-friendly interface that lets you format your content with with faster loading times.
Future-proof: Benefit from ongoing updates to the cloud editor, ensuring your content remains compatible with future advancements across Atlassian products. Since the cloud editor is the unified editing experience for all Atlassian apps, you'll gain access to platform features like Rovo and Smart Links.
Coming soon: Deprecation of the legacy editor
In June 2025, Atlassian announced the deprecation of the legacy editor. This will be a phased process beginning in January 2026. Find out more in the FAQ article.
When the process is complete in April 2026, all editing will take place in the cloud editor. Until then, you will continue to have the option to update pages in the legacy editor. However, there are some downsides to continuing to use the legacy editor:
No bugs fixed unless it's a major incident.
No enhancements.
What’s the difference between the cloud and legacy toolbars?
You can see which editor your page uses by looking at the differences in the editor toolbar.
The cloud editor includes Publish… or Update and Close buttons in the top menu and the emoji icon

The legacy editor has earlier versions of text-color picker and page formatting

Convert your legacy editor pages to cloud
Which pages are eligible for conversion?
Eligible pages are those that can be converted to the cloud editor without displaying any "unsupported" content after conversion. These pages are fully compatible with the cloud editor, allowing users to view and edit them seamlessly. The introduction of the legacy content macro has made a lot more pages eligible.
Identifying Eligible Pages:
Convert Option: When you edit an eligible page, you’ll see the option to convert.
Checkmark Indicator: While editing in the legacy editor, a checkmark in the bottom left corner indicates eligibility.
Ineligible pages: If a legacy editor page has content that can’t be converted, you won’t see the invitation to convert to the cloud editor. If you try to convert it anyway, you will see a warning that you could lose content.
When you enter edit mode on an “eligible page,” you will see a pop-up to convert to the cloud editor. Select Update page to instantly convert the page to the cloud.
If you select Not now your page will open in the legacy editor.
A preview banner will remain visible, allowing you to preview your page in the cloud editor and convert it from there.
If your page has content that is not yet supported in the cloud editor, the conversion process will add this content to one or more copies of the legacy content macro. This macro lets you continue to work with unsupported content. The legacy content macro dramatically increases the number of pages that are eligible for conversion.
Auto-convert pages to cloud
Admins can set an option to automatically prompt users to convert legacy editor pages.
For all spaces in Confluence
Confluence admins can enable auto-conversion of all legacy pages in Confluence to the new editor.
For a single space
Space admins can enable auto-conversion from legacy to the cloud editor for all pages with eligible content in a space.
If auto-conversion is enabled, eligible pages will be converted to the cloud editor when someone views the page. You will be able to revert to the legacy version in More actions () menu. Select Revert to legacy editor.
To enable auto-convert:
Go to the space in Confluence Cloud.
Next to your space's name in the sidebar, select More actions (•••), then Space settings.
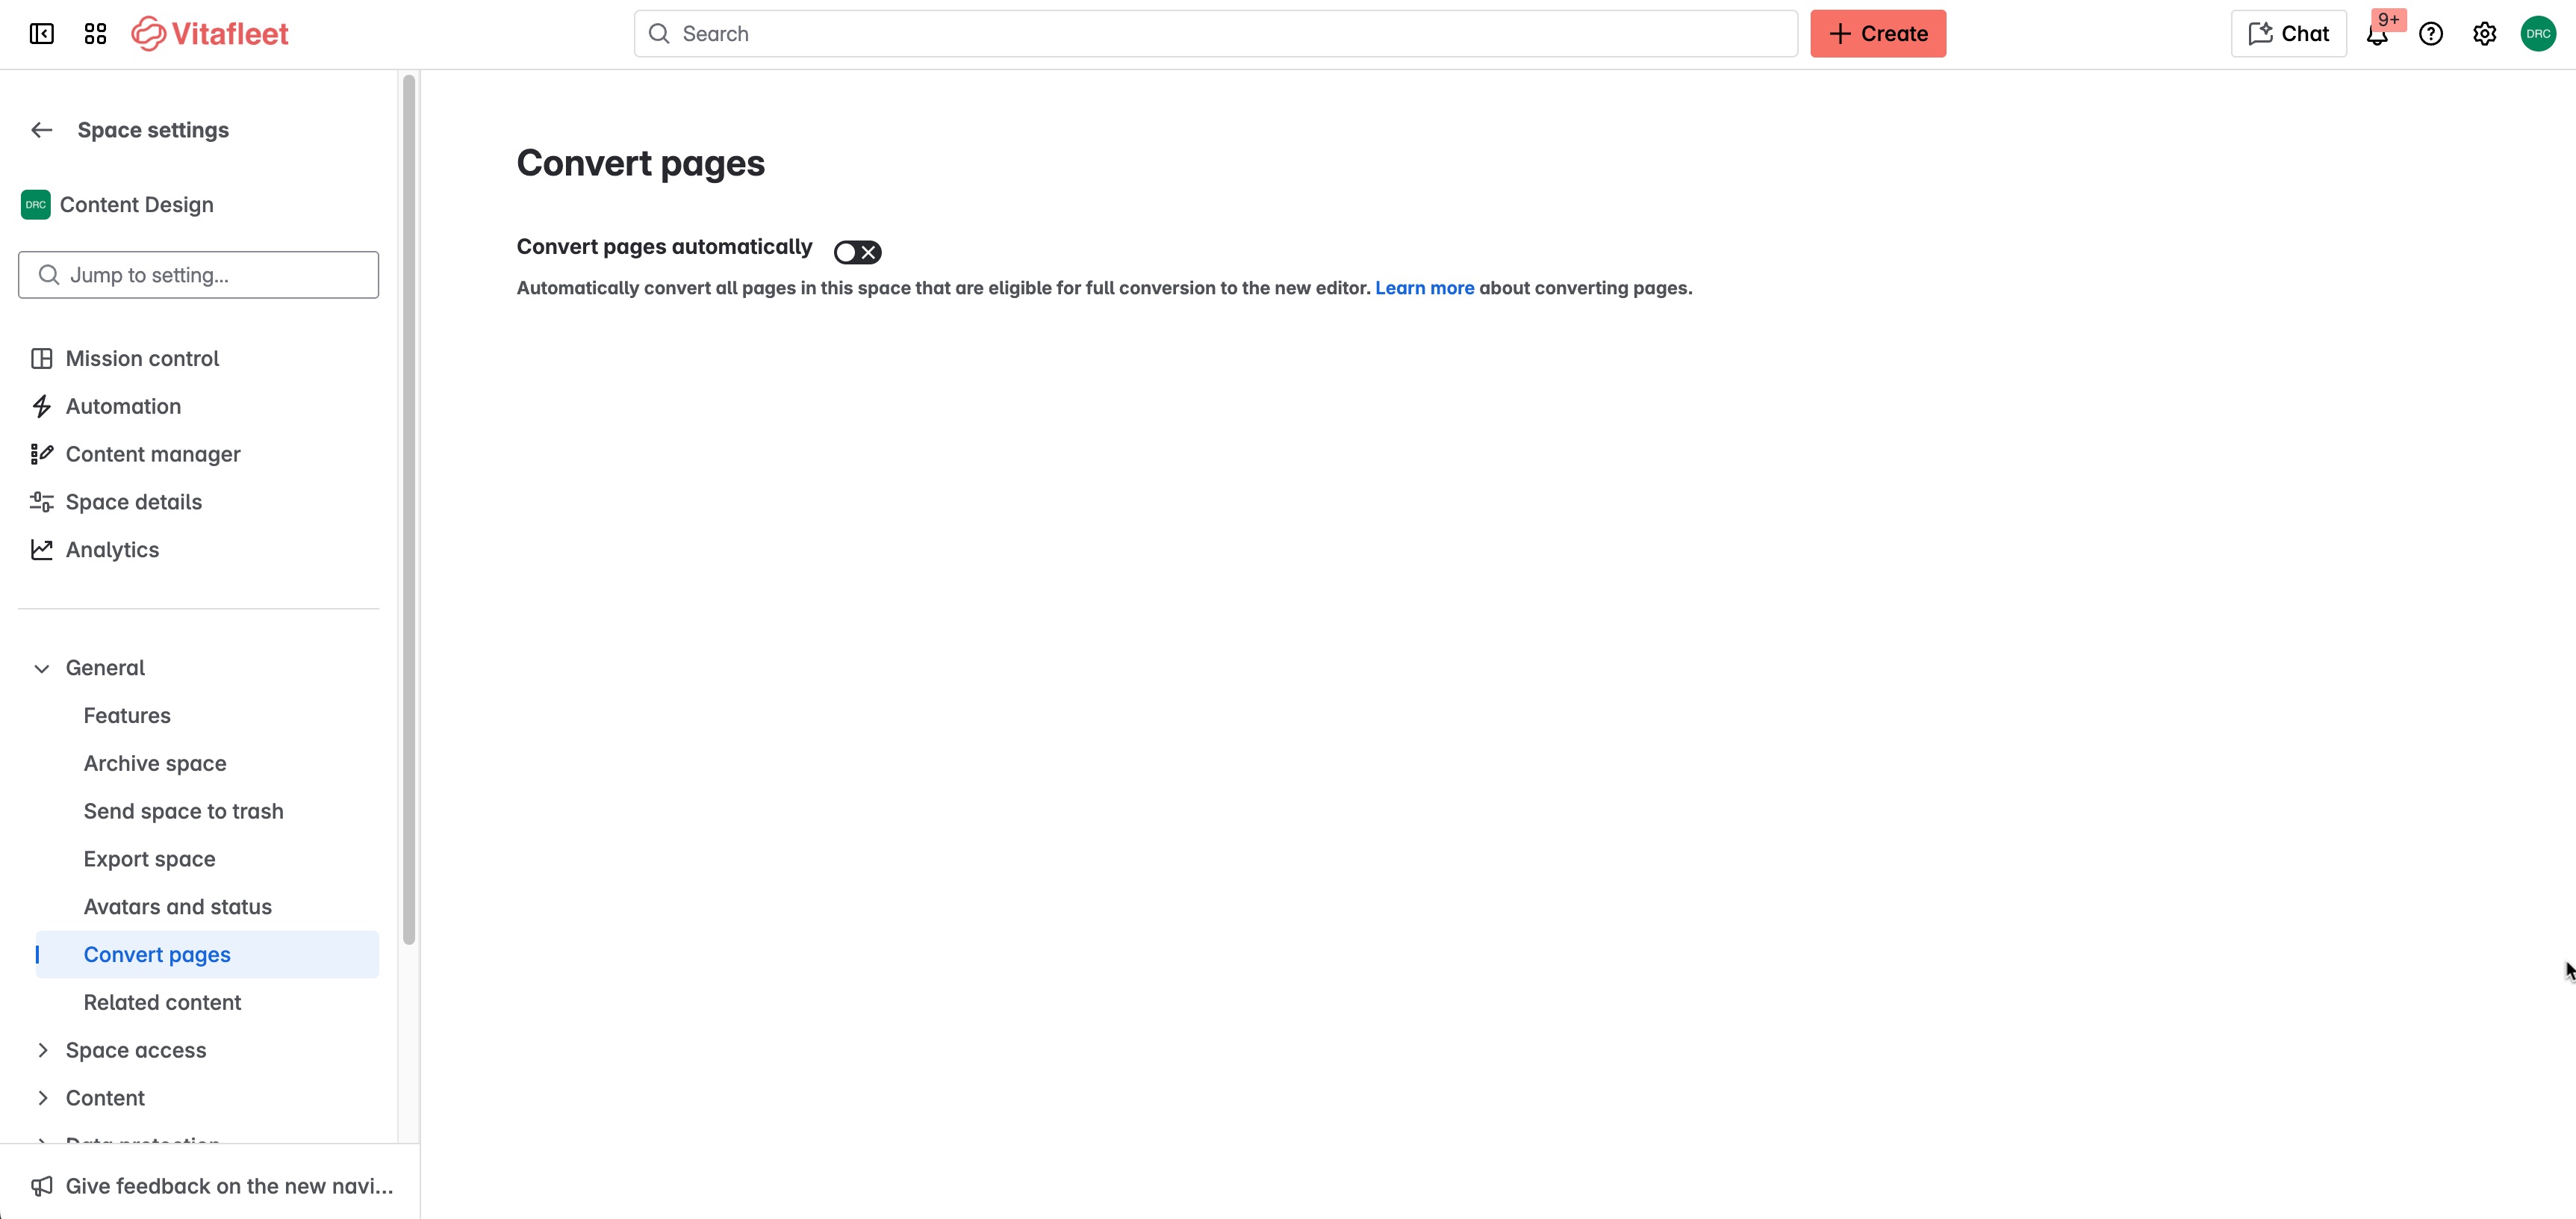
Open the General menu and select Convert pages.
Turn on Convert pages automatically.
Revert page migrations
If you’d like to restore your page back to the legacy editor, you can restore the most recent version of the page before conversion, via the page version history.
Support
The cloud editor constantly evolves, offering regular updates and improvements. To stay updated with the latest features and functionalities, check out:
Atlassian Community: Connect with other Confluence Cloud users and share your experiences.
Support articles: Access more detailed guides and troubleshooting tips for Confluence Cloud.
Was this helpful?