Trigger actions in Jira, Slack and Bitbucket with automation
You can use Automation beyond the boundaries of Trello to create new tickets in Jira, post comments on existing tickets, send messages in Slack, and even open new pull requests or assign new reviewers in Bitbucket.
See also: Not familiar with Automation? Check out Automation overview to learn more about its functionality.
Connecting applications with Automation
To use the Jira, Slack and Bitbucket actions in your automations, you first need to connect and authorize the applications with Automation.
To add Jira, Slack and Bitbucket integrations, go to the Automation directory, select the Connected Apps tab in the lower-left corner of the Automation directory, and then select the application that you want to connect.
Connect the Jira instance
Open the Connected Apps tab and select Connect with JIRA.
Authorize the Jira instance that Automation should connect to. You can connect several Jira instances to Automation.
Note: Your account must have the appropriate permissions to enable integrations with Jira.
Jira actions in Automation
Jira actions are available for all types of automations. You can find Jira actions in the Automation directory's automation builder, on the Jira tab. To open the automation builder, select a particular automation tab in the Automation directory—Rules, Card Button, Board Button, Calendar, or Due Date—and then select the Create button in the upper-right corner of your automation list.
Note: For Rules, Calendar, and Due Date automations, you need to configure a trigger before adding Jira actions to your automation.
Connect the Slack workspace
Open the Connected Apps tab and select Connect with Slack.
Sign in to the Slack workspace that Automation should connect to. You can connect several Slack workspaces to Automation.
Note: Your account must have the appropriate permissions to enable integrations with Slack.
Slack actions in Automation
Slack actions are available for all types of automations. You can find Slack actions in the Automation directory's automation builder, on the Slack tab. To open the automation builder, select a particular automation tab in the Automation directory—Rules, Card Button, Board Button, Calendar, or Due Date—and then select the Create button in the upper-right corner of your automation list.
Note: For Rules, Calendar, and Due Date automation, you need to configure a trigger before adding Slack actions to your automation.
Automation by default is designed to send messages to public Slack channels. However, you can also post messages to private Slack channels and direct messages.
To post a message to a private channel, you need to add Butler by Trello app to that channel in Slack:
Go to the private channel and select the Show channel details (info icon)
Select More > Add apps
Search for Butler by Trello and add the app to the channel
To post a message to a direct message, you need to find the recipient's Slack member ID in Slack:
Go to the direct message channel and click on their profile
Click on the View full profile link
Click on the ellipsis (...) More icon
Click on the Copy member ID button
Paste the member ID into the "Slack channel" field in Automation's Slack action
Note: The Slack integration can only support sending direct messages (DMs) with the "as myself" option (not "as Butler"). To send a message to another user "as Butler", create a private Slack channel and invite the recipient and the Butler by Trello app.
Connect the Bitbucket account
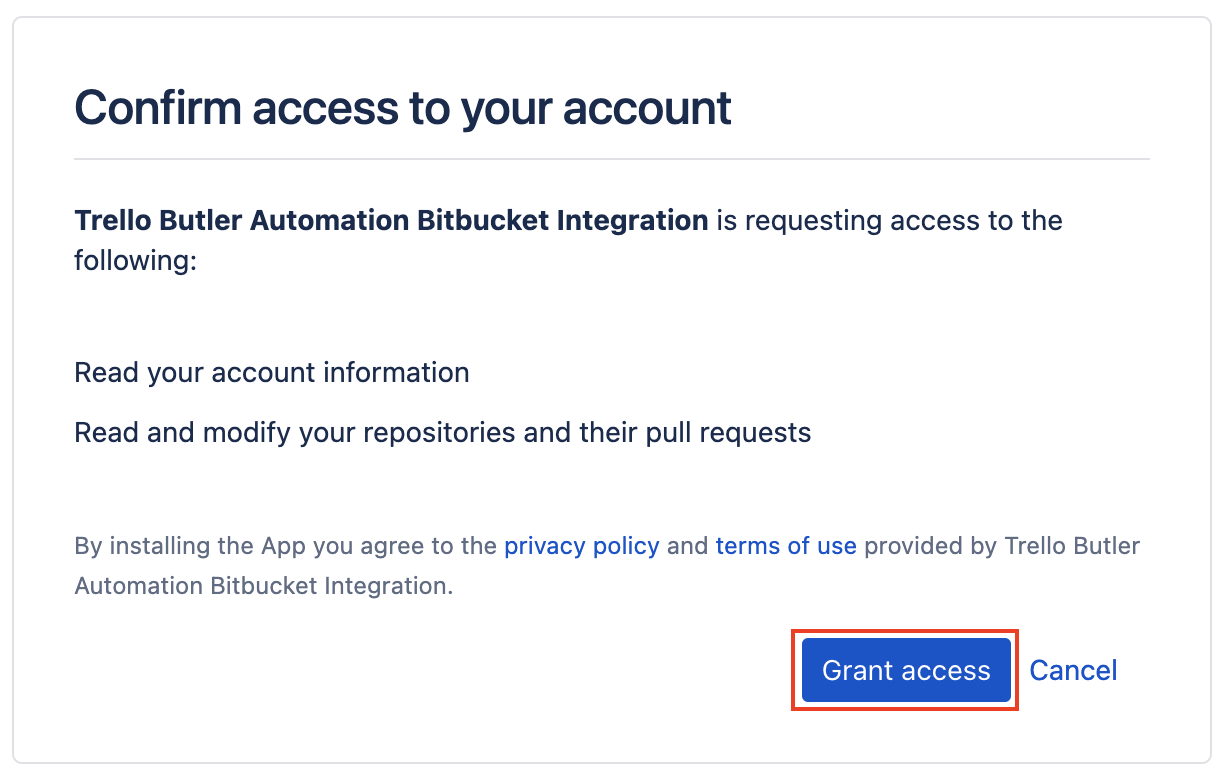
Open the Connected Apps tab and select Connect with Bitbucket.
Authorize Automation to connect to your Bitbucket account.
Note: Your account must have the appropriate permissions to enable integrations with Bitbucket.
Bitbucket actions in Automation
BitBucket actions are available for all types of automations. You can find Bitbucket actions in the Automation directory's automation builder, on the Bitbucket tab. To open the automation builder, select a particular automation tab in the Automation directory—Rules, Card Button, Board Button, Calendar, or Due Date—and then select the Create button in the upper-right corner of your automation list.
Note: For Rules, Calendar, and Due Date automations, you need to configure a trigger before adding Bitbucket actions to your automation.
Removing the app automations
If you have any troubles removing the apps or your automations don't work as expected, do not hesitate to contact us and we'll assist.
Remove the connected Jira instance
Open the Connected Apps tab and select Revoke access to your JIRA account.
A new Atlassian account window will appear. On the Connected apps tab, select Remove access to Automation > Remove. After you revoke the access, Automation will be removed from the list of Apps with access to your Atlassian account.
Remove the connected Slack workspace
To disconnect your Slack workspace from Automation, select the Remove your Slack workspace connection(s) link, and then select the workspace from the dropdown menu.
Remove the connected Bitbucket
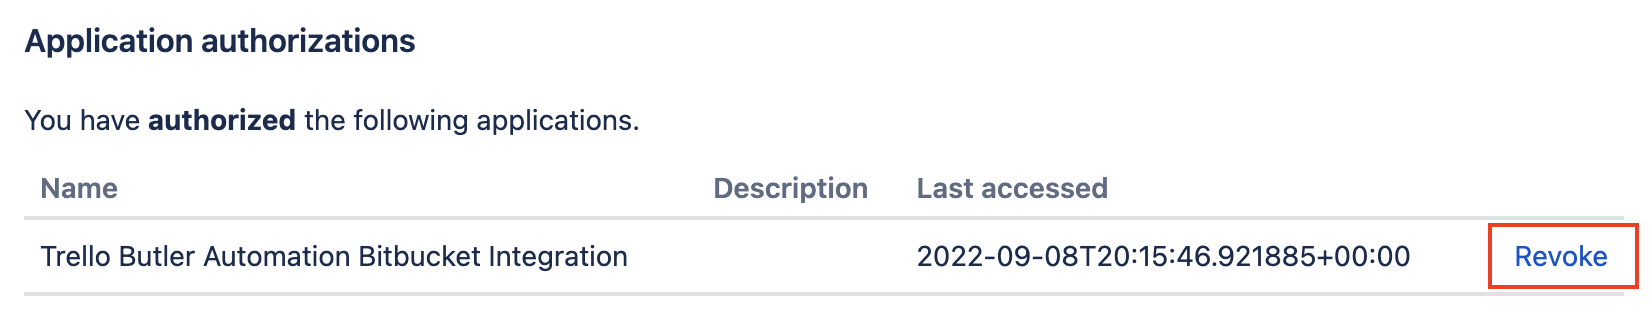
Open the Connected Apps tab and select Revoke access to your Bitbucket account.
A new Bitbucket window will appear. On the Application authorizations section, click Revoke on Trello Automation Bitbucket Integration.
Was this helpful?