Navigate Trello
If the information provided here doesn’t match your current experience, see Trello navigation instead.
Navigation bar
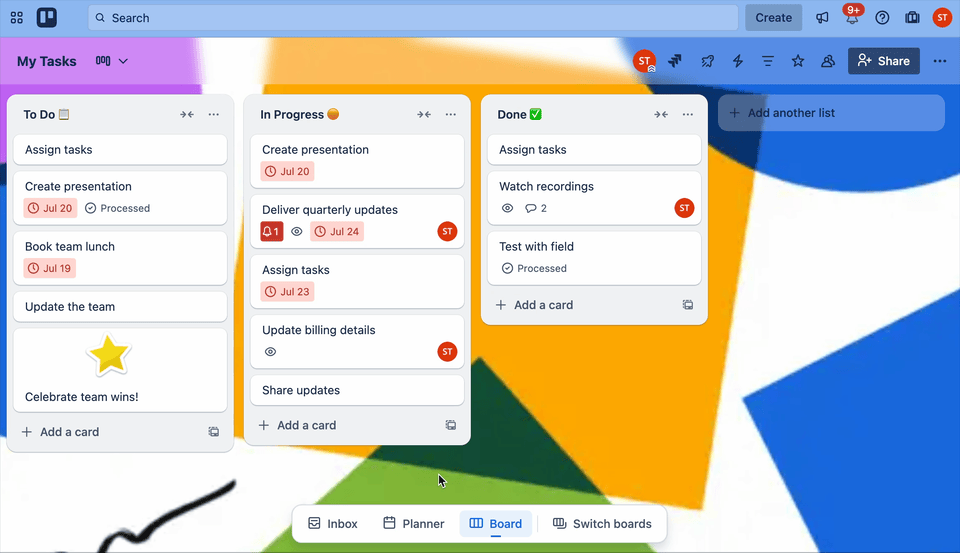
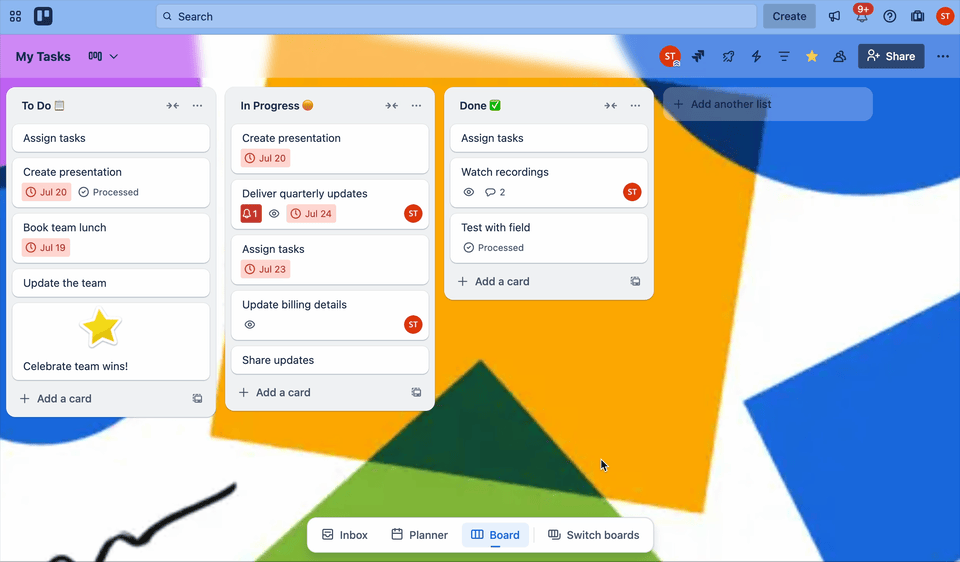
The navigation bar allows you to switch boards, and view your Inbox and Planner all in one place.
How to use the navigation bar
To use the navigation bar:
Open Trello and go to any board.
Select any combination of Inbox, Planner, or Board from the navigation bar to view them side-by-side.
You can also open and close your Inbox, Planner, or board with keyboard shortcuts:
Inbox:
g+iPlanner:
g+pBoard:
g+b
Press g then press i, p, or b. Pressing the second key first won’t trigger the shortcut. Release all keys before triggering a second shortcut.
Switch boards

You can open the board switcher with keyboard shortcut b. To quickly navigate to a board, type the board name and press Enter. You can close the board switcher with Esc.
The navigation bar lets you quickly switch boards, choose from starred or recent boards, or choose a board from a specific Workspace.
To switch to a different board:
Select Switch board from the navigation bar.
Search for your board, or select it from starred, recent, or Workspace boards.
Select the board to open it.
You can also rearrange your starred boards via drag and drop in the same modal.
Pin the board switcher as a sidebar

The board switcher can be pinned to the left edge as a sidebar. When pinned, it can be opened and closed by selecting Switch boards in the navigation bar. To pin the board switcher as a sidebar:
Select Switch boards from the navigation bar.
Select Pin switcher as a sidebar in the top-right of the board switcher.
To unpin the board switcher, select Unpin switcher in the top right of the board switcher panel.
Board switcher view options

The board switcher allows you to view boards as tiles in a grid, or as a more condensed list. To toggle between grid and list views:
Select Switch board from the navigation bar.
Select List view () or Grid view () to switch between views.
Expand and collapse sections in board switcher

You can expand and collapse sections in the board switcher. The board switcher will remember which sections are expanded and collapsed.
To expand and collapse sections in the board switcher:
Select Switch board from the navigation bar.
Select the section title to expand or collapse the section.
You can also expand and collapse sections in the board switcher when pinned as a panel.
Access Workspace settings
To access Workspace settings:
Select Switch board from the navigation bar.
Select a Workspace.
Select the More (•••) then select Settings.
Open a Workspace view
To open a Workspace Calendar or Workspace Table view:
Select Switch board from the navigation bar.
Select a Workspace just below the search bar.
Select Workspace Views.
Select a Workspace view to open it.
You can also open a Workspace view from the pinned board switcher panel.
Resize Inbox, Planner, and board panels
To resize navigation panels, hover your mouse between panels until you see a vertical line appear and your cursor changes to a left-right arrow, then click and drag left or right.
To reset panels to their original size, hover your mouse between panels until you see a vertical line appear, then double click.
Global header
The global header is at the top of every page in Trello. No matter where you are in Trello, you can always find your way around with the options in the global header.
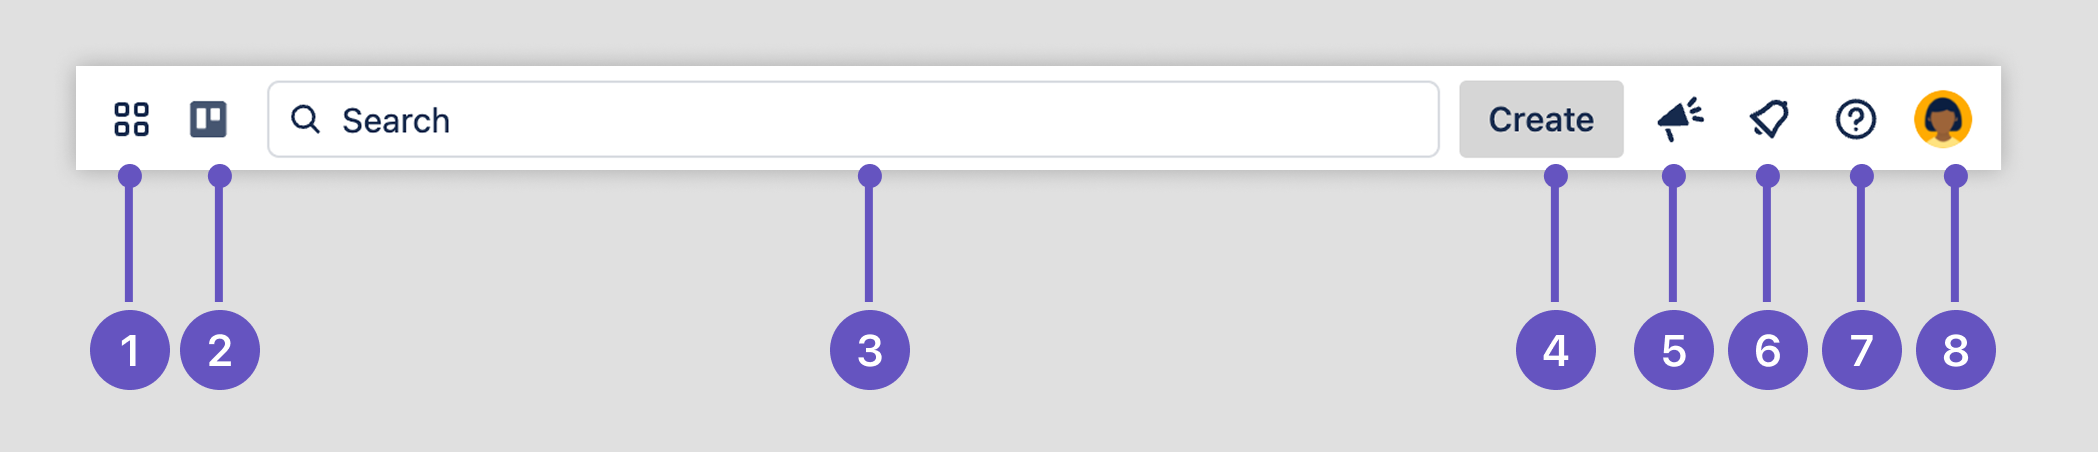
App switcher - Switch to other Atlassian Cloud apps, like Jira and Confluence.
Trello logo - Go to your Trello Home page.
Search - Find boards and cards in any of your Workspaces with the global search.
Create button - Create a new board or Workspace view.
Share feedback - Share feedback about Trello.
Notification panel - Review and respond to all of your notifications.
Information - Get Trello tips and links to help documentation.
Your profile and settings - View your profile, activity, assigned cards, account settings, Theme (change between light and dark mode) and more.
Board header
The board header is found at the top of every Trello board.

Board name - The name of your board. Select the board’s name to edit it.
Views switcher - On Premium, you can change your view to see cards on a table, calendar, timeline, and more. This switcher changes the board view.
Board members - Select a member to view their activity or profile. If a board has a lot of members, Select the number to the right to view the rest.
Shown Power-Ups - Power-Up buttons for Power-Ups you’ve decided to show. Select these buttons to access the Power-Up’s features.
Power-Ups menu - Add new Power-Ups, manage existing ones, and show or hide the Power-Up buttons in the board header.
Automation menu - Create and manage Automations.
Filter - Find cards on the board by keyword, member, due date, or label.
Starred - Add or remove a star. Starred boards appear in the board switcher, and on your Trello Home page for easy access.
Board visibility - The visibility setting of the board. Select the visibility setting to change the board’s visibility.
Share button - Add people to the board, or change permissions of current members.
Board menu - The board menu contains all of a board’s settings, labels, archived items, activity, and more. Find more detail on the board menu here.
Was this helpful?