Add or remove columns
To pull data using a visual mode query, you’ll need to select columns from the schemas of your connected data sources.
Add a column

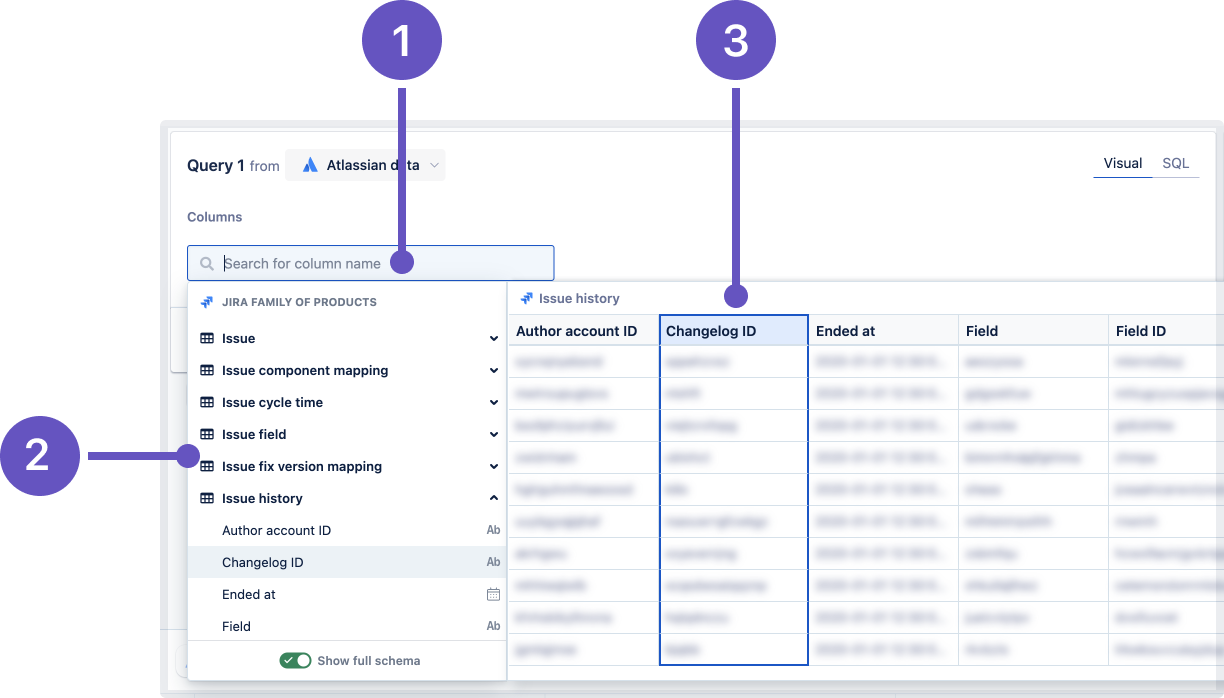
To add a column, select +Add column in the “Columns” section of your query. To find and add a column from the list, you can do any of the following options:
Search for it using the search bar.
Navigate through the schema browser.
Select a column from the table preview of the schema browser when you select a table.
To add multiple columns at a time without the schema browser closing between each selection, hold Command (for Mac) or Control (for Windows) then select the columns you wish to add. This works when selecting columns from either the schema browser or the table preview.
After adding a column, you might see some schemas, tables, or columns become disabled in the schema browser when you try to add another column. This means the currently selected columns aren’t connected to those disabled items. You may need to update your data source’s foreign keys to connect the tables or add another "Query" step to query and merge additional columns.
Aggregation menu

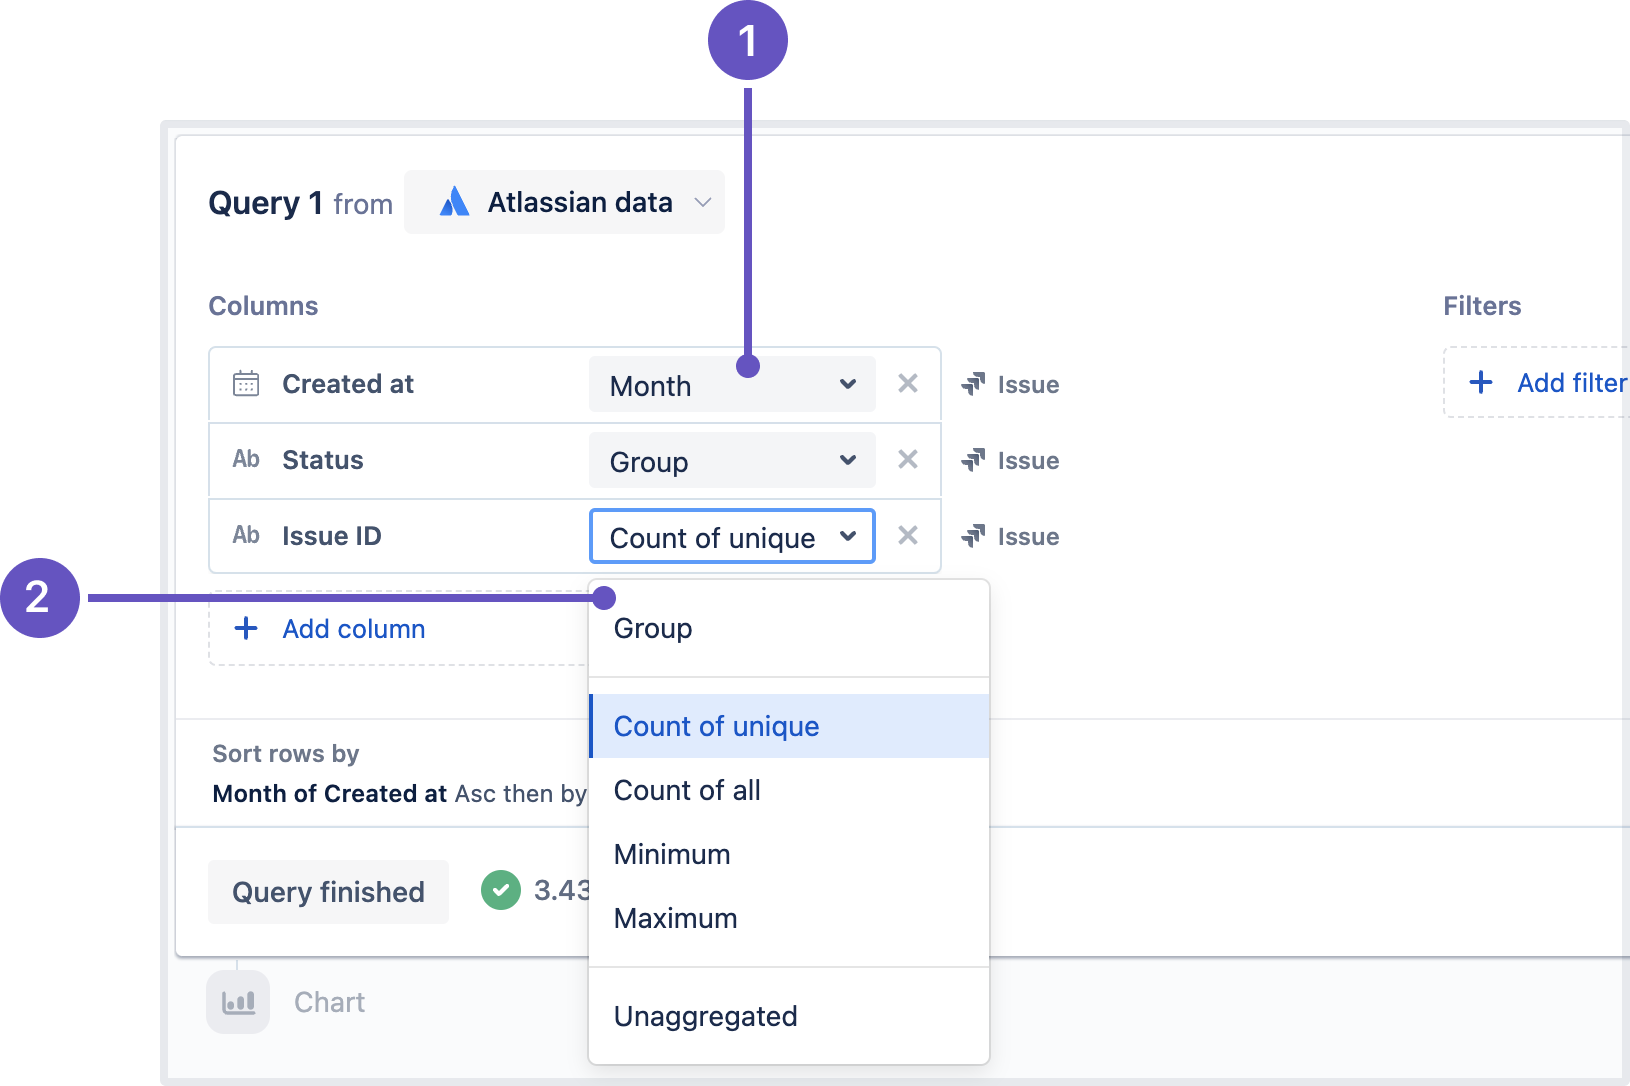
When you add a column to the query, you can specify how to group or aggregate its values. Each column has the following:
Applied group or aggregation: Selecting it opens the column’s aggregation menu. Each column has a default aggregation, which you can change in its column properties.
Aggregation menu: A set of group or aggregation options available for the column. The available options depend on the column’s data type. Learn more about the available group and aggregation options.
If you don’t want to group or aggregate a column, select Unaggregated from the menu.
Remove a column
To remove a column from your query, hover over the column in the query and select the X that appears within its block.
Was this helpful?
