Get started with Jira
New to Jira? Check out our guides for new administrators and users.
The project pages feature helps your team keep track of your documentation by connecting your project to a Confluence space. This gives your team direct access to project documentation, without having to go to Confluence.
Confluence spaces are like Jira projects — they're used by your team to store information. But while Jira projects store issues, Confluence spaces store pages.
If you don’t already have access to Confluence Cloud, you can sign up for a free trial from your Jira Work Management project:
Navigate to your Jira Work Management project.
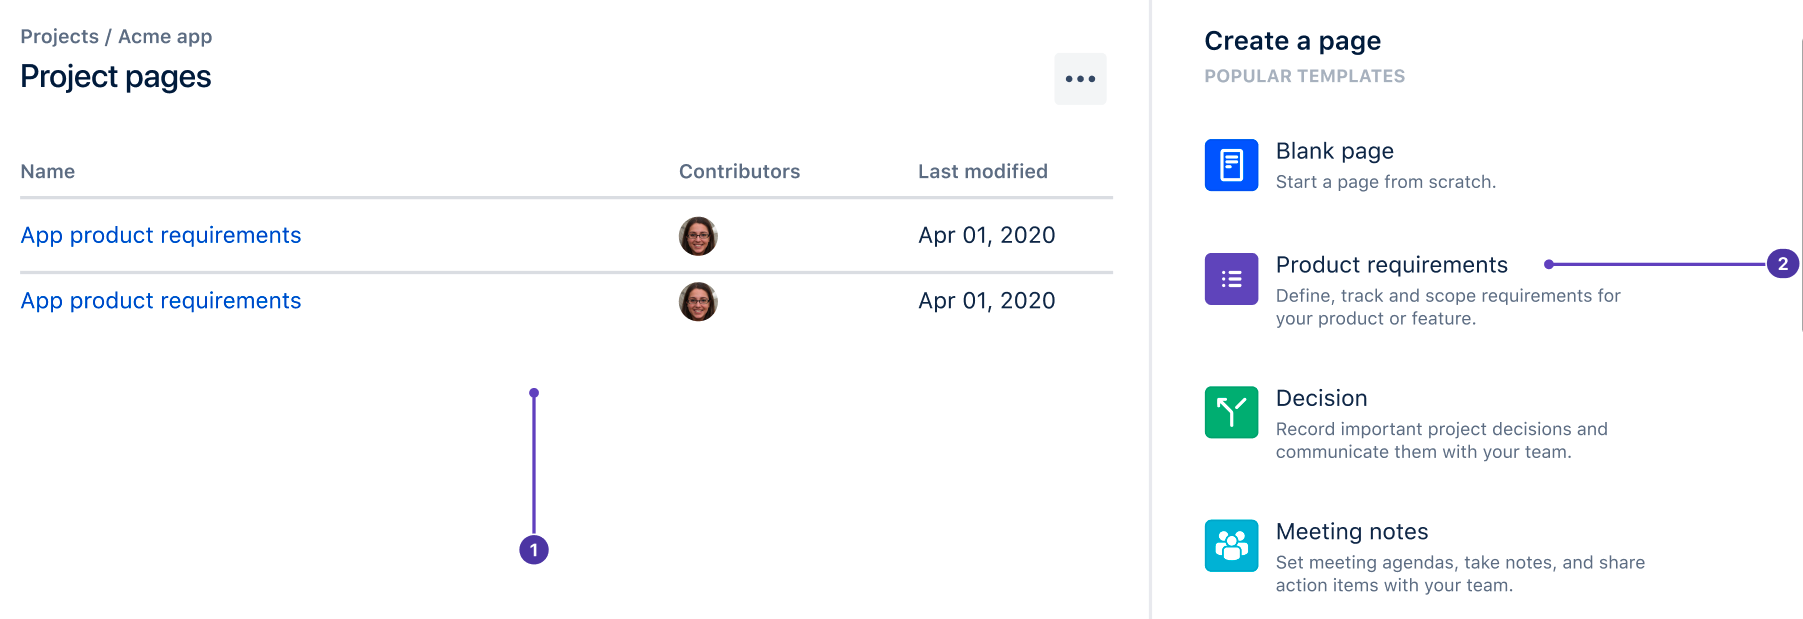
Select Pages from the project menu.
Create a Blank page from scratch, or select one of the templates if you want help getting started.
Whichever option you select, you'll be taken to Confluence to set up your trial and create your page.
You can connect your project to an existing space or page, or create a new one. You can always connect to a different space or page later.
Navigate to your Jira Work Management project.
Select Pages from the project menu.
Select Connect to Confluence.
Select Create a new space, or select a space from the dropdown menu. The space will be connected to your Jira Work Management project.
To navigate pages and templates, you can:
Project pages list: The pages you create in your team's Confluence space will be listed here for easy access.
Templates: Create a new Confluence page with pre-filled content to help you create documentation for your project.
Was this helpful?