Configure data classification rules
Classification rules allow Guard to automatically update classification levels based on detected data. You decide which classification levels to apply to each relevant data detection type, and Guard takes it from there.
Who can do this? |
Classification rules apply to both new and existing content. Each time you configure your classification rules, they may effect your existing content. Make sure you understand how classification rules work before making any changes. What are classification rules?
To help you understand how your existing content might be affected, you can use the built-in preview. Preview your classification rules
Create and edit data classification rules through the Set classification rules screen.
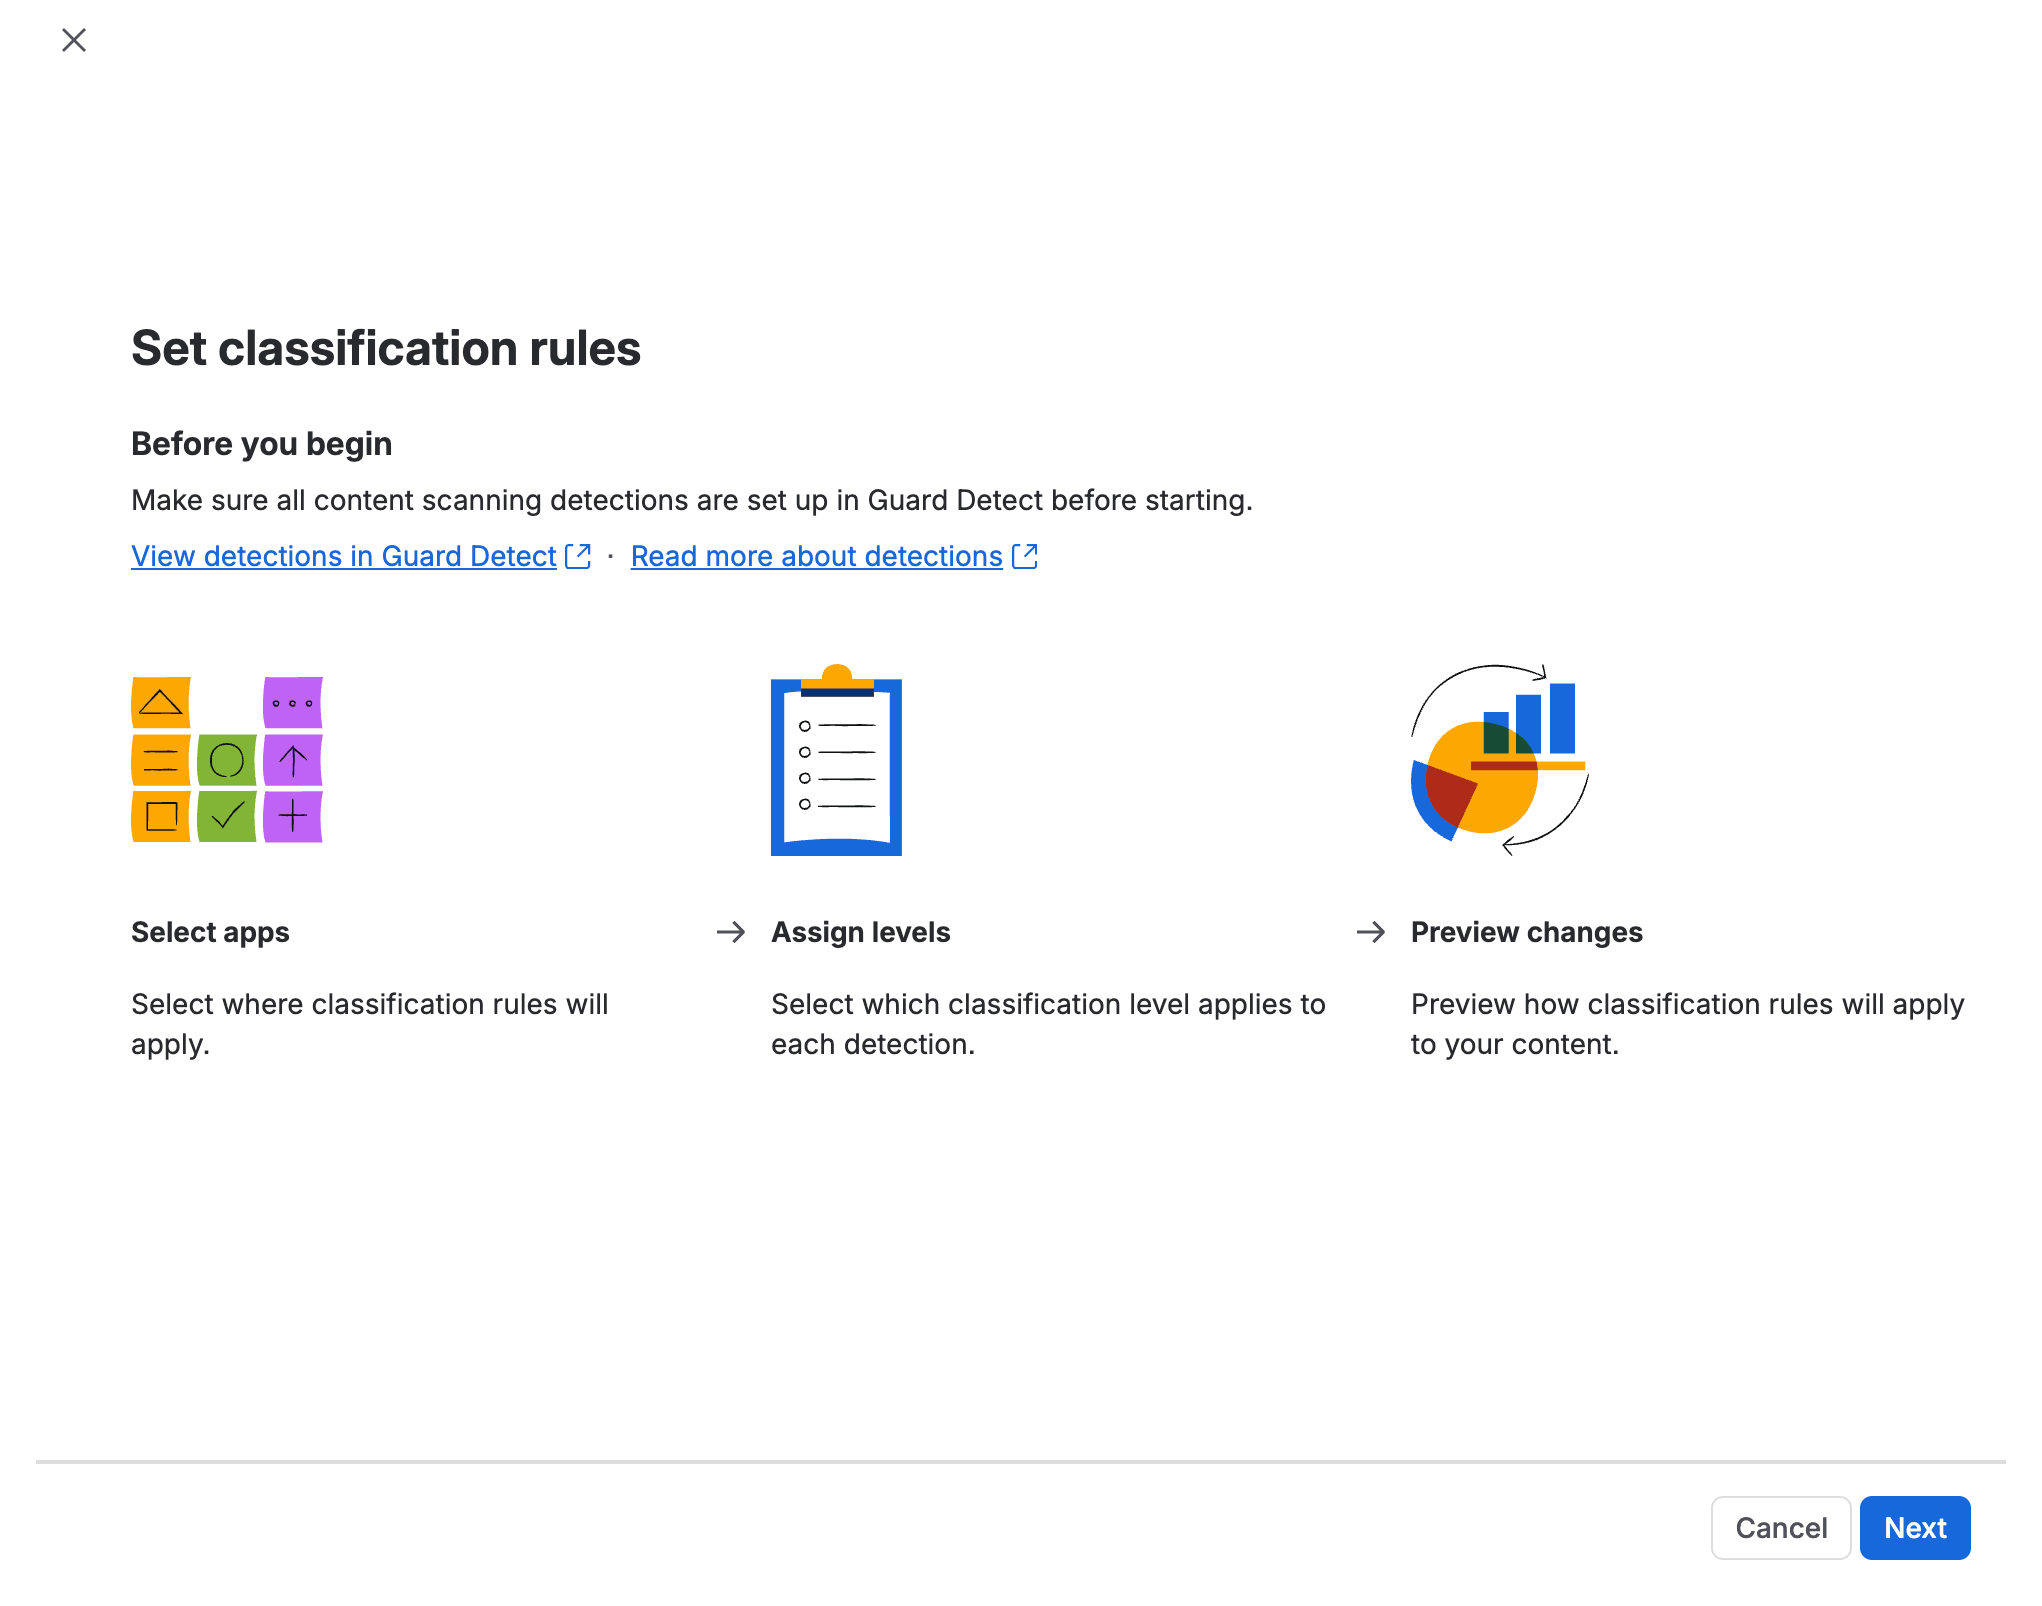
The Set classification rules screen contains the following steps:
Step | Details |
|---|---|
Select apps | Choose whether to apply the classification rule to all Confluence and Jira apps or select specific apps. If your organization already has classification rules, the most recent selection of apps will be pre-selected for you. |
Assign levels | Assign the appropriate classification level to a detection. You can the sort the list by the number of data matches, and sort and filter by region, detection type, or classification level. These tools are useful for bulk rule setting. |
Preview changes | Review how the new or edited rules will affect your existing content before the changes are applied. |
Allow manual updates | This option appears only when your setting for Users can update levels is set to Anyone or Space admins only. Review and confirm how users can manually update classification levels that were set by classification rules. |
Set classification rules
To create and edit classification rules:
Go to Atlassian Administration. Select your organization if you have more than one.
Select Security, then Data protection, then Data classification.
Select the Classification rules tab to display a list of any existing classification rules.
Select Edit rules to display the Set classification rules page
Read the information to ensure you understand what’s involved, then select Next.
Select one of the two options available — to apply your rule to all your Atlassian Confluence and Jira apps, or to apply it to specific apps (and then select the specific apps).
Select Next to display the Assign levels page.
Optionally, use the filters and sorting options to reduce and refine the list of rules, or use the search bar if you know the name of a detection you wish to use.
Locate a detection you wish to use.
In the Classification level column, select the classification level you wish to apply when data is detected.
Select Next to generate the preview. This may take a few minutes, so you have the option to skip the preview and make the change directly. Only do this if you’re not concerned about the impact of your changes.
Wait a few minutes to display the preview.
Select View detailed breakdown and review all the information on the screen. This information isn’t available until your organization has already had some rules configured because it compares the impact of your current rules and your proposed rules.
If your organization settings allow manual updates, select Next, then review your current settings for how you allow users to manually update content objects that have had automatic classification levels applied.
Select Save to complete the review and start the automatic classification updates.
While Guard performs this task, you won’t be able to set any other classification rules. As soon as the task is complete, the Edit rules button will once again be available for you to set more classification rules.
Was this helpful?