To manage your personal settings, you must log into your Jira site. Public and anonymous users inherit the site's default user preferences.
Your personal settings let you customize some elements of Jira to your liking, including language, time zone, watch settings, and email type. For other settings, like your full name, avatar, password, and email address, see Managing your user profile.
- From the top right of your screen, select Your profile and settings () > Personal settings.
- Update the options in the Preferences section and choose Save changes.
You can update these options in personal settings:
- Language – Change your Jira application language to one of the available options.
- Your timezone – The time zone used for date and time information across your Jira applications. If the time zone you select doesn't match your computer's time zone, you'll have the option to automatically update this preference.
- Watch your issues – With this enabled, you become a watcher of any issue that you create or comment on. This means you'll get an email when someone updates or comments on the issue.
Managing notifications
From the top right of your screen, select Personal settings
Under Notification settings in the side navigation select Projects and issues
You can choose what notifications you’d like to receive from a variety of issue activity.
You can choose to receive (or not receive) notifications in-product or by email by using the checkboxes.
Use the Customize project notifications section to set specific notifications for different projects. You can customize notifications for up to 50 projects.
All your notification settings (default or custom) act like a filter on top of the notification settings configured by your admin. If your admin has turned off a particular notification, you may not receive it even if you’ve chosen to receive that kind of notification in your settings.
To manage notifications for issues assigned to you that are overdue or due soon, go to your Personal settings > General. Under the Jira Labs section, use the toggle for Overdue Alerts to turn these notifications on or off.
Choose email notifications for issue activity in Jira Cloud
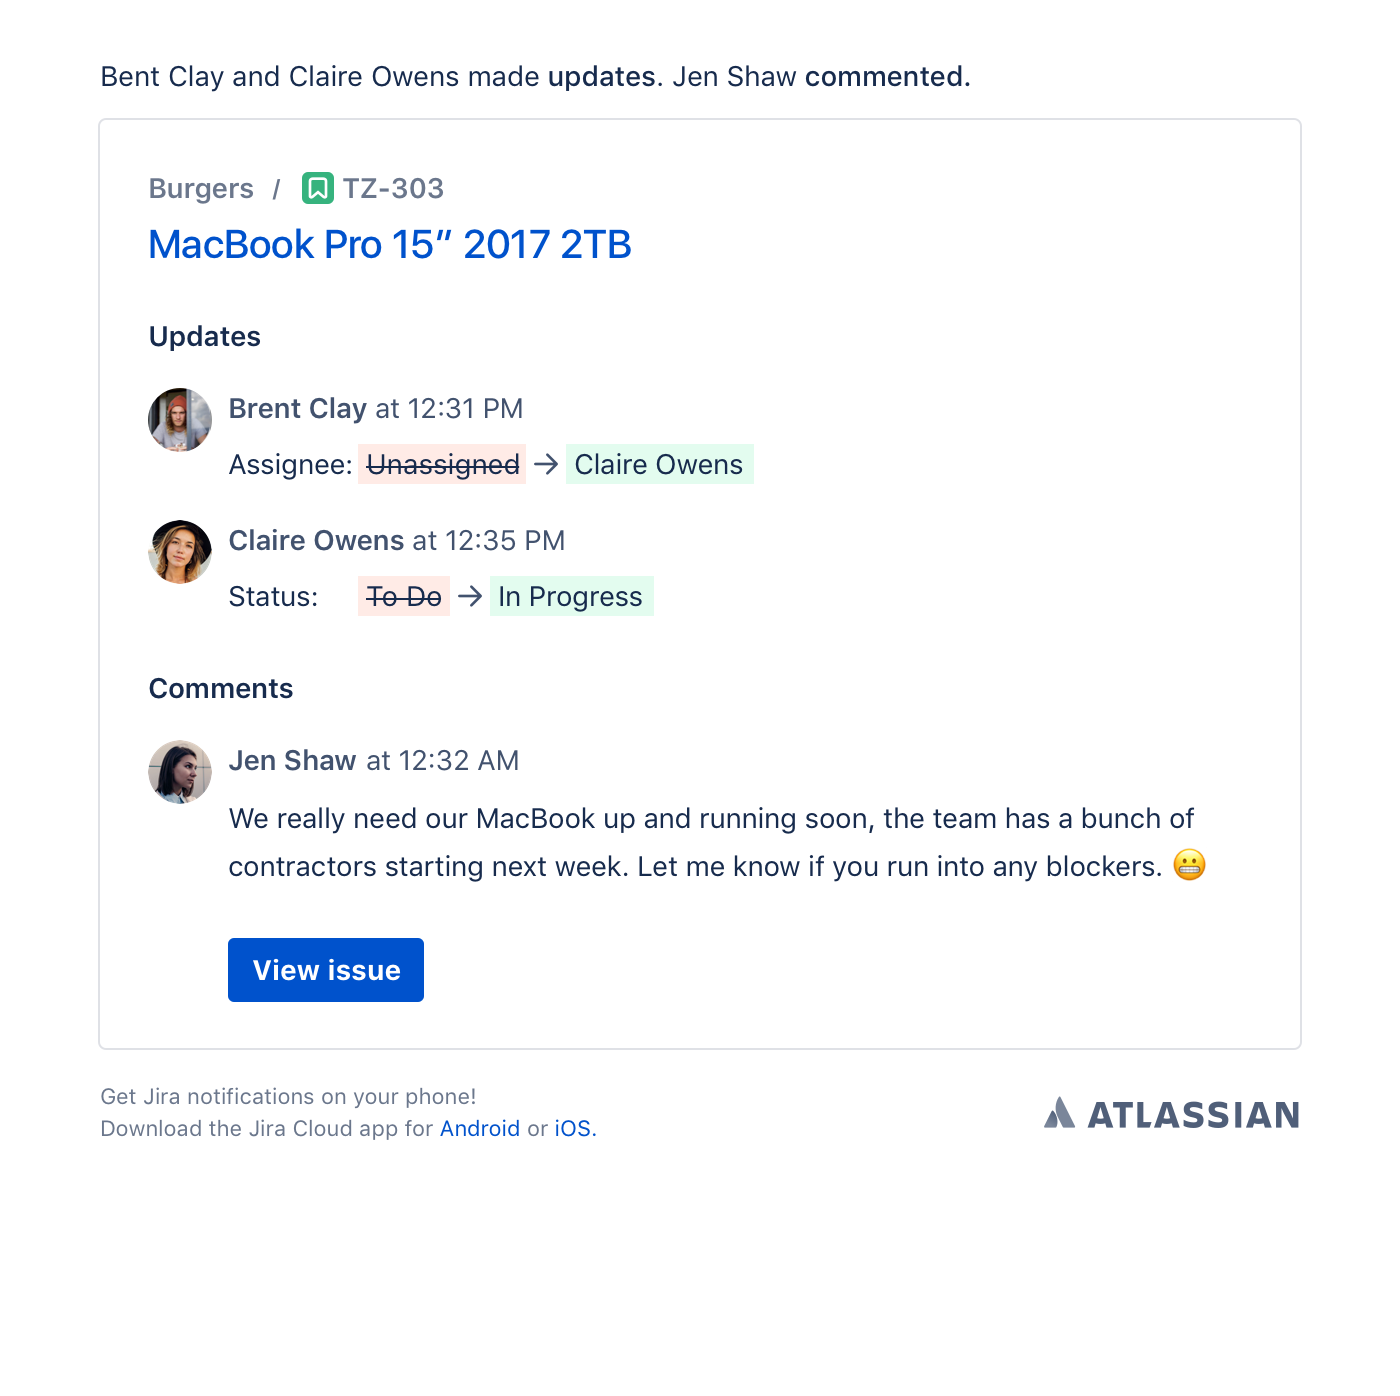
Your Jira admin sets up your default notifications. Depending on the project, you may get notifications when someone adds a comment on an issue or someone completes a work log entry. These actions tend to happen in short bursts, with a few small, individual changes added to an issue within minutes of each other.
Instead of sending one email per change, Jira will consolidate individual updates into a single summary email. To make sure relevant updates are batched together, notifications could be delayed by up to 10 minutes.
Important notifications will come through immediately, like mentions, alerts, SLA notifications, and newly assigned issues.
Here’s an example single summary email:
You can override and control some of these notifications to reduce the amount of email you receive from Jira.
Outside of these settings, you may receive other email notifications including:
Announcements and updates about your Jira site.
Updates for issue filter subscriptions if you’ve set them up.
Notifications for activity outside of Jira, including those regarding your Atlassian account.
Turn off email notifications for issue activity
By default, you receive the notifications configured by your Jira admin. To choose not to receive any email notifications for issue activity:
From the top right of your screen, select Personal settings
Under Notification settings in the side navigation select Projects and issues
- Switch the toggle off for Receive email notifications for issue activity
You won’t receive any notifications for issue activity but may still receive other email notifications like updates on your Jira site, updates for filter subscriptions, and those regarding your Atlassian account.
Filter emails in your inbox
Summary emails have variable From fields, depending on who's adding updates to an issue:
- The From field will be the actioner's name, if only one person added the updates presented in the email.
- The From field will be Jira, if multiple people added the updates presented in the email.
The sender's email will always be jira@<yourinstance>.atlassian.net
Manage connected apps
You can view and manage apps with access to your Jira account via the Personal settings page. These apps use OAuth access tokens issued by Jira to give them access to restricted data on an external, OAuth-compliant web application or website (also known as a "consumer").
- Select Your profile and settings () > Personal settings
- Choose Manage apps in the Connected apps section at the bottom of the page
Check out Allowing OAuth access for more information on when to issue or revoke OAuth access tokens.
