Bulk Create Users in Atlassian Cloud UI Using "User Invite"
Platform Notice: Cloud and Data Center - This article applies equally to both cloud and data center platforms.
Support for Server* products ended on February 15th 2024. If you are running a Server product, you can visit the Atlassian Server end of support announcement to review your migration options.
*Except Fisheye and Crucible
Summary
This article provides a step-by-step guide on using the user invite feature in the Cloud UI to create bulk users and assign them to specific groups and product roles on the Atlassian cloud.
Solution
Creating, assigning roles, and adding to groups using user invites
To create users in bulk using Atlassian Cloud UI, follow the steps below:
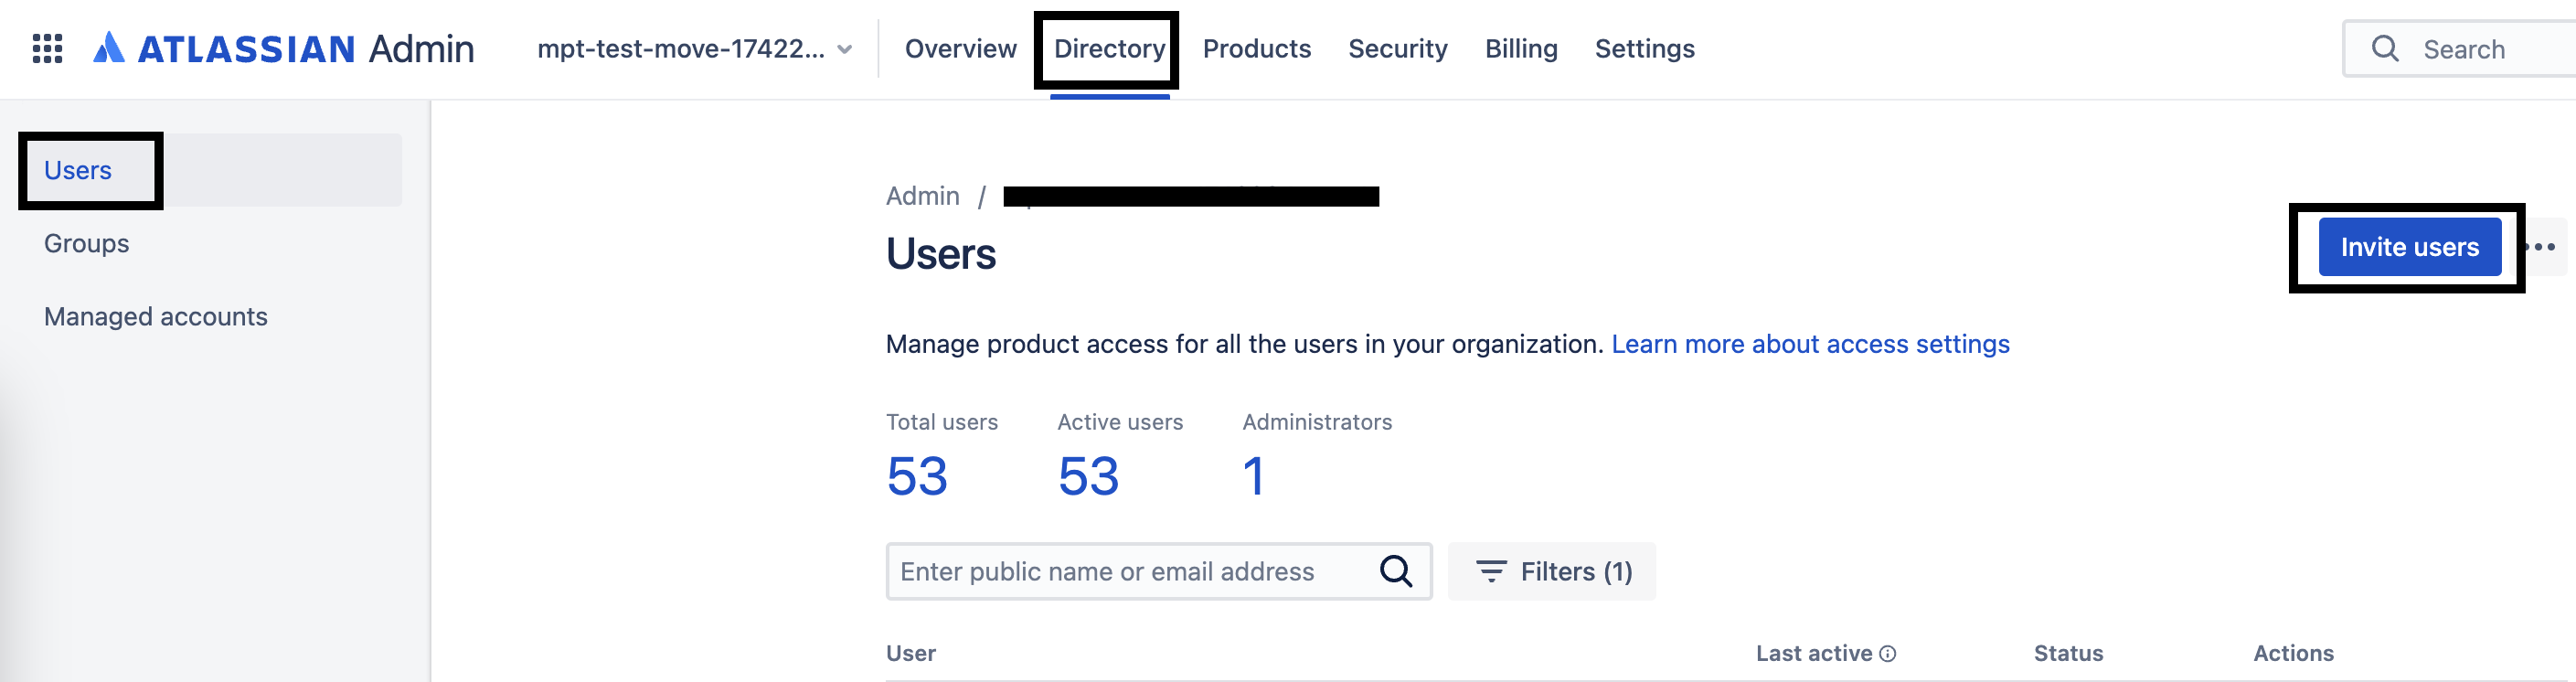
Go to your site's Admin at admin.atlassian.com. If you're an admin for multiple sites or an organization admin, click the site's name and URL to open the Admin for that site.
Click on Invite users from the Users list page.
Invite User Button
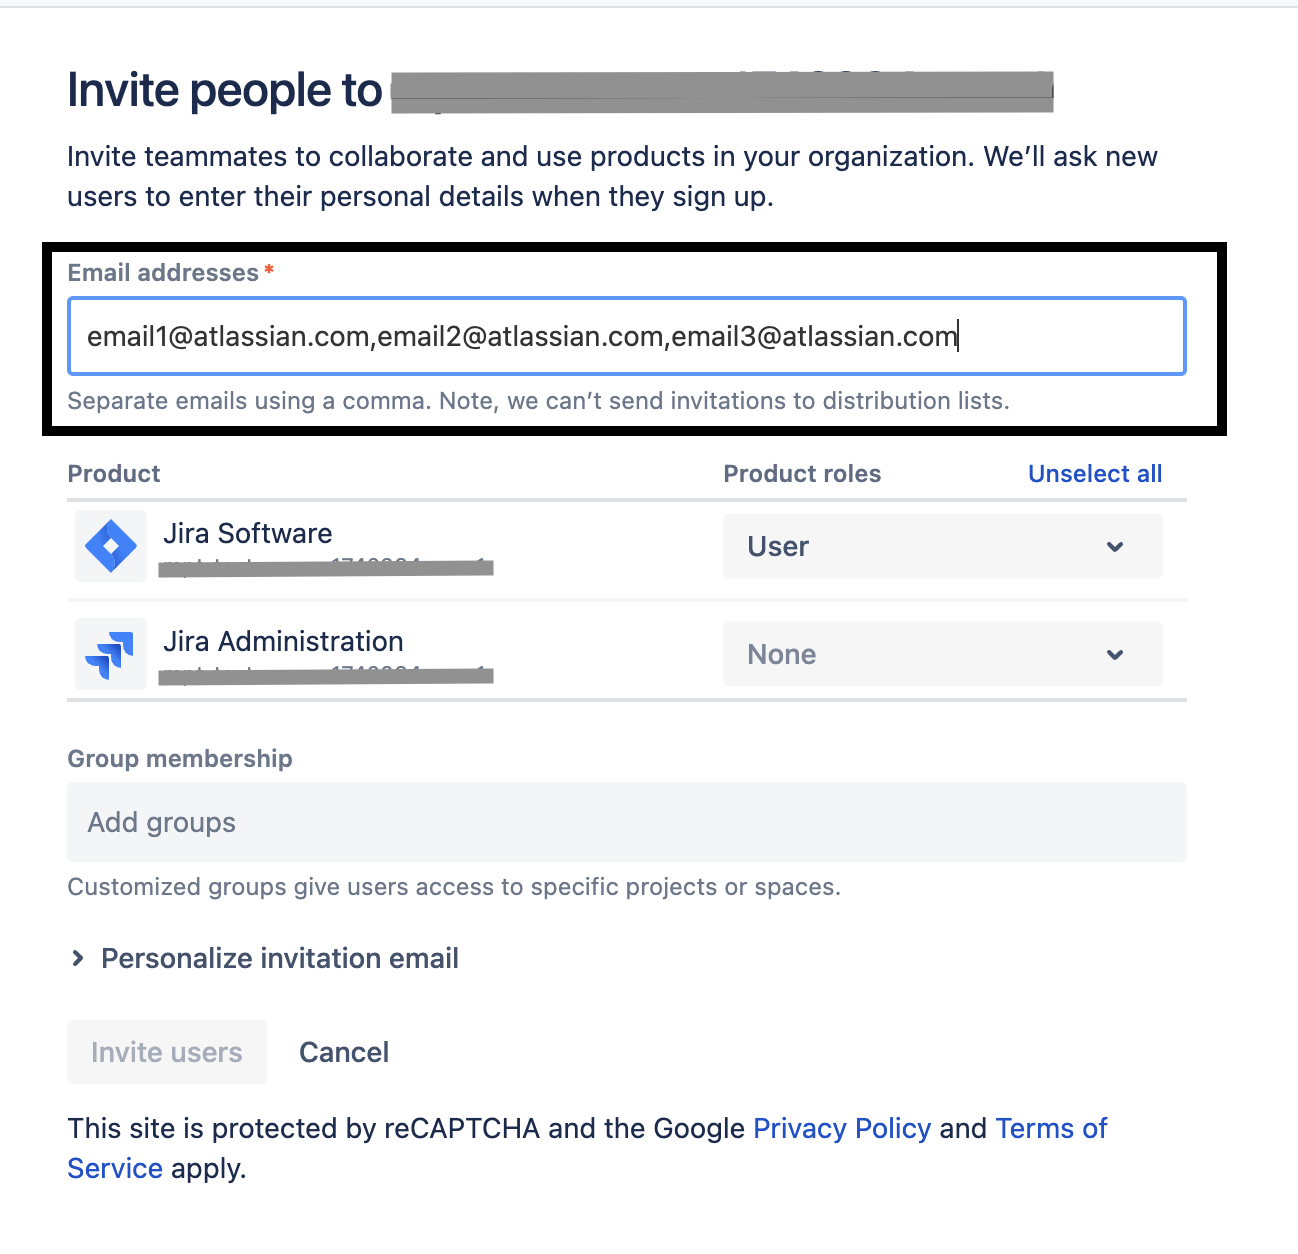
Input the email addresses into the Email addresses field. For sending invites to multiple users, add each email address separated by a comma or space.
Invite Bulk Users
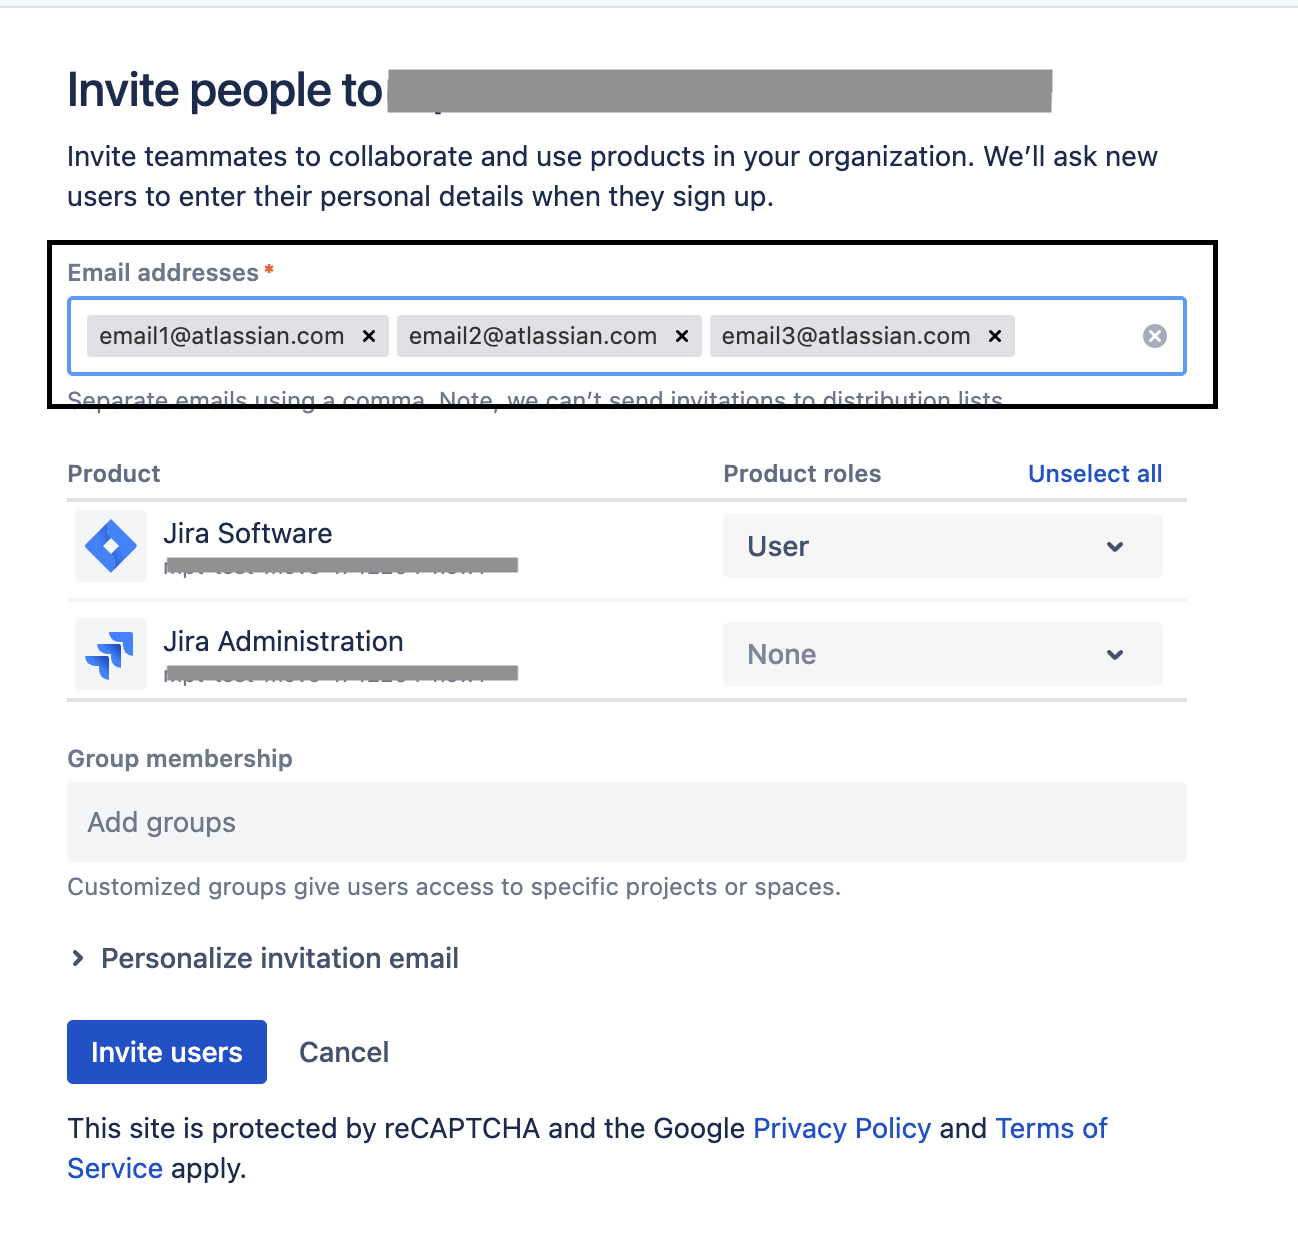
After adding all email addresses, click outside of the Email address field; they will then turn into lozenges.
User will turn into lozenges
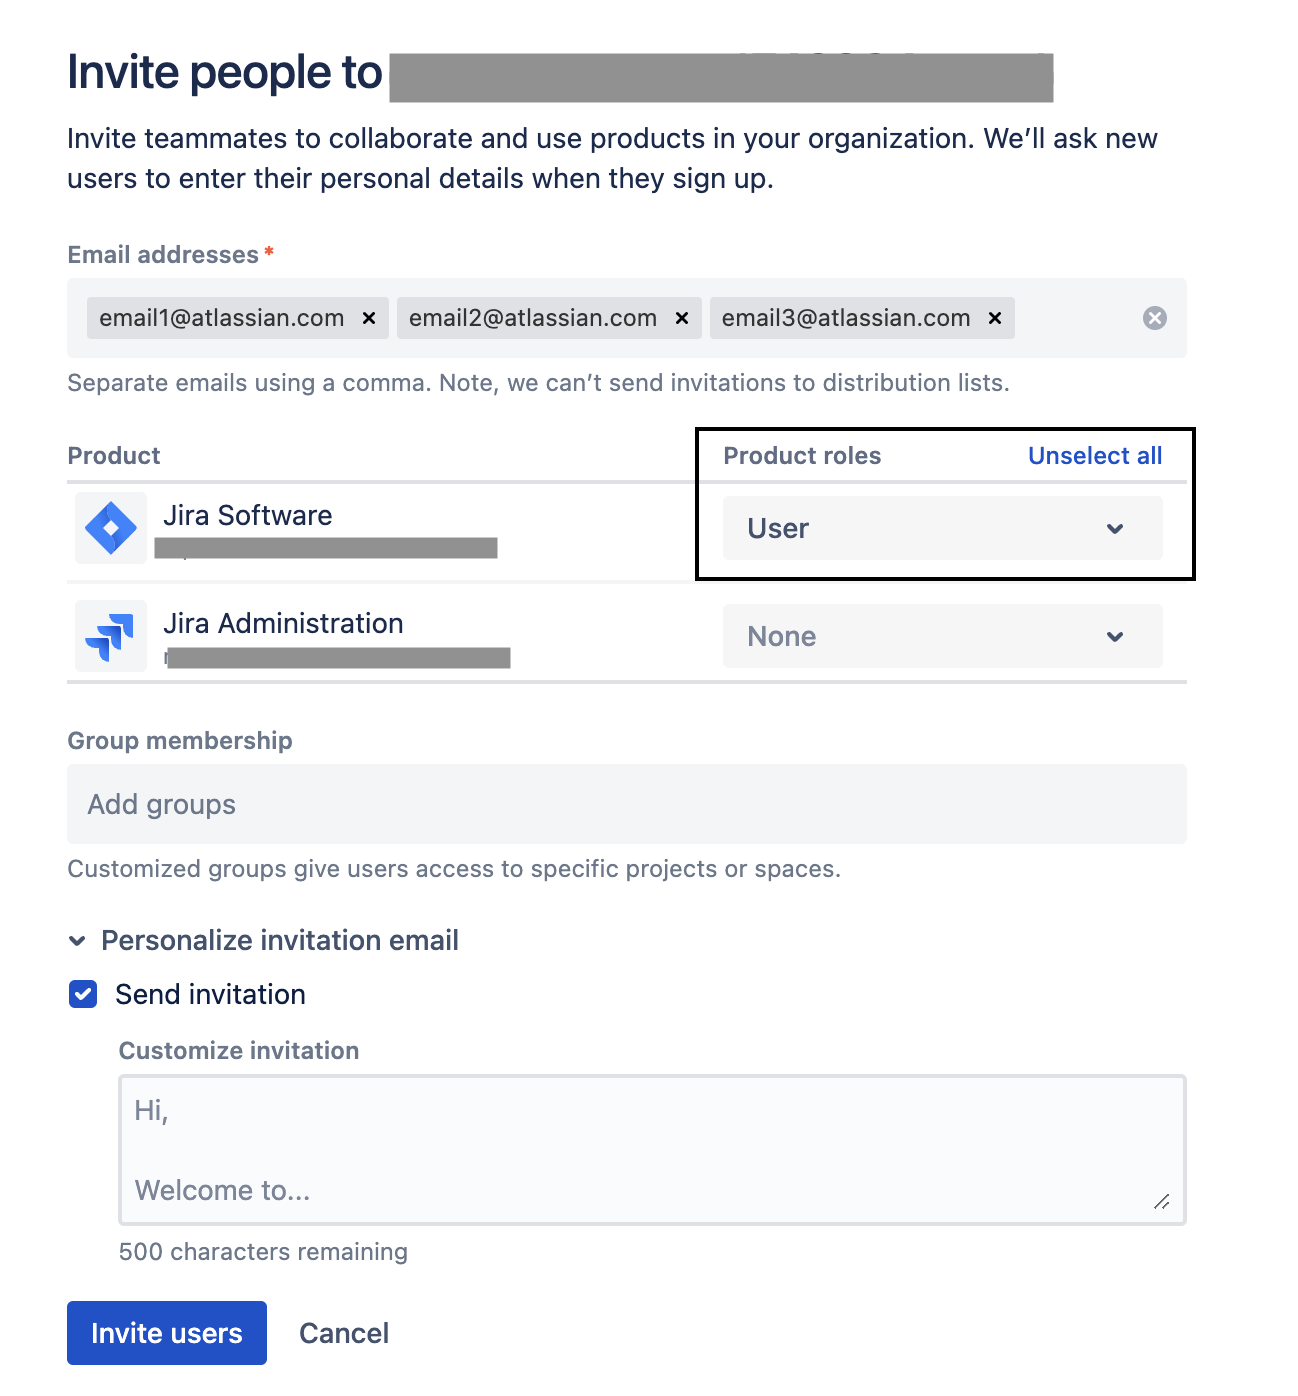
If you need to grant users access to multiple products and assign them product admin roles then select from the Product roles dropdown for a particular Product, where you can choose or unselect product roles.
Adding Product Role
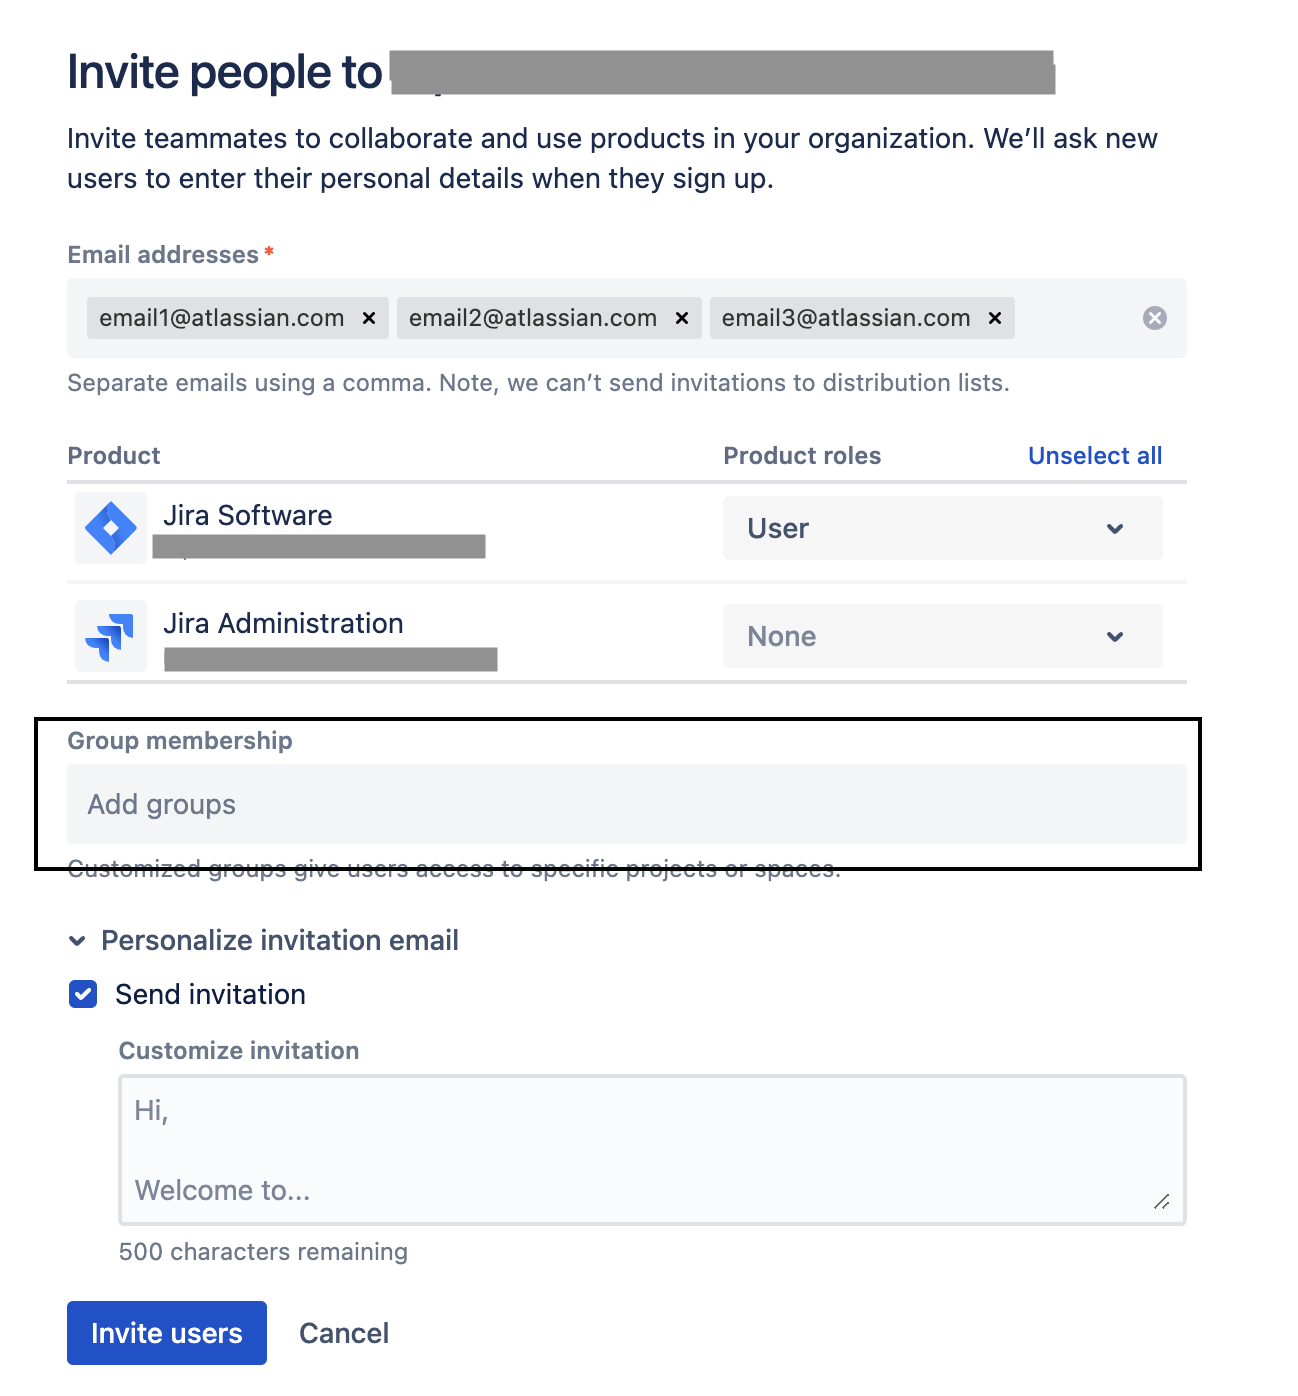
If you need to add them to any specific group, click on the Group membership field which will list all available groups under the organization. Then select the required groups.
Add to Specific group
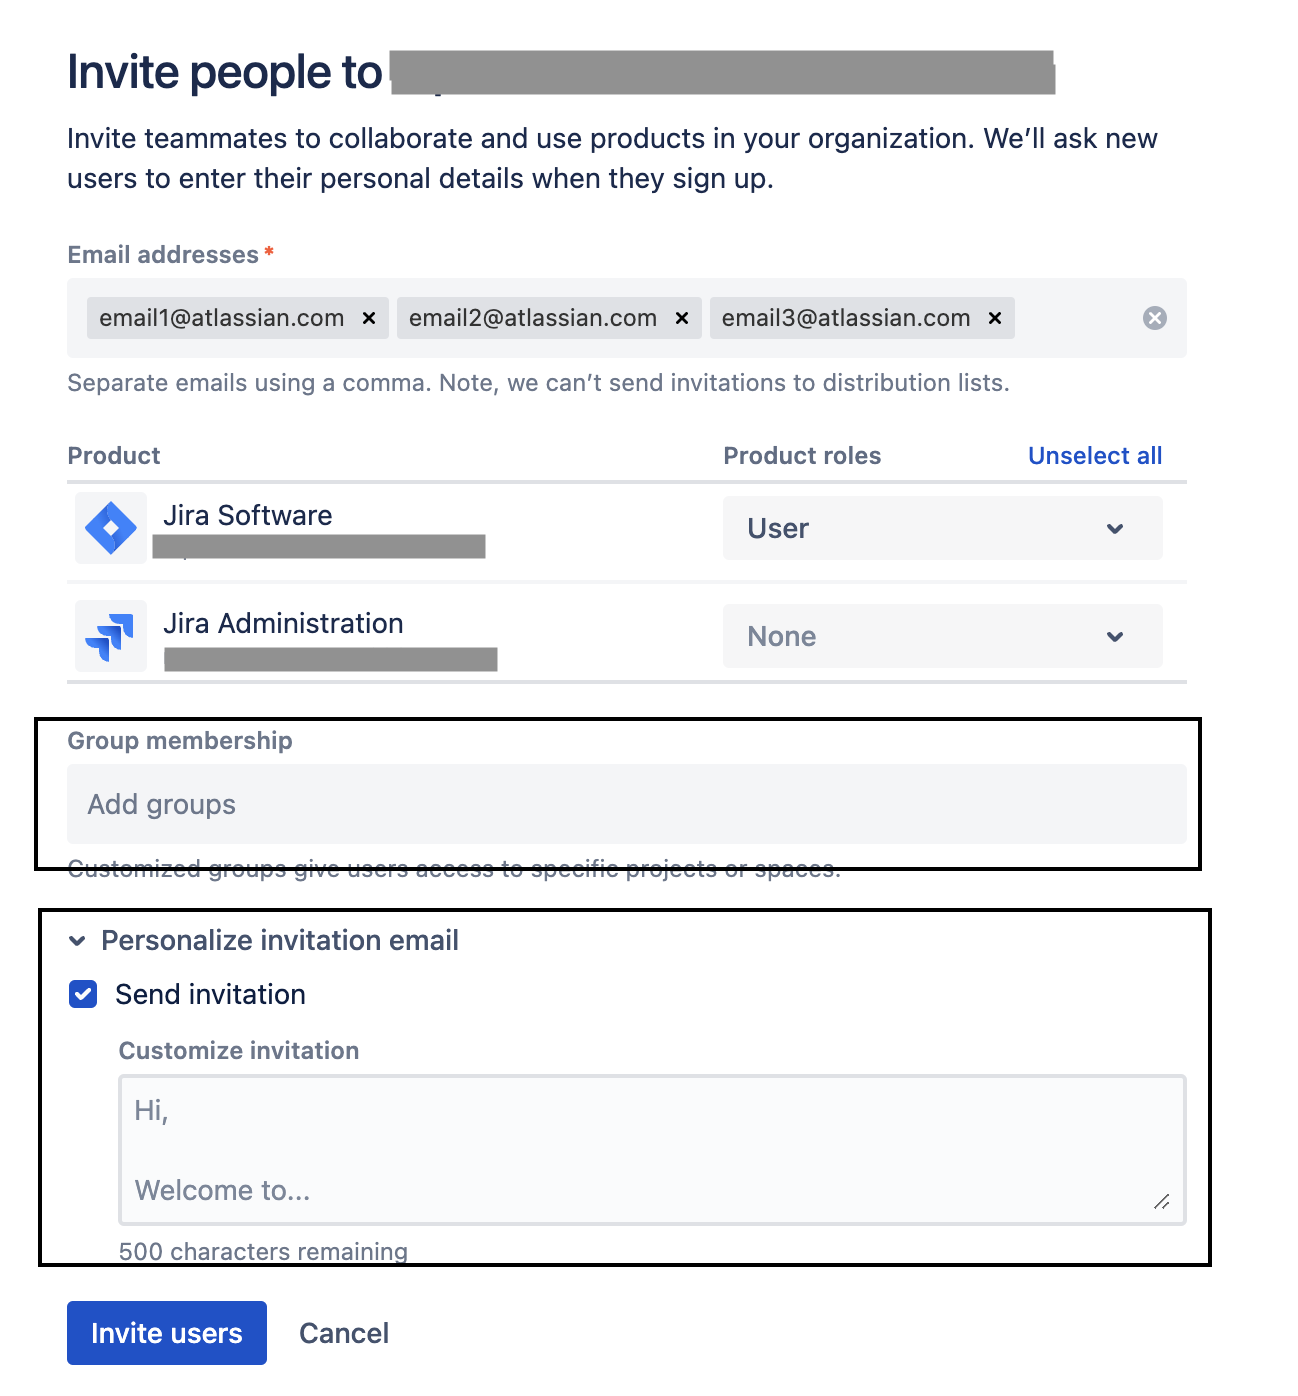
Finally, if there is a need to send any particular invitation email, make use of the section called Personalize invitation email field section
Personalise Invitation
Once all necessary details are included/selected, click on Invite users
This action will create all users in an invited status
Once the end-user joins the cloud site using the link in the invitation email, the status will change to Active.
Related links for extra reading:
Create, edit, and delete users
Was this helpful?