Using Git in Custom Actions
Platform Notice: Data Center Only - This article only applies to Atlassian apps on the Data Center platform.
Note that this KB was created for the Data Center version of the product. Data Center KBs for non-Data-Center-specific features may also work for Server versions of the product, however they have not been tested. Support for Server* products ended on February 15th 2024. If you are running a Server product, you can visit the Atlassian Server end of support announcement to review your migration options.
*Except Fisheye and Crucible
Summary
This article should help users to use Git via the Custom Actions feature.
Solution
Let us try to perform a simple "git add" and "git commit" operations using Custom Actions. Here's how to do it:
This page:
Step 1: Locate the Custom Actions window
For Windows, the Custom Actions configuration is located in Tools > Options > Custom Actions.
For Mac, the Custom Actions configuration is located in Preferences > Custom Actions.
Step 2: Add and Configure the Custom Actions
Once the Custom Actions window is opened, click on Add:
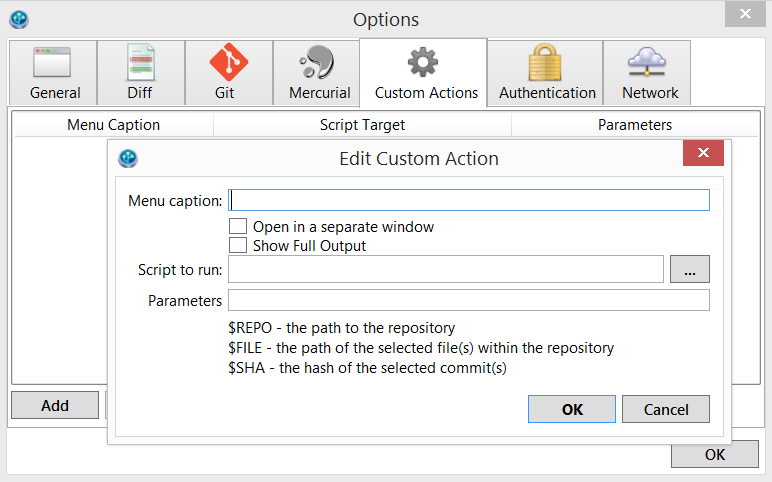
Fill in the necessary details and click OK.
Here an example on how "git add" and "git commit" operations can be configured in the Custom Actions window:
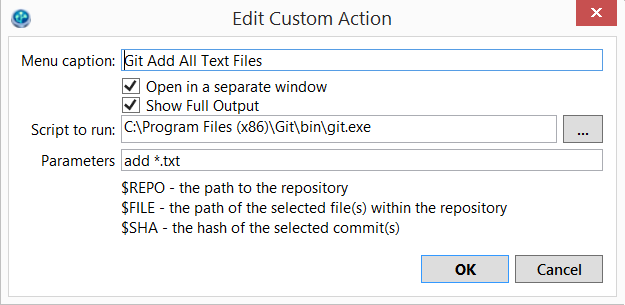
^ This custom action will add all .txt files that are unstaged.
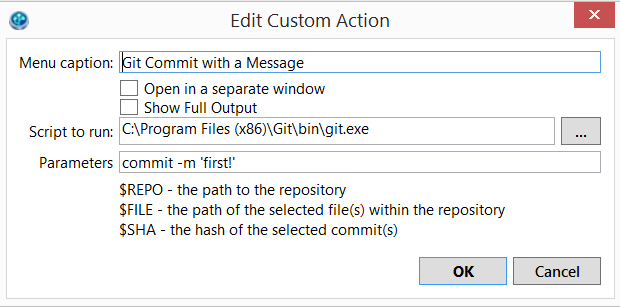
^ This custom action will commit files that were staged with a message saying "first!"
It's totally up to the users' preference to open the action in a separate window and if the user wants to see the output in full.
Users can configure the Script to run with either Embedded Git or System Git. The examples above uses System Git.
If users are looking for the path for SourceTree for Windows' Embedded Git:
C:\Users\User\AppData\Local\Atlassian\SourceTree\git_local\bin\git.exe

or

%USERPROFILE%\AppData\Local\Atlassian\SourceTree\git_local\bin
Step 3: Running the Custom Actions
To run the custom actions, simply open up Actions > Custom Actions > Select your custom actions:

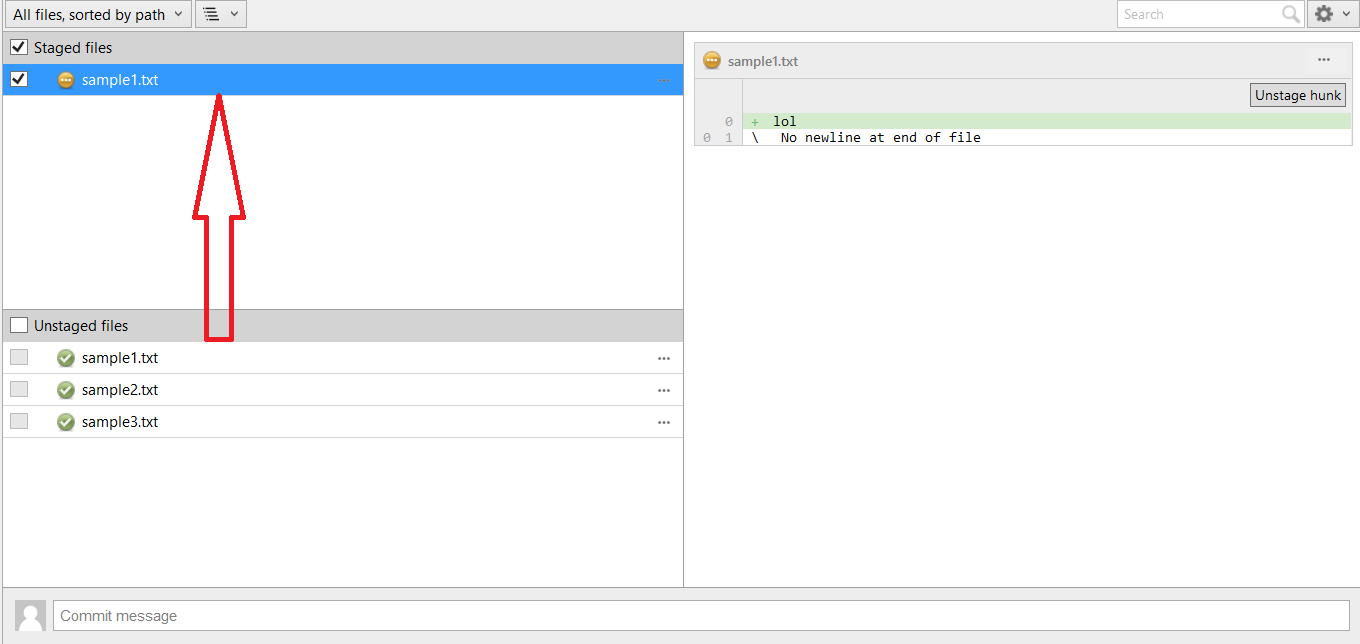
Consider the state of the files in this repository - There's one .txt file waiting to be staged:
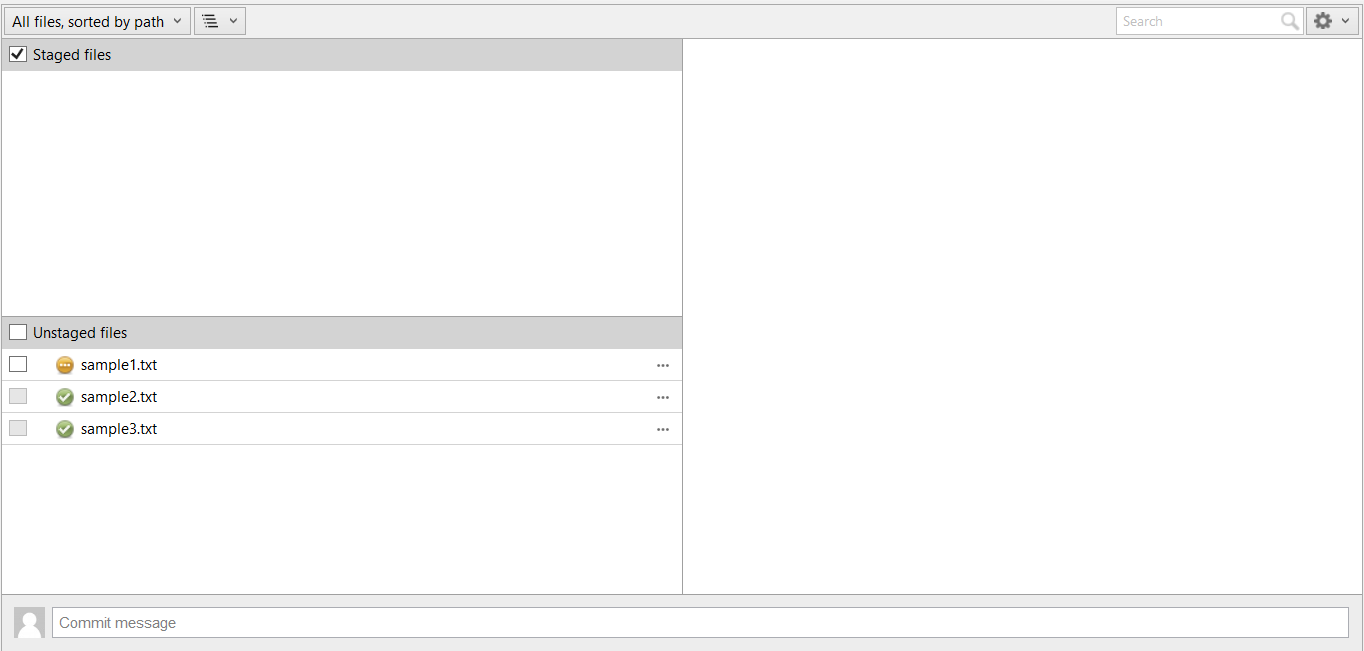
#1 To stage the .txt file, users can now run the first custom action that functions to add all text files.
Observe the output:
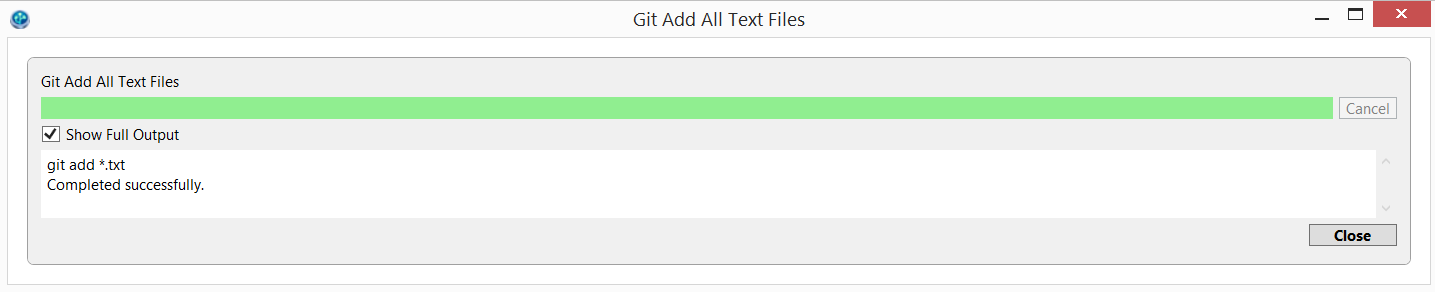
And observe the result - the file is now staged:
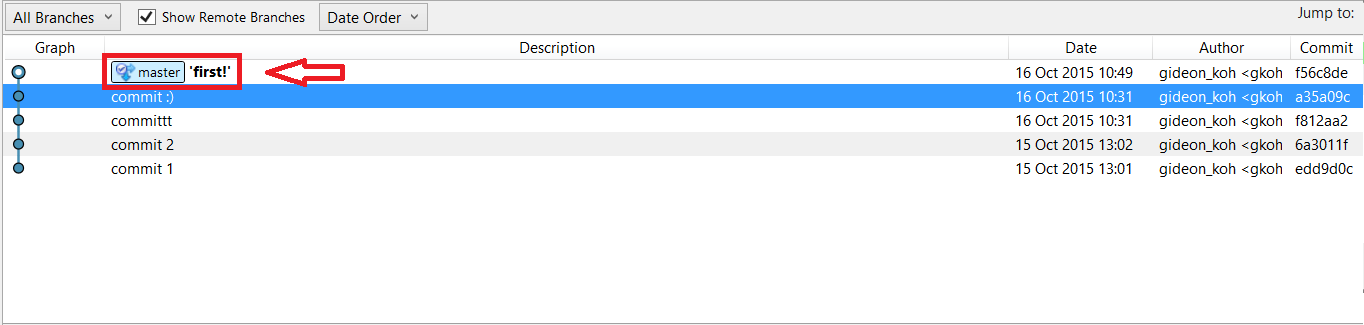
#2 To commit the staged files, users can now run the second custom action that functions to commit with a message saying "first!".
Observe the output:

And observe the result in the Log/History view - the file is officially committed with the message:
Was this helpful?