Branch Management
Platform Notice: Data Center Only - This article only applies to Atlassian apps on the Data Center platform.
Note that this KB was created for the Data Center version of the product. Data Center KBs for non-Data-Center-specific features may also work for Server versions of the product, however they have not been tested. Support for Server* products ended on February 15th 2024. If you are running a Server product, you can visit the Atlassian Server end of support announcement to review your migration options.
*Except Fisheye and Crucible
Summary
This article should help users to Create/Delete a branch, Checkout/Merge a branch, Track remote branch and use Git Flow.
Solution
This page:
Create Branch

Steps:
Click on the "Branch" button.
Under the "New Branch" tab, fill in the Branch name.
Click on "Create Branch".
Delete Branch
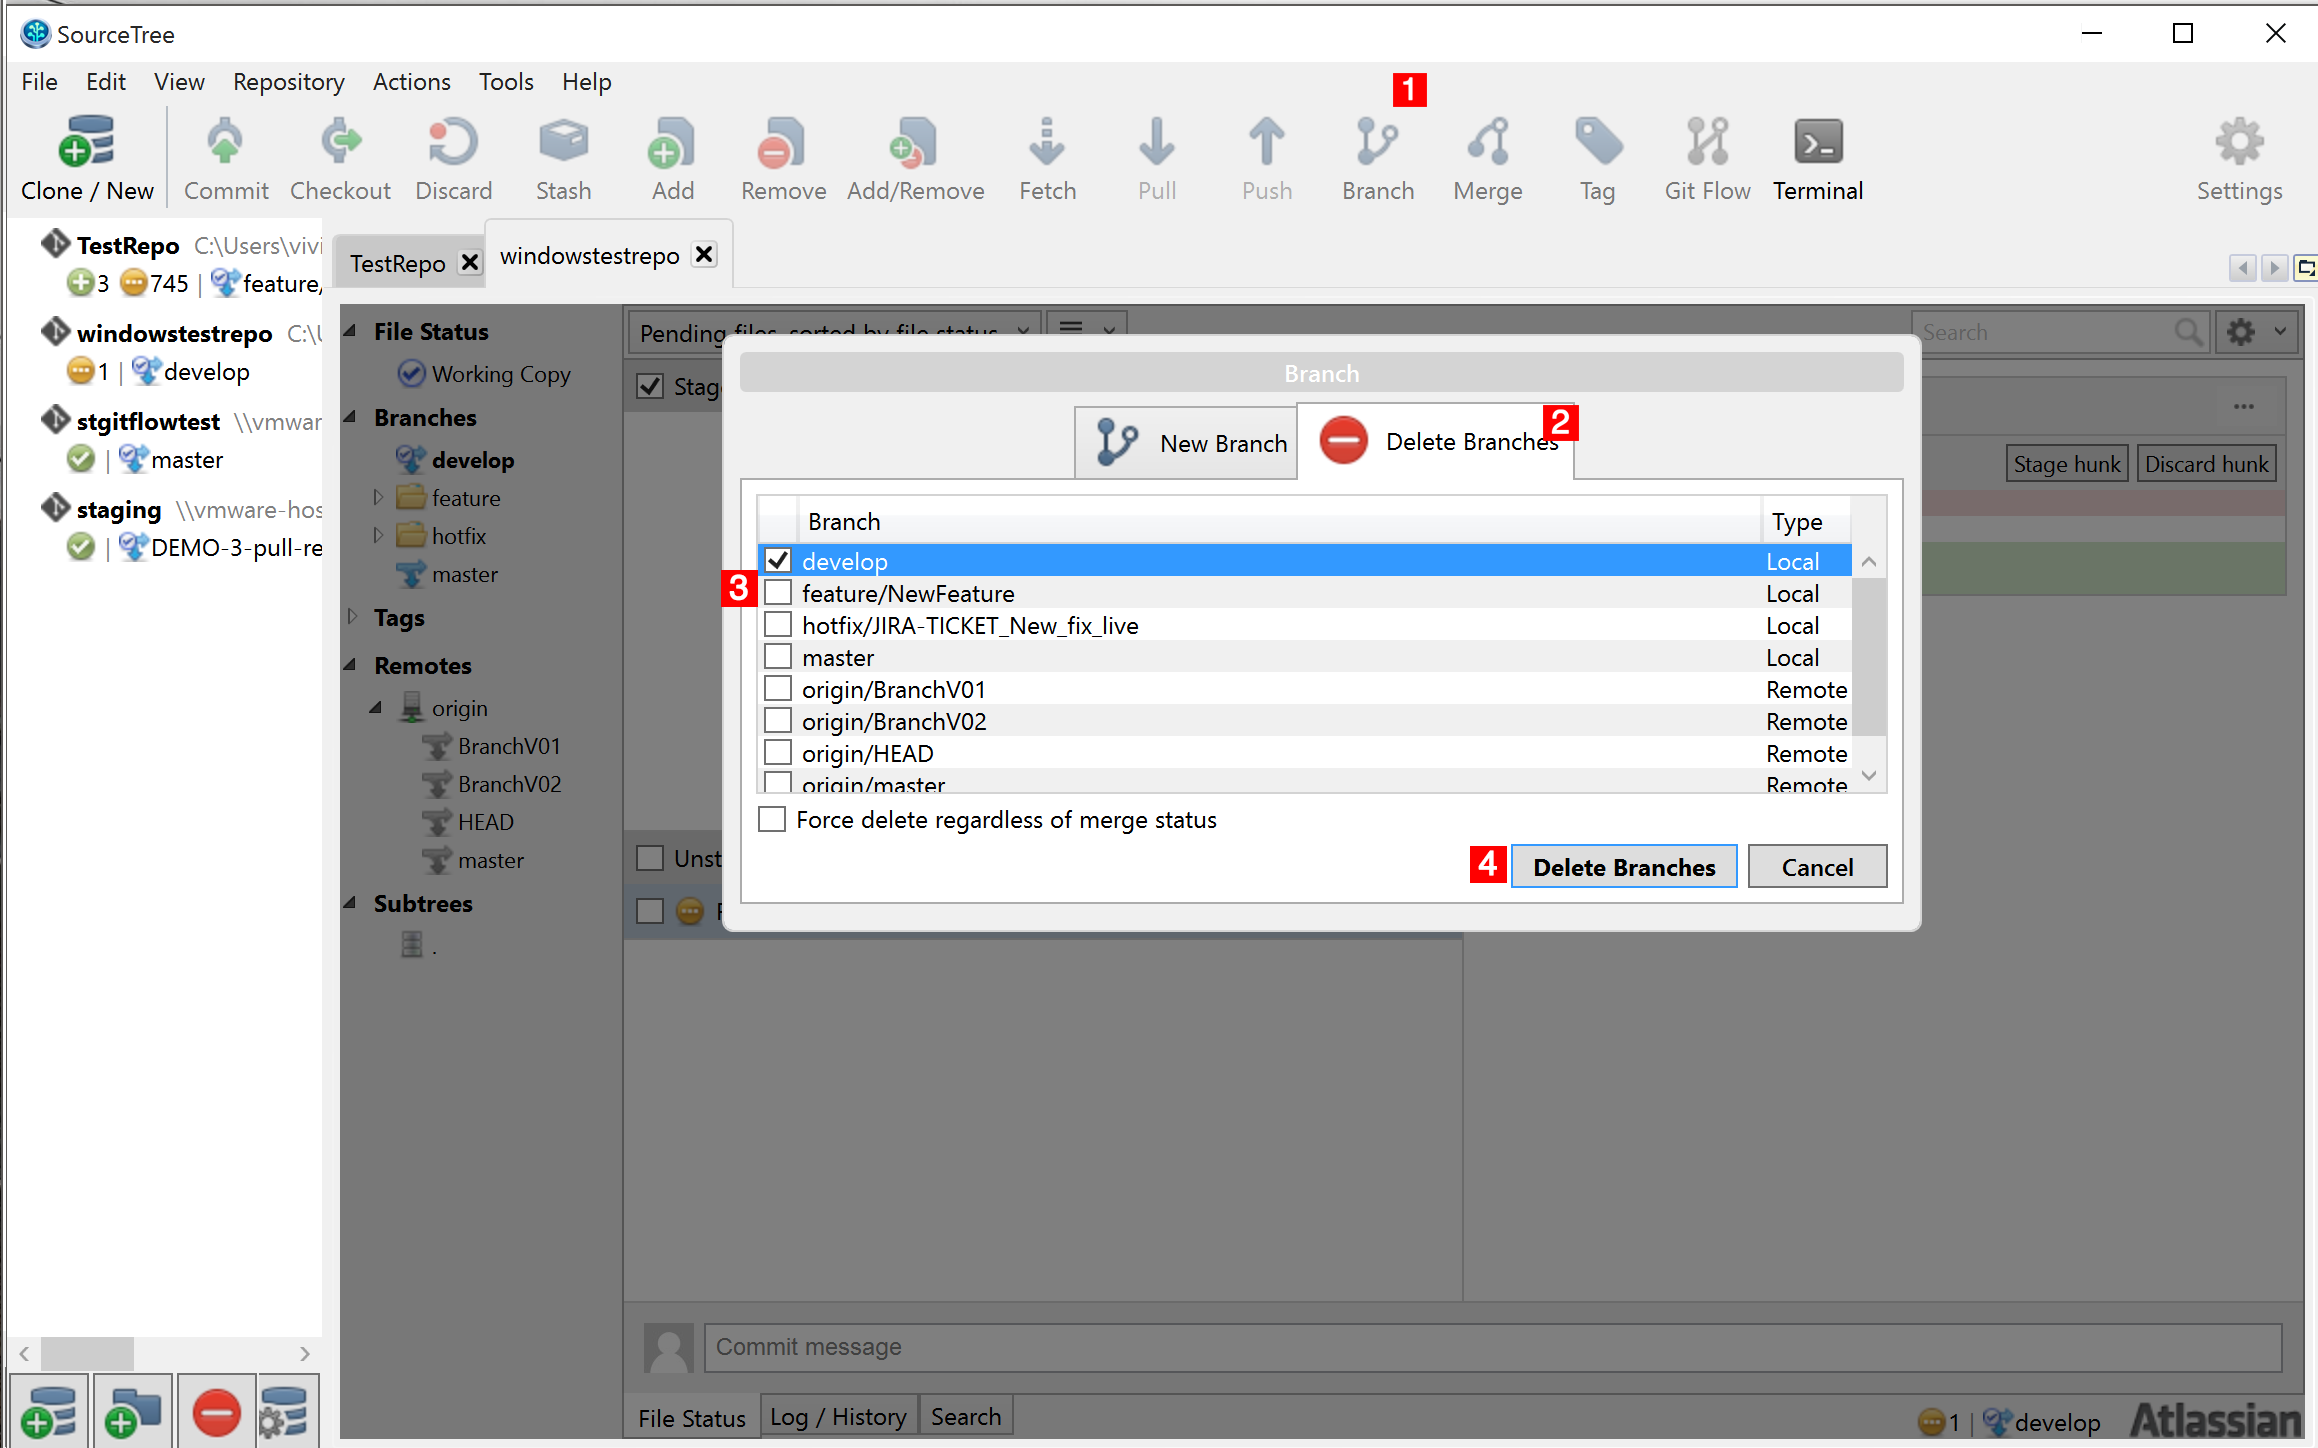
Steps:
Click on the "Branch" button.
Click on "Delete Branches" tab.
Check the branch or branches you intend to delete.
Click on "Delete Branches".
If the branch is merged, you may check "Force delete regardless of merge status" and then click on "Delete Branches".
Checkout a Branch
There are two methods to checkout a branch in SourceTree.
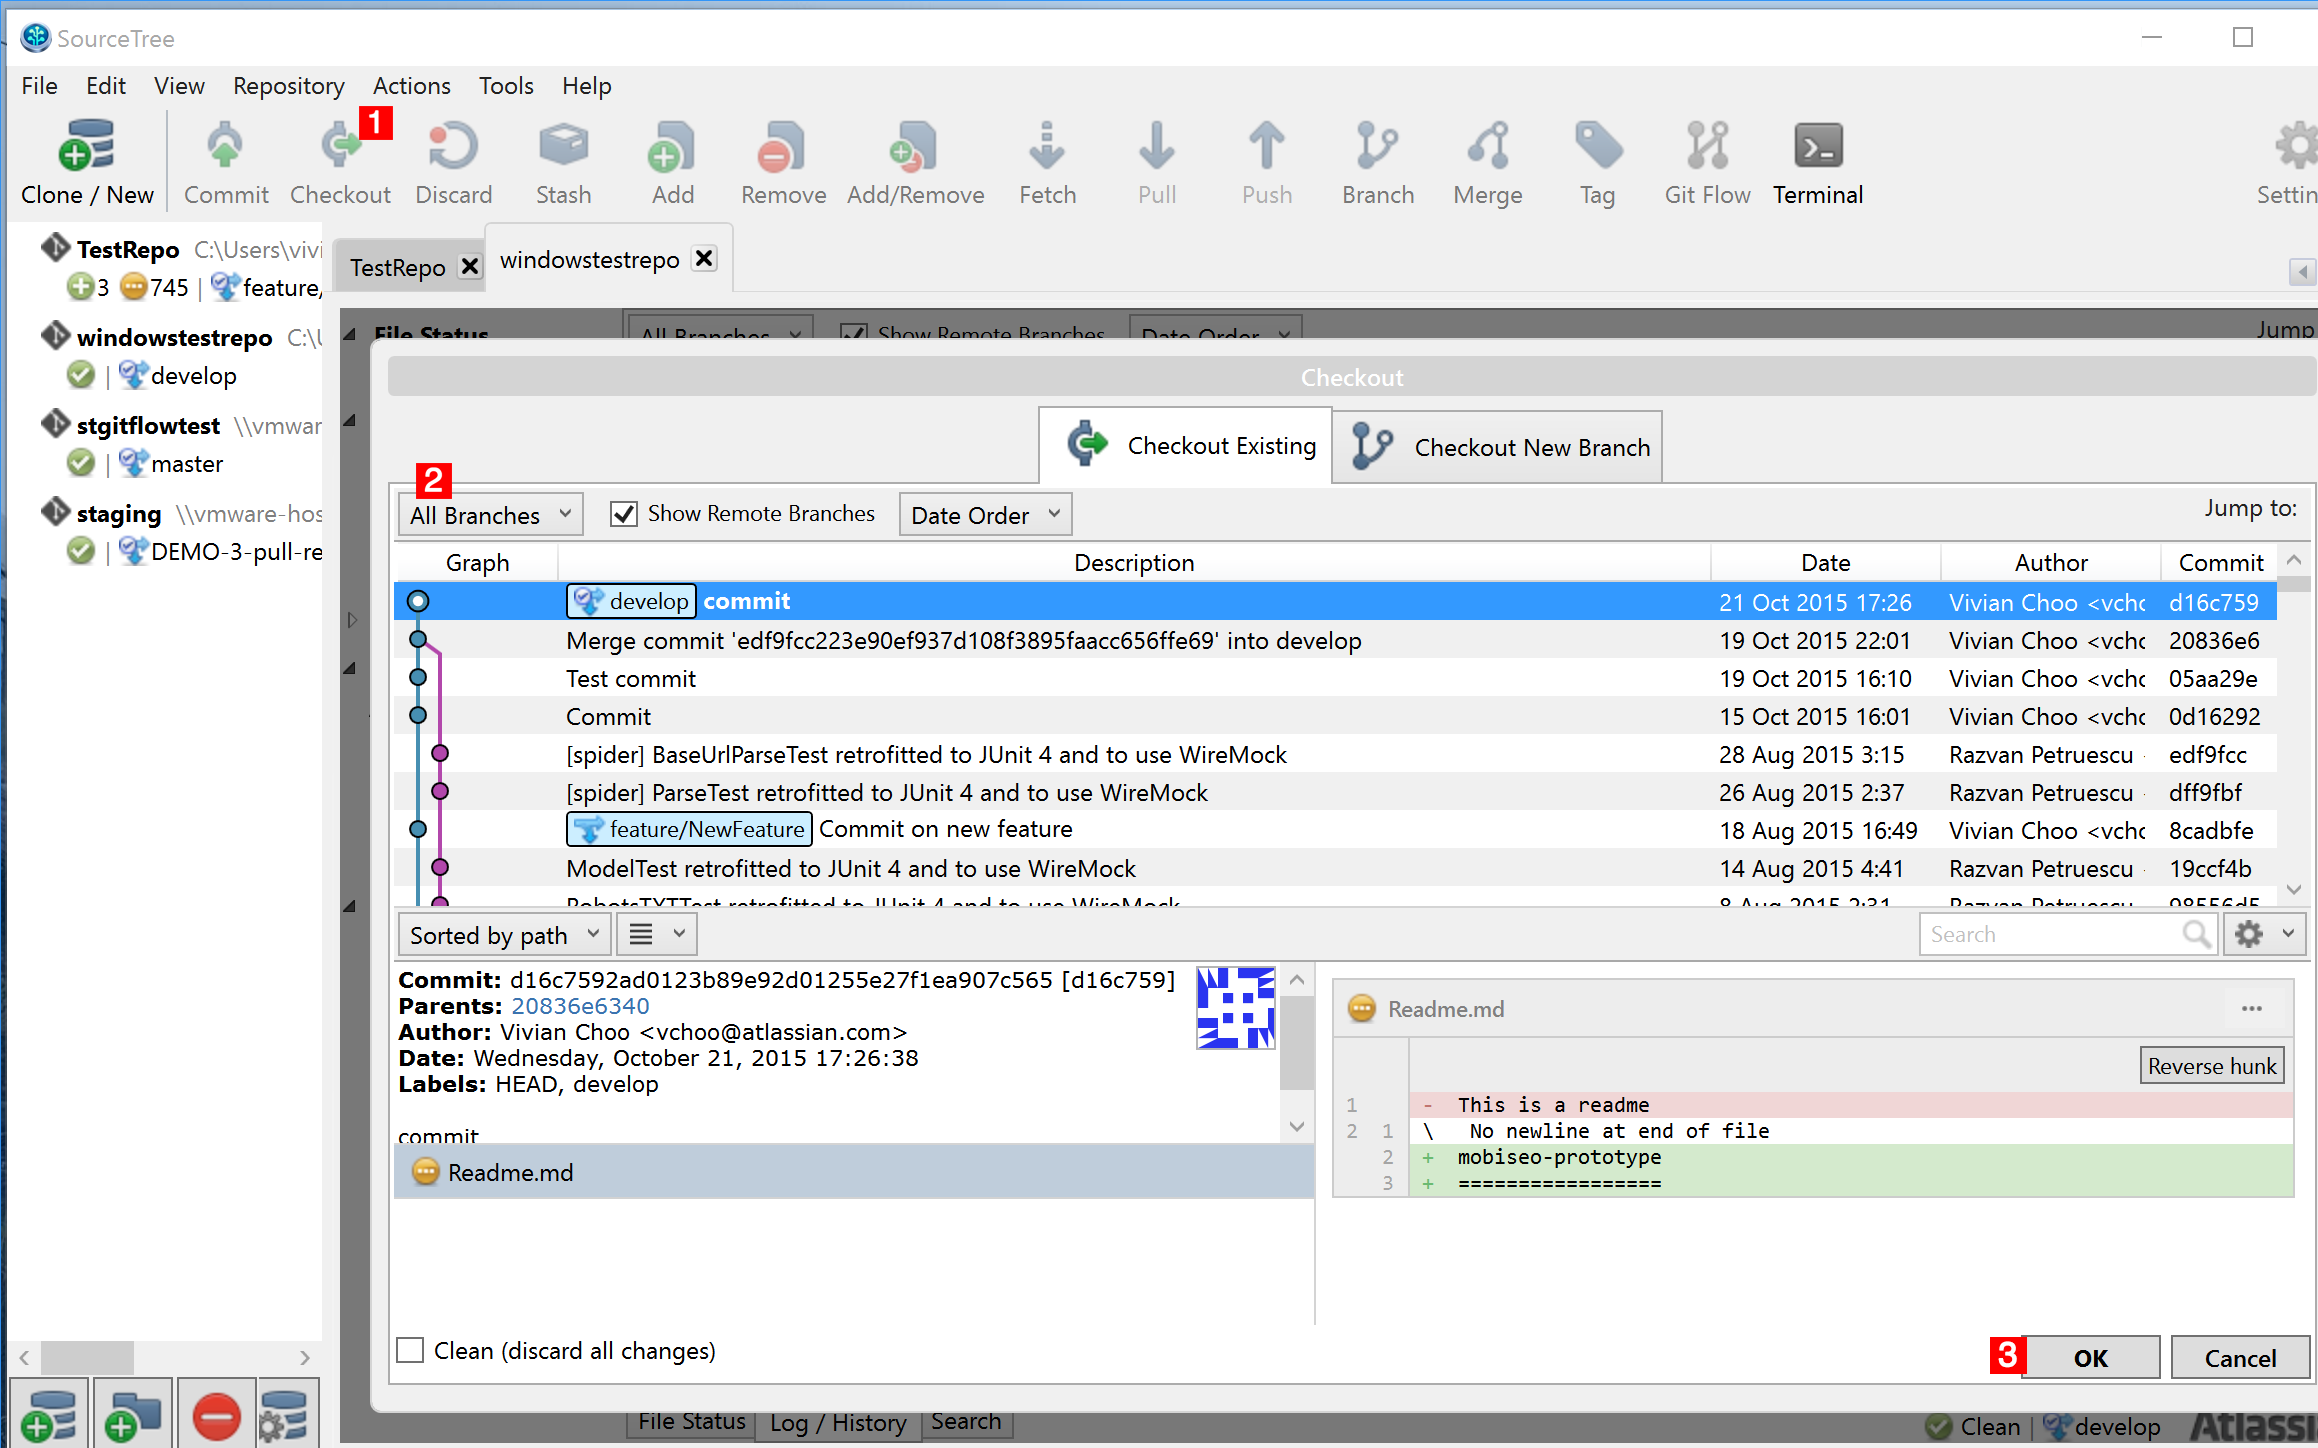
Method #1- Checking out a branch using the "Checkout" button.
Steps:
Click on the "Checkout" button.
Select the branch from the drop down menu.
Click on "OK".
Method #2- Checking out by double clicking on the Branch.
Steps:
Double click on the branch you want to checkout.
Merge a Branch
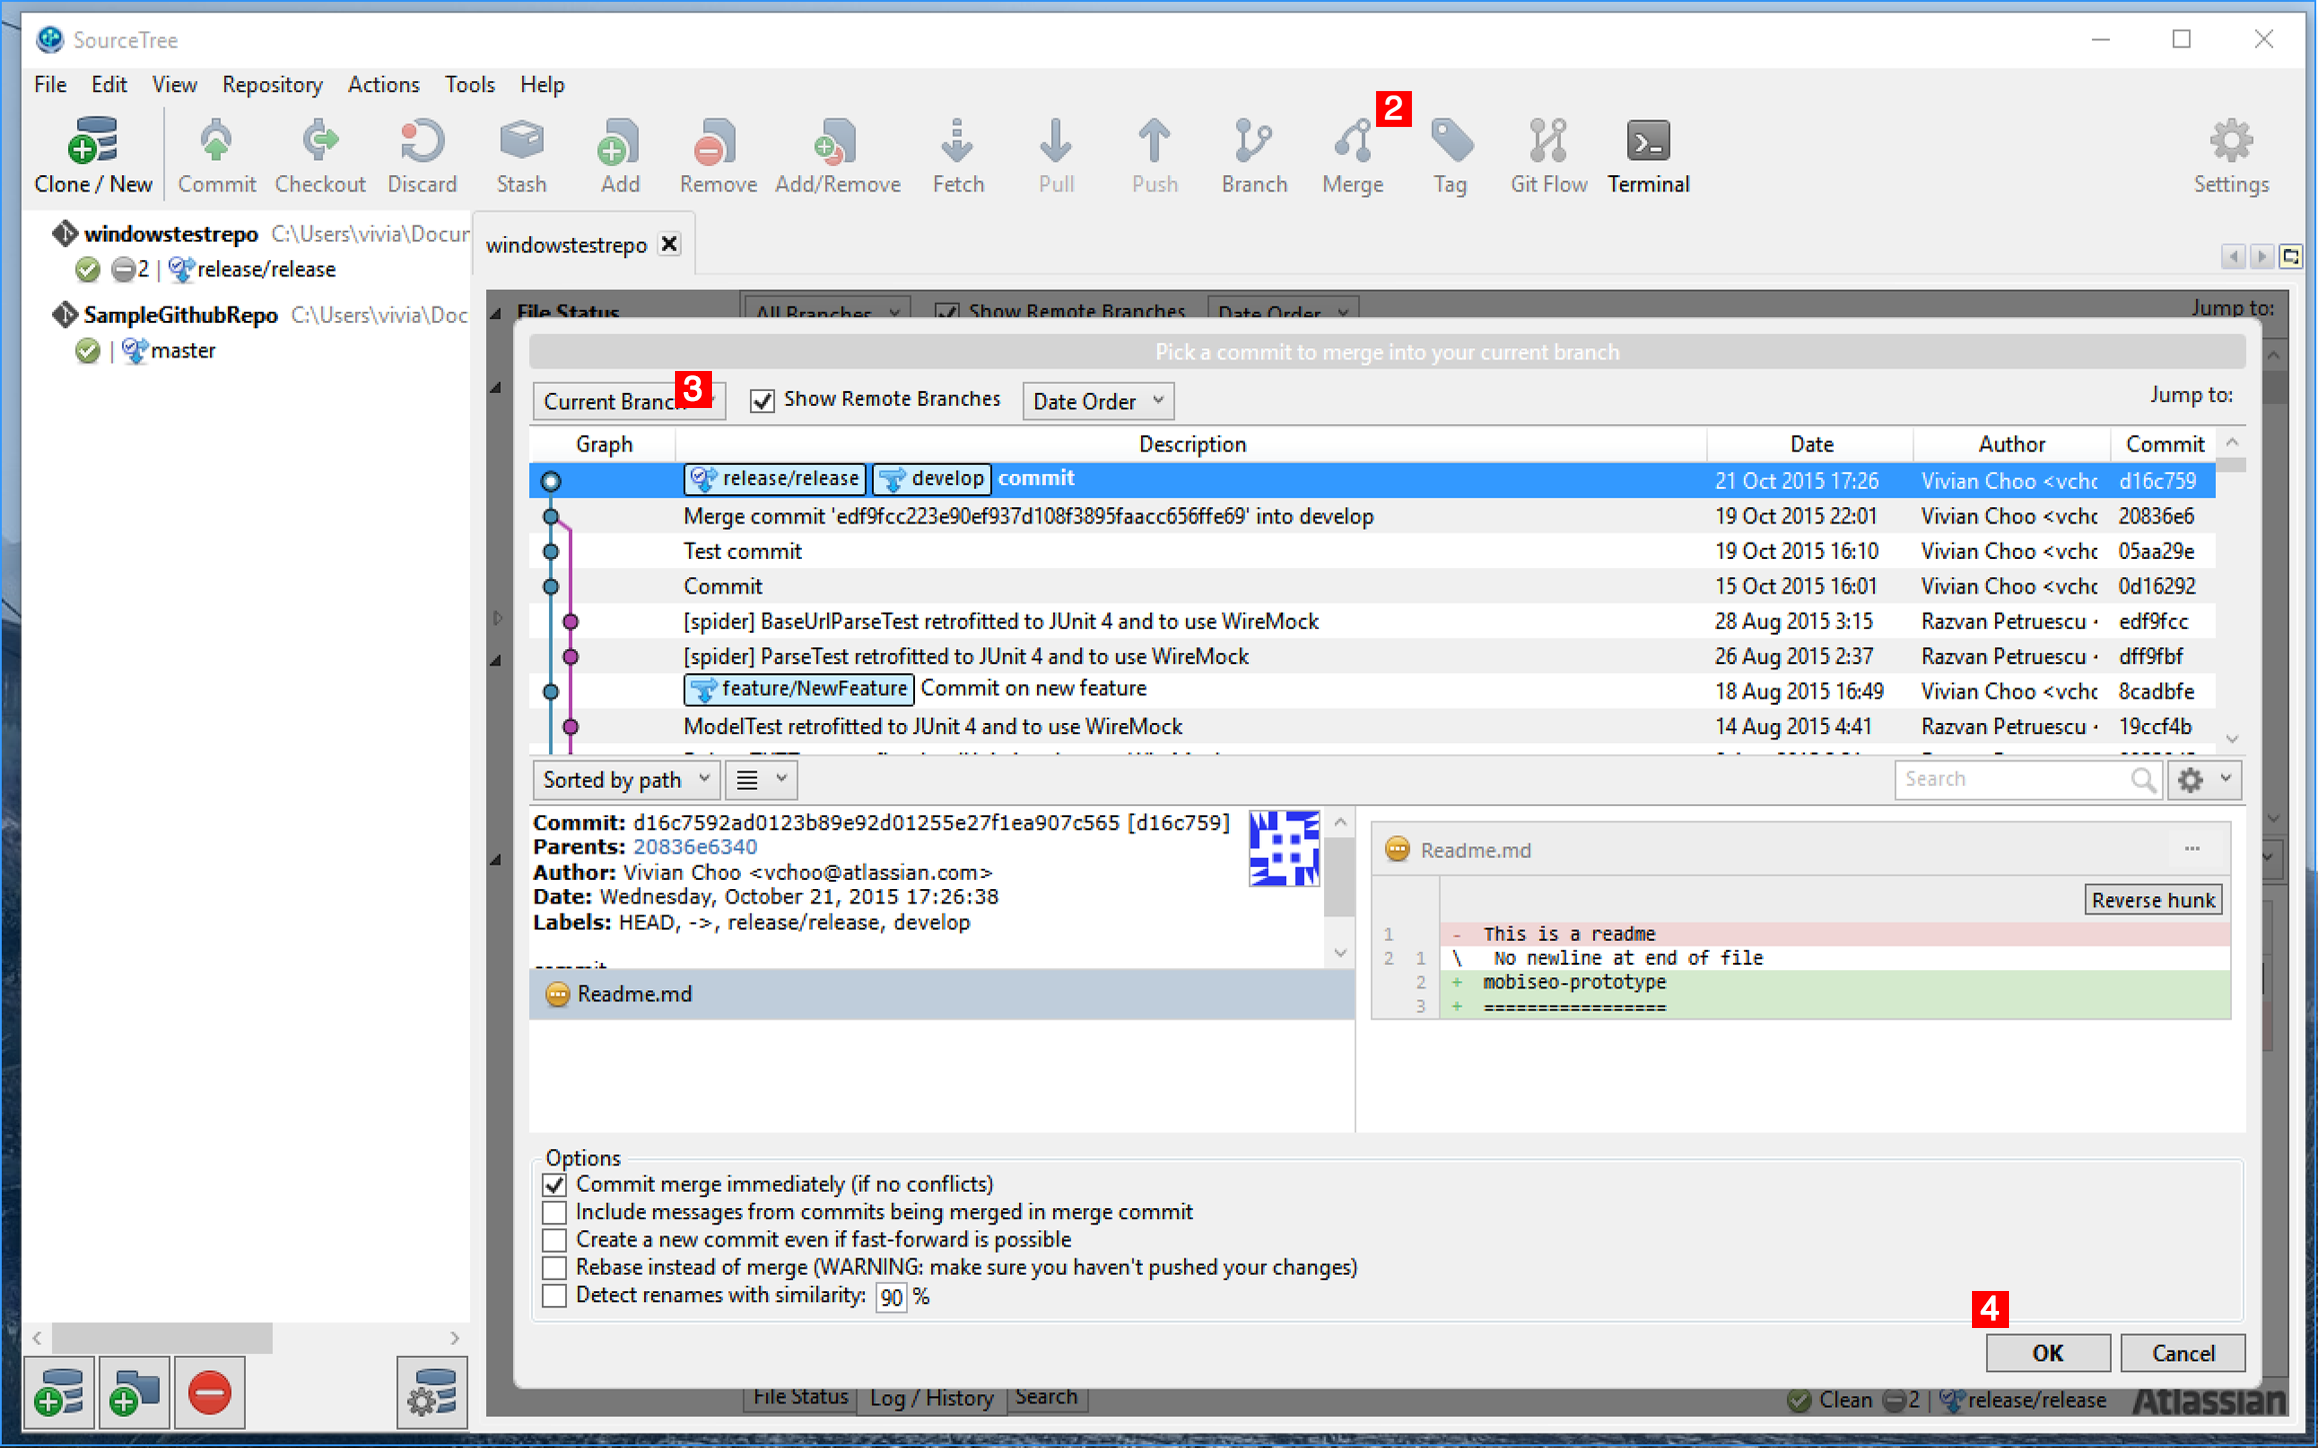
Steps:
Make sure you check the branch you intend to merge another branch to.
Click on the "Merge" button.
Select the branch from the drop down menu.
Click on "OK".
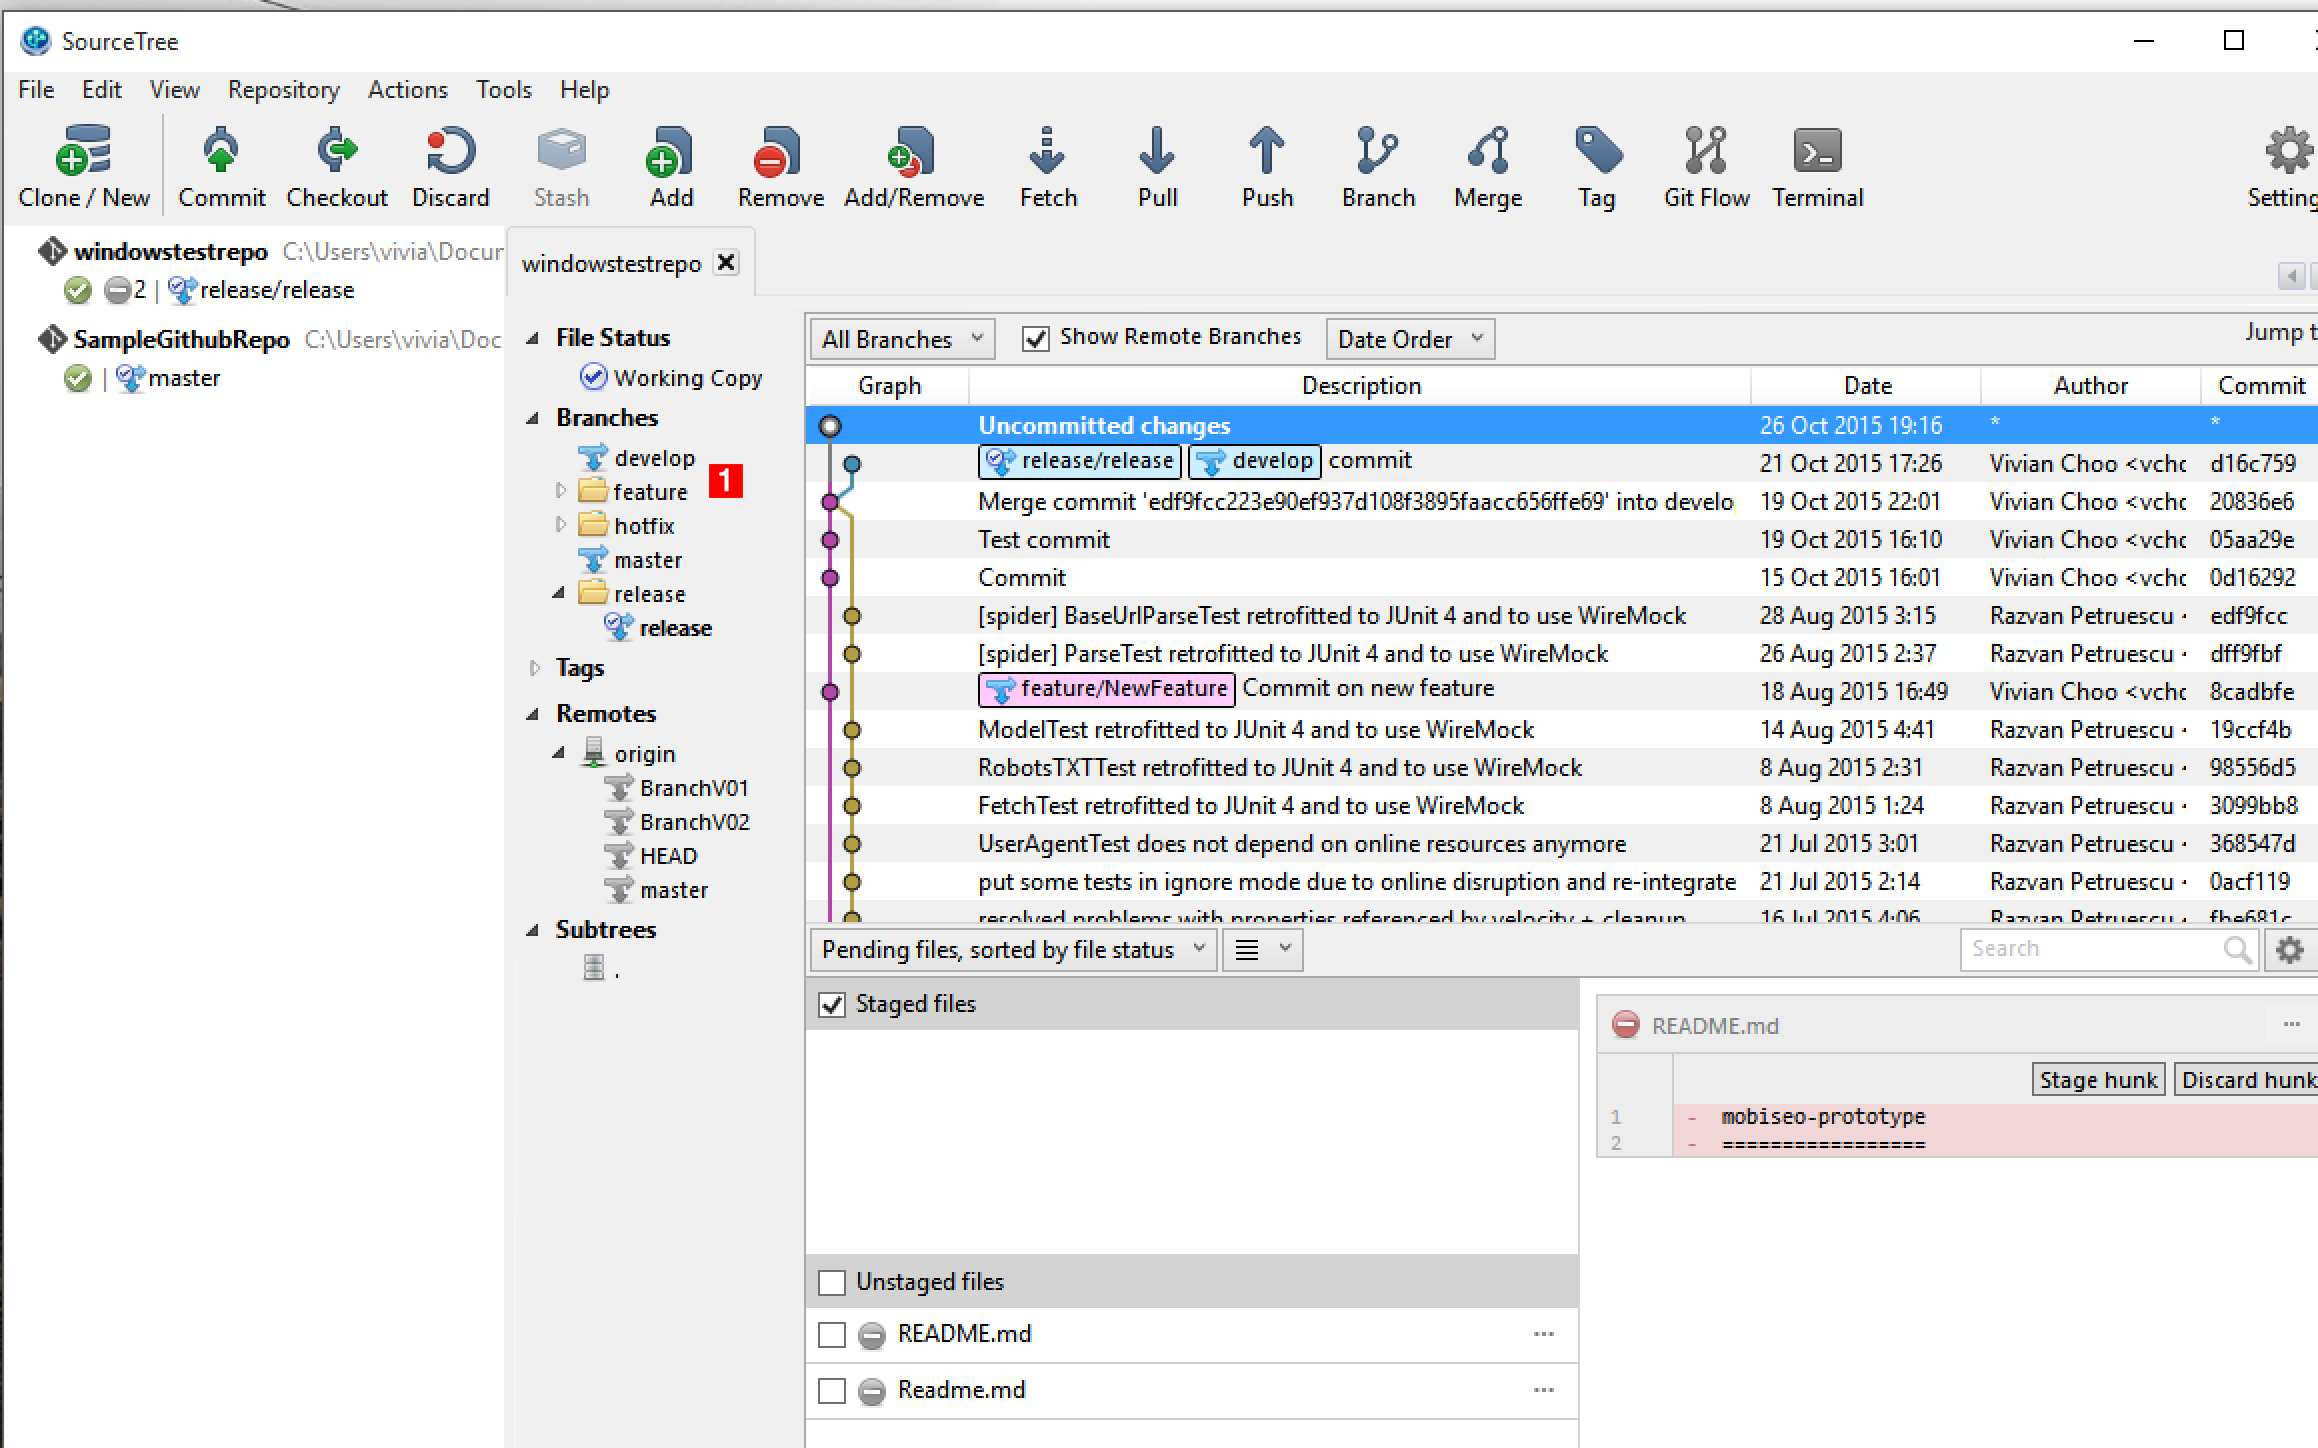
Tracking a remote Branch
Steps:
Right-click on a local branch.
Click on "Track remote branch".
Click on the branch you want to track.
Using Git Flow
Initialise Git Flow
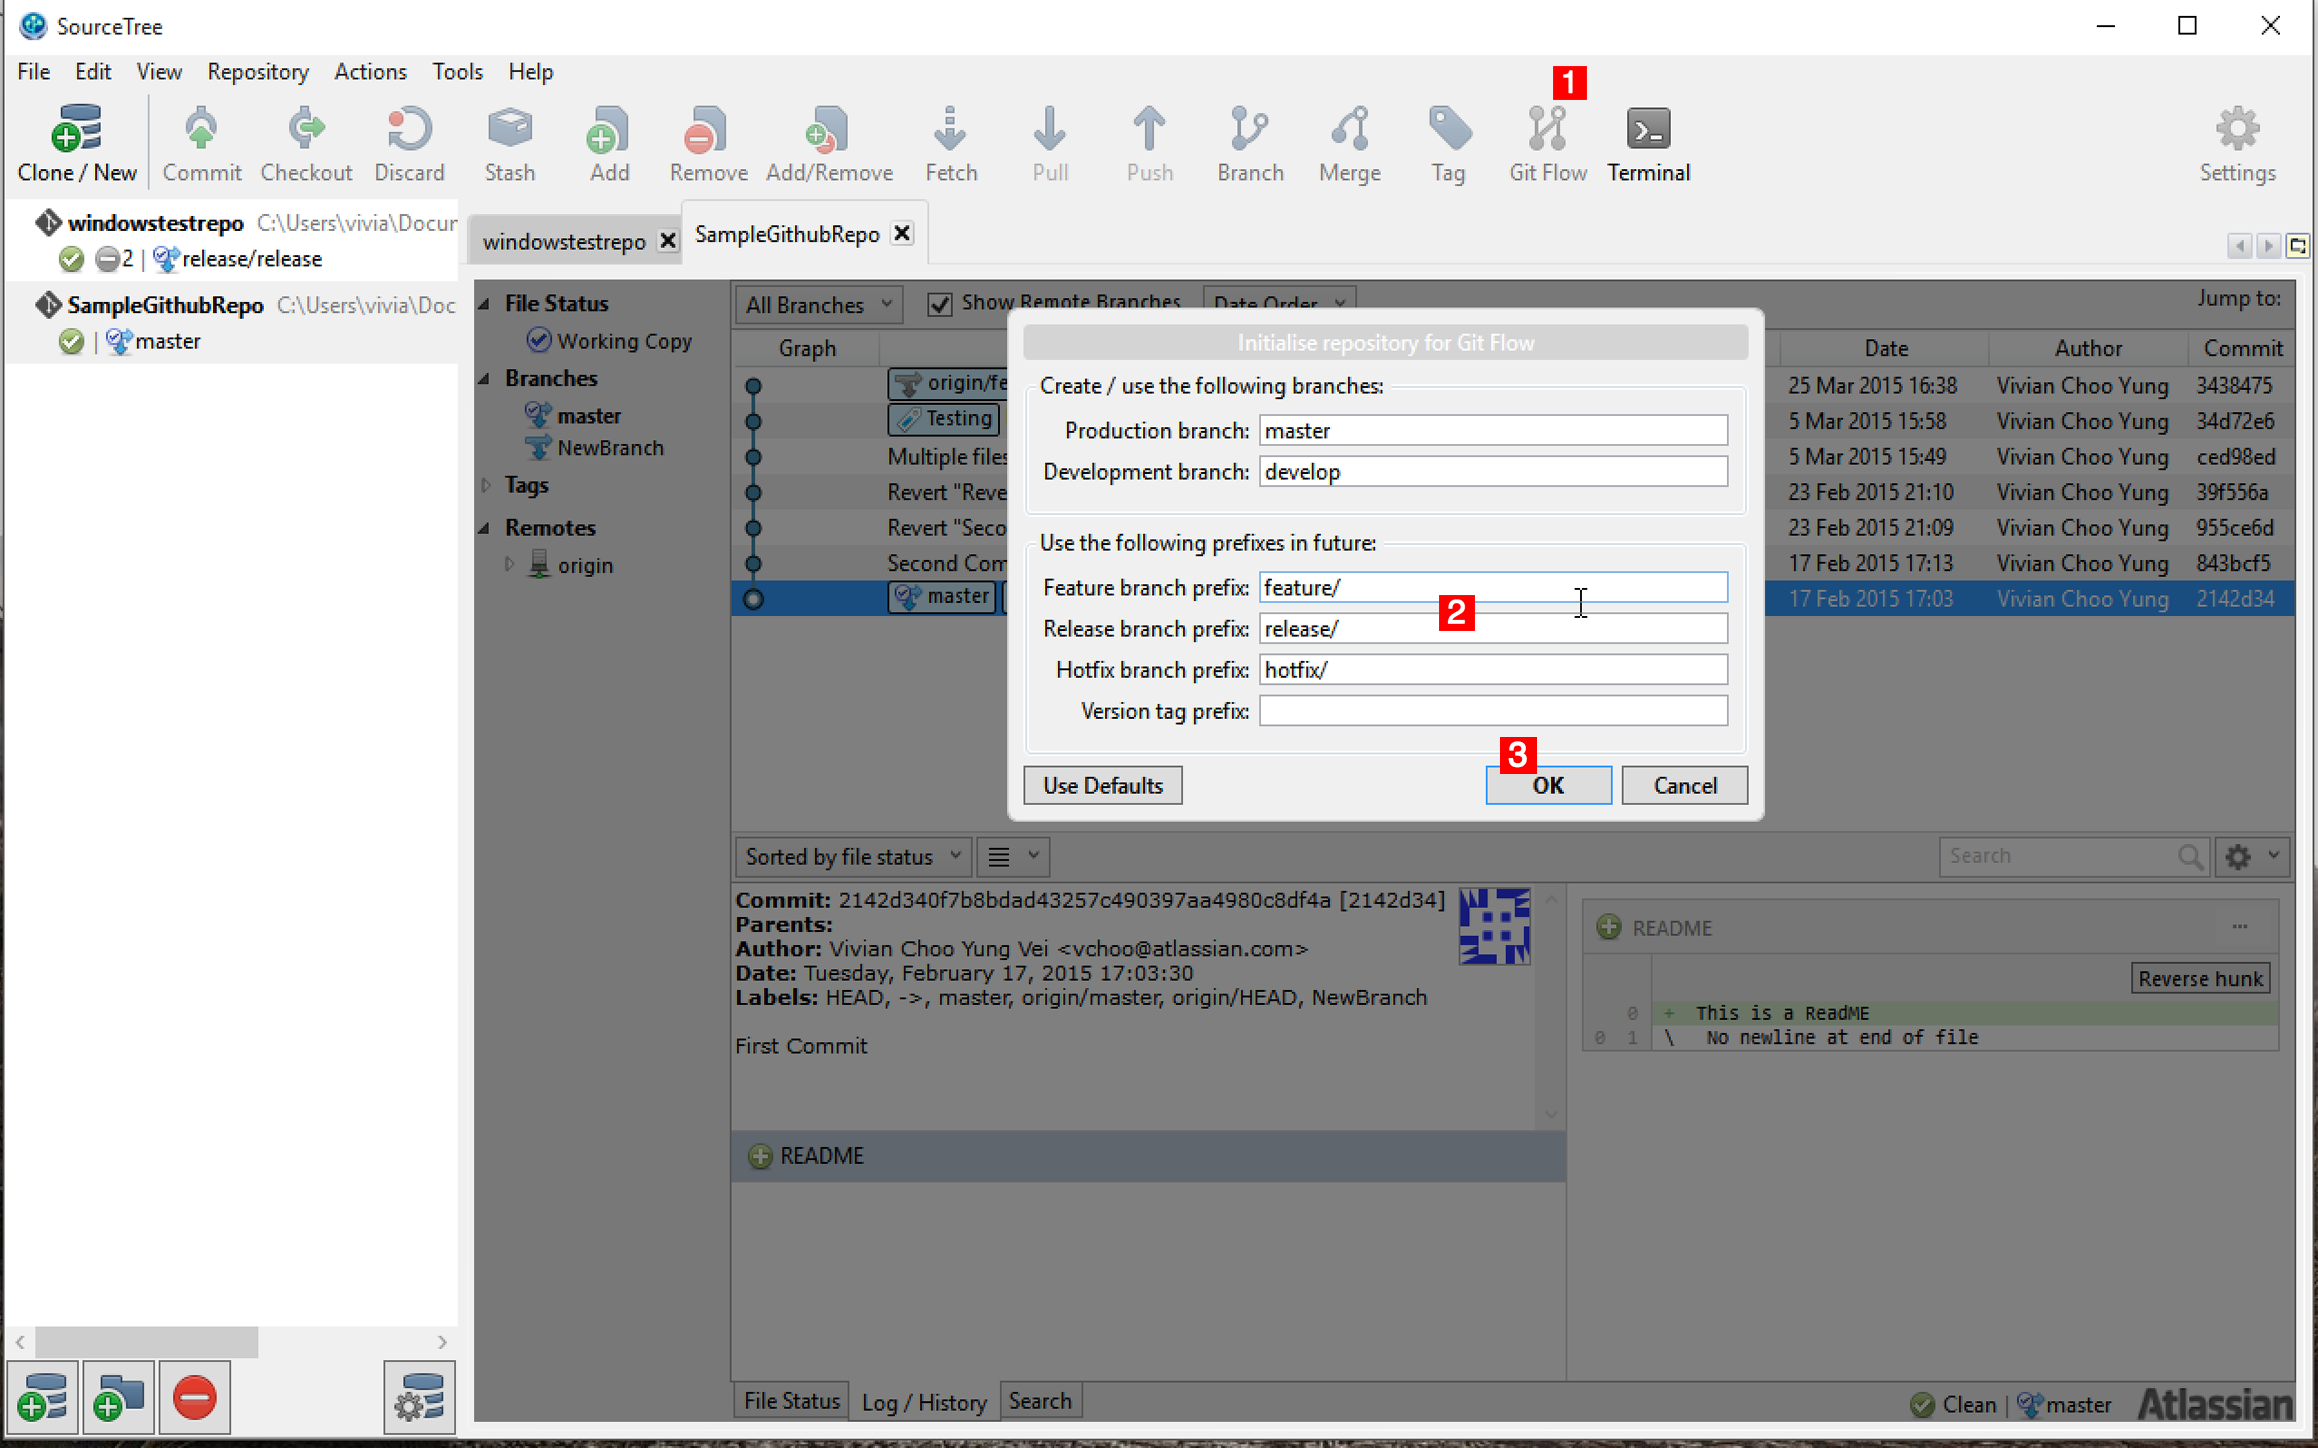
Steps:
Click on the "Git Flow" button.
Insert the name for the prefixes.
Click on "OK".
Start new Feature
Steps:
Click on "Repository" tab.
Click on "Git Flow".
Click on "Start New Feature".
Enter the feature name which you intend to see as the prefix.
Click on "OK".
Finish Feature
Steps:
Click on "Repository" tab.
Click on "Git Flow".
Click on "Finish Feature"
Choose the feature name from the drop down menu.
Click on "OK".
Start New Release
Steps:
Click on "Repository" tab.
Click on "Git Flow".
Click on "Start New Release"
Enter the release name which you intend to see as the prefix.
Click on "OK".
Finish Release
Steps:
Click on "Repository" tab.
Click on "Git Flow".
Click on "Finish Release"
Choose the release name from the drop down menu.
Click on "OK".
Start New Hotfix
Steps:
Click on "Repository" tab.
Click on "Git Flow".
Click on "Start New Hotfix"
Enter the hotfix name which you intend to see as the prefix.
Click on "OK".
Finish Hotfix
Steps:
Click on "Repository" tab.
Click on "Git Flow".
Click on "Finish Hotfix"
Choose the hotfix name from the drop down menu.
Click on "OK".
Was this helpful?