How to create expandable custom field descriptions in Jira
Platform Notice: Data Center Only - This article only applies to Atlassian apps on the Data Center platform.
Note that this KB was created for the Data Center version of the product. Data Center KBs for non-Data-Center-specific features may also work for Server versions of the product, however they have not been tested. Support for Server* products ended on February 15th 2024. If you are running a Server product, you can visit the Atlassian Server end of support announcement to review your migration options.
*Except Fisheye and Crucible
Summary
An admin may be faced with big description for a given custom field and they would like to have it collapsed by default and be able to expand it. This article will show the HTML description one can use to achieve this.
Note that this may not work for all custom field types.
Environment
8.13.6 but should apply to all versions with HTML enabled.
HTML is enabled for custom field description by configuring the option Enable HTML in custom field descriptions and list item values for your instance.
It is OFF by default starting from Jira 8.7.0.
To turn it on, go to System > general configuration > Edit settings (on the top right) > find the option on the list.
Inserting scripts in custom fields can pose a security risk.
Inserting scripts in field descriptions can also break pages in Jira that display those descriptions in secondary places, like the Custom Fields administration page.
⚠️ It is not recommended to use javascript in custom fields or their descriptions in Jira.
Solution
We will add a simple HTML code to the Custom Field description.
1. Go to the Custom Field admin page <Jira URL>/secure/admin/ViewCustomFields.jspa
2. Find the custom field you'd like to change the description.
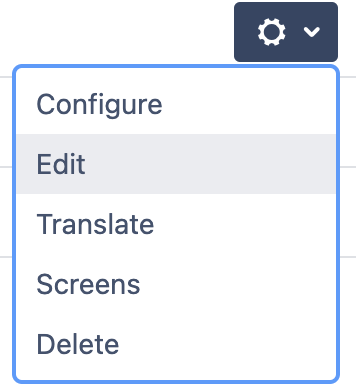
3. Click the cog icon on the far right of it and Edit:
4. Add the following code to the Description:
<details>
    <summary>Click to see description</summary>
    <p>This is where my big description can go.</p>
</details>
5. Click update to save your changes.
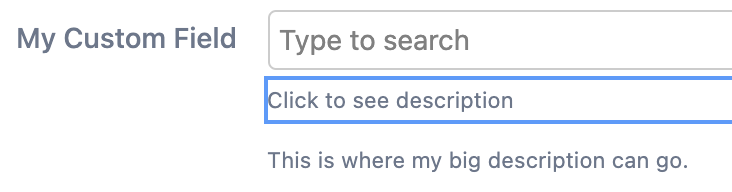
Now your field should initially show like this:

And after clicking it the text should change to the value provided between the <p> tag:
Was this helpful?