How to create a custom mail template in Jira Data Center
Platform Notice: Data Center Only - This article only applies to Atlassian apps on the Data Center platform.
Note that this KB was created for the Data Center version of the product. Data Center KBs for non-Data-Center-specific features may also work for Server versions of the product, however they have not been tested. Support for Server* products ended on February 15th 2024. If you are running a Server product, you can visit the Atlassian Server end of support announcement to review your migration options.
*Except Fisheye and Crucible
Summary
This page is for Jira Data Center
If you’re using Jira Server, please consult the 2024-01-23_08-51-45_Customizing email content in Jira Server.
This article is an extension of Customizing email content for Jira Data Center administration page. If this is your first reading about email content customization or email templates, please go to that page initially.
Customizations to Velocity templates or other Jira files are not included in the scope of Atlassian Support.
To create a new email template in Jira Data Center, to be used along with specific Jira event, there are steps to be followed, listed below.
Solution
Environment
Jira Data Center on any version from 8.14.0.
Previous versions of Jira use a different format to download/upload templates, the applied changes can be read on Jira 8.14 release notes (Email templates made better).
Steps
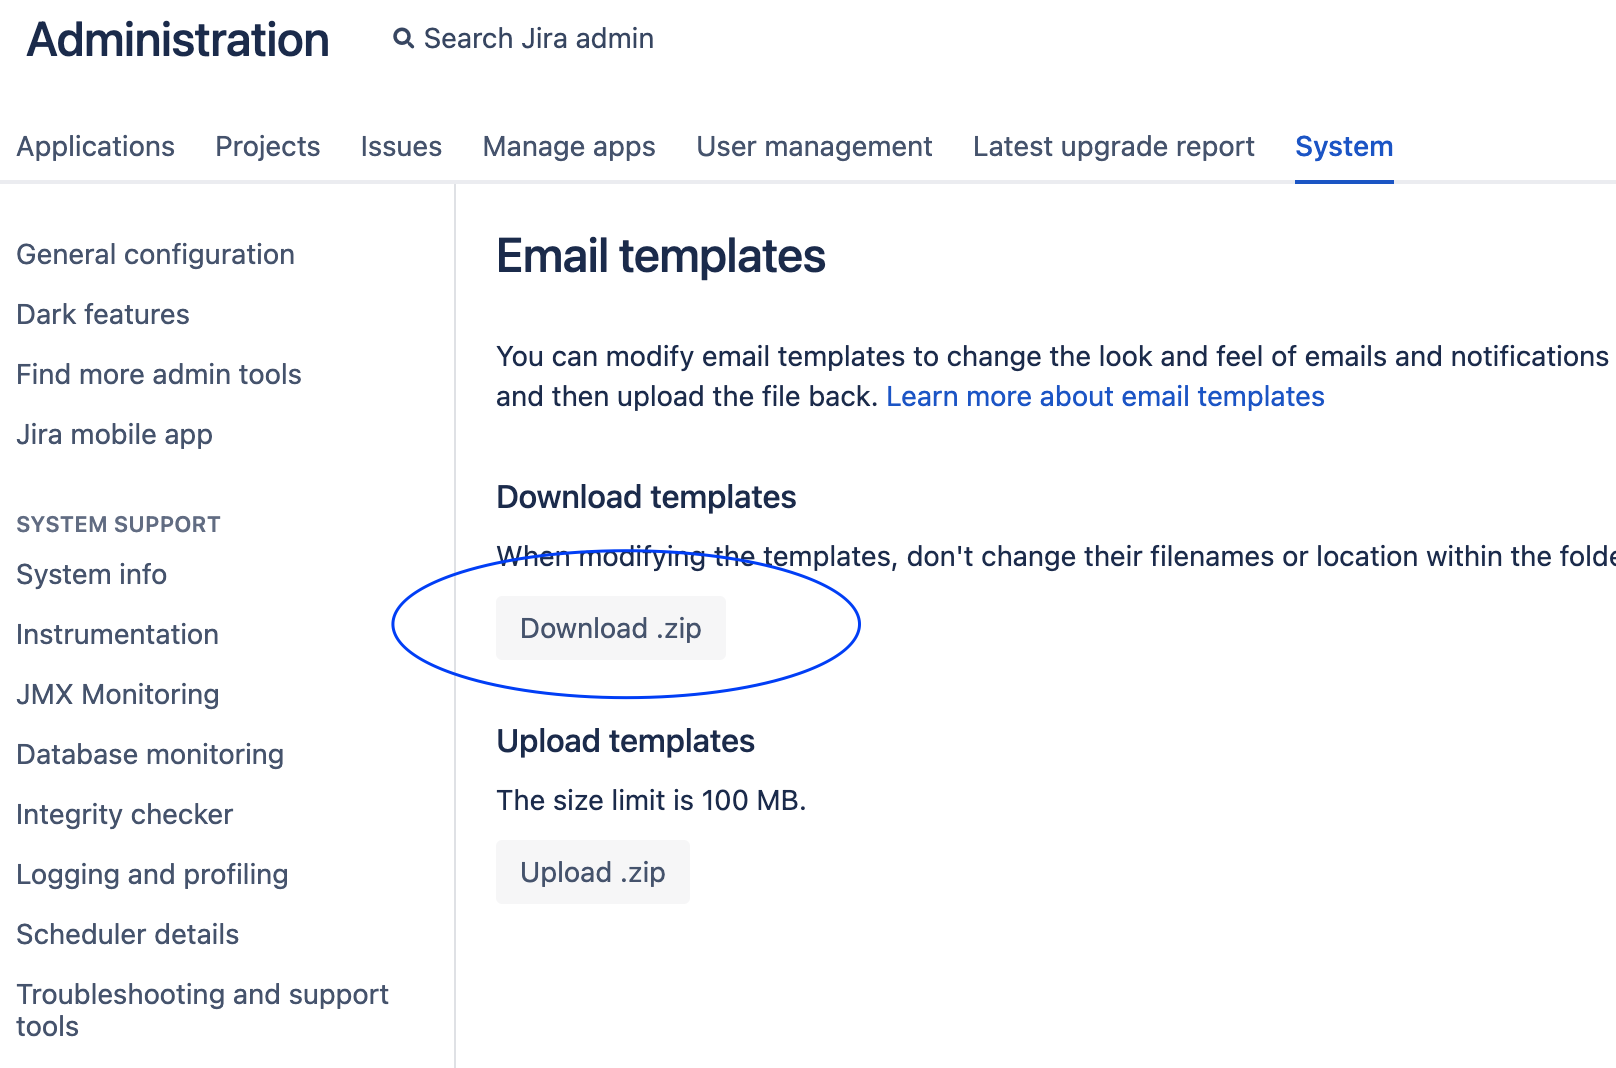
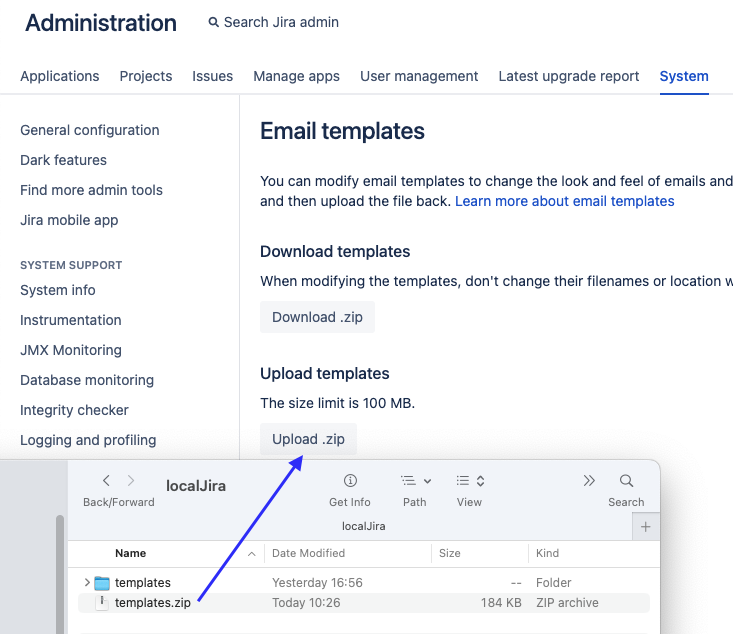
Download the email templates from Administration > System > Email templates
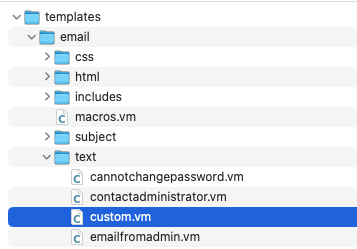
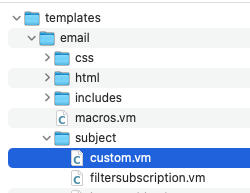
Using the structure from the downloaded Zip file, create new
template.vmfiles in thehtml,text, andsubjectdirectories, based on the existing files in those directoriesZip the templates folder and upload the zipped email templates on Administration > System > Email templates (note it will overwrite the information in <Jira-shared-home>/data/templates/email).
Edit the <Jira-installation-folder>/
atlassian-jira/WEB-INF/classes/email-template-id-mappings.xml adding the created templates tomake them valid choices for when you are adding a new event.Restart Jira
Example
Download the email templates from Administration > System > Email templates
Using the structure from the downloaded Zip file, create newtemplate
.vmfiles in thehtml,text, andsubjectdirectories, based on the existing files in those directories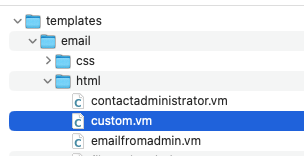
Zip the templates folder and upload the zipped email templates on Administration > System > Email templates (note it will overwrite the information in <Jira-shared-home>/data/templates/email).
Edit the <Jira app folder>/
atlassian-jira/WEB-INF/classes/email-template-id-mappings.xml adding the created templates tomake them valid choices for when you are adding a new event.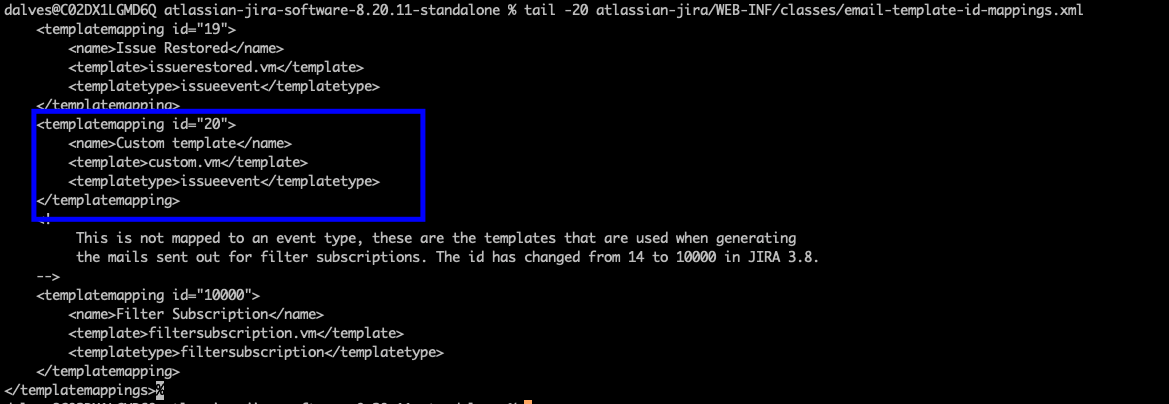
Restart Jira
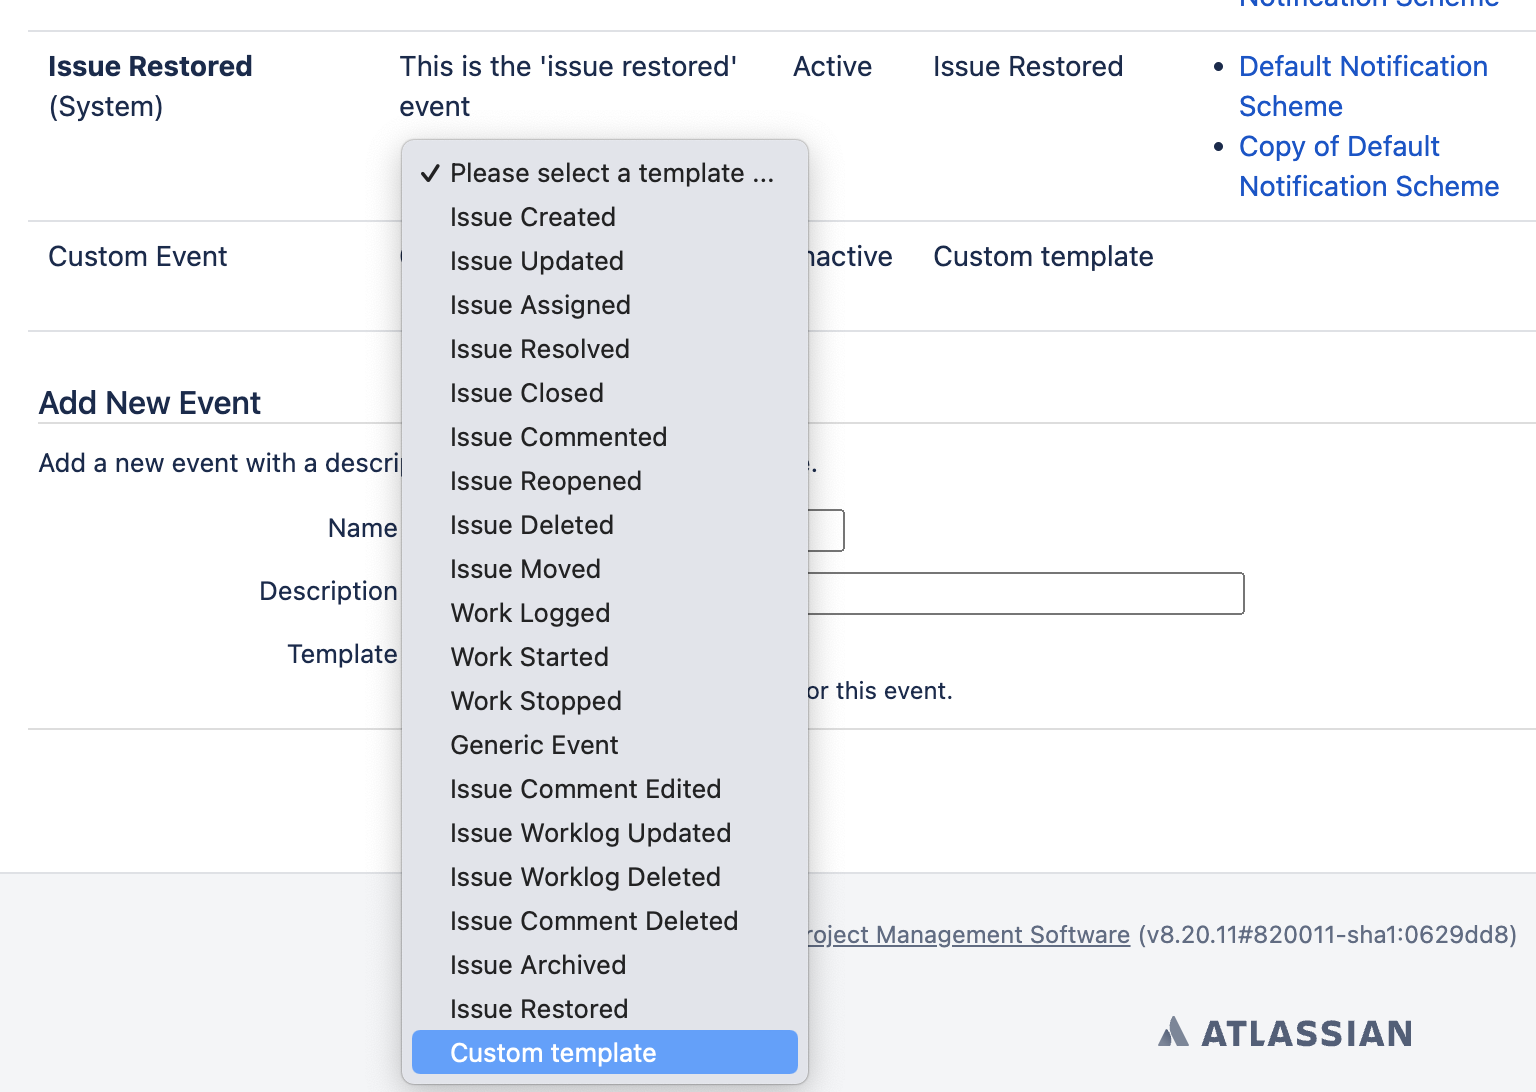
Validation as per Adding a custom event
Was this helpful?