Dynamic update the Approval in Jira Work Management projects
Platform Notice: Cloud Only - This article only applies to Atlassian apps on the cloud platform.
Summary
In Jira Work Management, is possible to have Approval in the workflow, to make this field dynamic based on another field, you will need to use automation, this is a guide on how to build that automation
Solution
When creating the approval in the workflow, is necessary to create a Field that will be used to store the approvers, the field is created in the backend and is not accessible via dropdown in the UI of your automation, so you need to follow the steps below in order to achieve update that field
Step 1: Identify the ID of the new field
Before you start creating the automation, let's identify the custom field ID for the approvals.
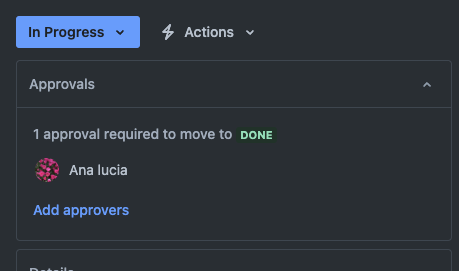
Create a test ticket, and manually add a test user as approval:
Now open the ticket in the rest API mode:
yoursite.atlassian.net/rest/api/3/issue/ISSUE-ID
Look for the user name of your test user, and find the custom field ID:
  "customfield_10453": [
      {
        "self": "https://yoursite.atlassian.net/rest/api/3/user?accountId=70121%3A4c4989ce-ce3f-434c9-bc92-0c8aa1334980c",
        "accountId": "70121:4c4989ce-ce3f-46c9-bc92-0c8aa140980c",
        "avatarUrls": {
          "48x48": "https://secure.gravatar.com/avatar/41d291725f0d2c5a1da939f9079ca355?d=https%3A%2F%2Favatar-management--avatars.us-west-2.prod.public.atl-paas.net%2Finitials%2FLW-0.png",
          "24x24": "https://secure.gravatar.com/avatar/41d291725f0d2c5a1da939f9079ca355?d=https%3A%2F%2Favatar-management--avatars.us-west-2.prod.public.atl-paas.net%2Finitials%2FLW-0.png",
          "16x16": "https://secure.gravatar.com/avatar/41d291725f0d2c5a1da939f9079ca355?d=https%3A%2F%2Favatar-management--avatars.us-west-2.prod.public.atl-paas.net%2Finitials%2FLW-0.png",
          "32x32": "https://secure.gravatar.com/avatar/41d291725f0d2c5a1da939f9079ca355?d=https%3A%2F%2Favatar-management--avatars.us-west-2.prod.public.atl-paas.net%2Finitials%2FLW-0.png"
        },
        "displayName": "USER NAME",
        "active": true,
        "timeZone": "Asia/Anadyr",
        "accountType": "atlassian"
      }
    ],
Step 2: Create the automation
Create the automation to update the Approval.
Use the action Edit issue field and in the advanced condition, build a JSON that will update the custom field from the approval, with a single user pickup field, for example in the JSON below I used the field Assignee
JSON
{
   "update": {
      "customfield_10453": [
      {
            "add": {"accountId":"{{assignee.accountId}}"}
         }
      ]
   }
}Was this helpful?