Adding Comment Fails with "XSRF check failed" when Confluence is Accessed through VPN
Platform Notice: Data Center Only - This article only applies to Atlassian apps on the Data Center platform.
Note that this KB was created for the Data Center version of the product. Data Center KBs for non-Data-Center-specific features may also work for Server versions of the product, however they have not been tested. Support for Server* products ended on February 15th 2024. If you are running a Server product, you can visit the Atlassian Server end of support announcement to review your migration options.
*Except Fisheye and Crucible
Symptoms
When accessing Confluence through a VPN, due to the settings of some setups Confluence may detect content modifications/comment addition as a possible attack. In some cases, even if the comment Anti-XSRF mode is turned off, the following error message is still displayed when trying to Save comments to any Confluence page, when accessing Confluence through VPN:
Failed to save the comment: error: Not Found - XSRF check failed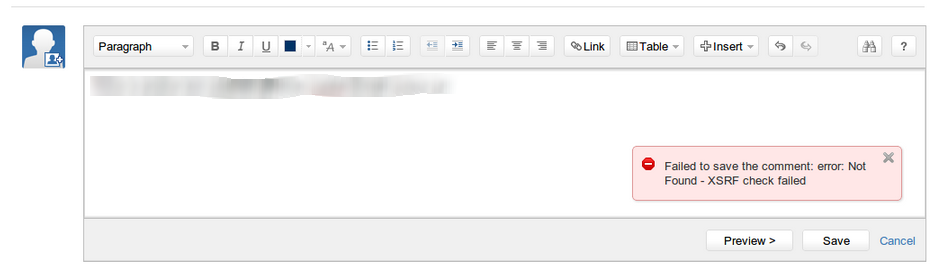
Cause
This is a known bug that is being tracked here: CONFSERVER-26485 - Turning off Anti-XSRF protection for comments has no effect
Workaround
Enabling all custom headers in your VPN configuration should do the trick in most cases.
For Juniper VPN the following steps shall be followed to get it working properly.
Workaround for Juniper VPN
Navigate to "User Roles"
Create a new Role "WEB-Confluence"
Do not configure anything, just create the empty role with default settings
Navigate to "Resource Profiles" => "Web"
Create a new Web Application Resource Profile
Define Type "Custom" and Name "WEB-Confluence_RP"
Define "Base URL" to the URL where you access Confluence
Select "Show ALL autopolicy types"
Enable "Autopolicy: Caching" and select "Smart"
Save
Select the Role from step 1 "WEB-Confluence"
Save
Define the Bookmark text and description as you like
Save
Navigate to "Resource Policies" => "Web" => "Custom Headers"
Create a new Policy "WEB-Confluence_CH"
Add the URL of Confluence, e.g. "http://confluence.example.local:8090" to Resources
Select "Applies to selected Role only" and select the Role from step 1 "WEB-Confluence"
Was this helpful?