Successful test reports not showing in the Pipelines UI
Platform Notice: Cloud Only - This article only applies to Atlassian apps on the cloud platform.
Summary
The Test report tab in the Pipeline UI is not shown when there are no failed/errored test cases in the build.
Environment
Bitbucket Pipelines on Bitbucket Cloud
Diagnosis
Your build is generating a Bitbucket Pipelines-compatible test file format (JUnit or Maven Surefire XML formats), and the test report is found by Pipelines in the Build Teardown phase, as in the log example below. There will be a Test tab in the Pipeline UI displaying all the failed cases.
Searching for test report files in directories named [test-results, failsafe-reports, test-reports, TestResults, surefire-reports] down to a depth of 4
Found matching test report file /opt/atlassian/pipelines/agent/build/test-results/<test-report-name>.xml
Located test suite containing 45 tests, with 0 failures and 0 errors.
Finished scanning for test reports. Found 1 test report files.
Merged test suites, total number tests is 45, with 0 failures and 0 errors.
Uploading test results
Finished uploading test results.
However, the Test tab is now shown in the UI when the tests are all successful.
Cause
As per Test reports in pipelines documentation, the Tests tab will only show if you have failed tests to review.
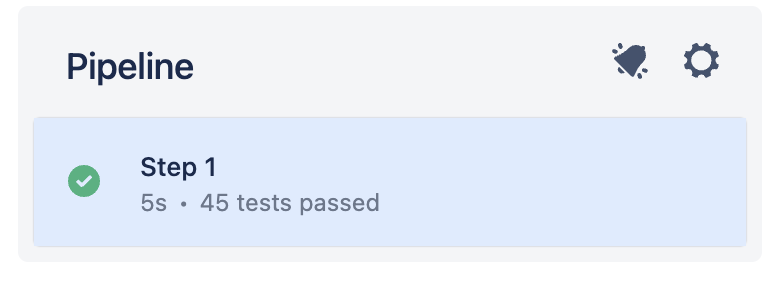
If all the test cases are successful in the test report, they will not be shown in the UI, and just a summary of the number of tests executed will be presented next to the step :
Solution
Workaround
Pipelines Artifacts can be used in case you need the test report files to always be uploaded, even when the tests are all successful.
The following example step will upload all the XML files inside the reports folder (relative to $BITBUCKET_CLONE_DIR) as artifacts. Once uploaded to Bitbucket, artifacts can then be downloaded from the UI by going to the Build logs > Select the step that generated the artifact > Click on the Artifacts tab.
pipelines:
  default:
    - step:
        name: Build and test
        image: node:latest
        script:
          - npm install
          - npm test
          - npm run build
        artifacts: # defining the artifacts
          - reports/*.xml # upload any file with XML extension that is inside the reports folder (within $BITBUCKET_CLONE_DIR)
It's important to note that:
Artifacts only last for 14 days (see Artifact downloads and expiry)
Only files within $BITBUCKET_CLONE_DIR(path where pipeline clones your repository) can be configured as artifacts. If your build generates artifacts outside $BITBUCKET_CLONE_DIR, you will have to add a command in your build's script to move those files to a folder within $BITBUCKET_CLONE_DIR.
Was this helpful?