Use JIRA as the external user repository for Bamboo
Platform Notice: Data Center Only - This article only applies to Atlassian apps on the Data Center platform.
Note that this KB was created for the Data Center version of the product. Data Center KBs for non-Data-Center-specific features may also work for Server versions of the product, however they have not been tested. Support for Server* products ended on February 15th 2024. If you are running a Server product, you can visit the Atlassian Server end of support announcement to review your migration options.
*Except Fisheye and Crucible
Summary
Learn how to use Jira as an external user repository for Bamboo. This articles looks to simplify the process specifically for Jira.
We have detailed guidelines explaining this process with Crowd, which is the same if you have JIRA 4.3 or later:
This article was created based on a local test with Bamboo 6.10.4 and JIRA 8.6.0.
Solution
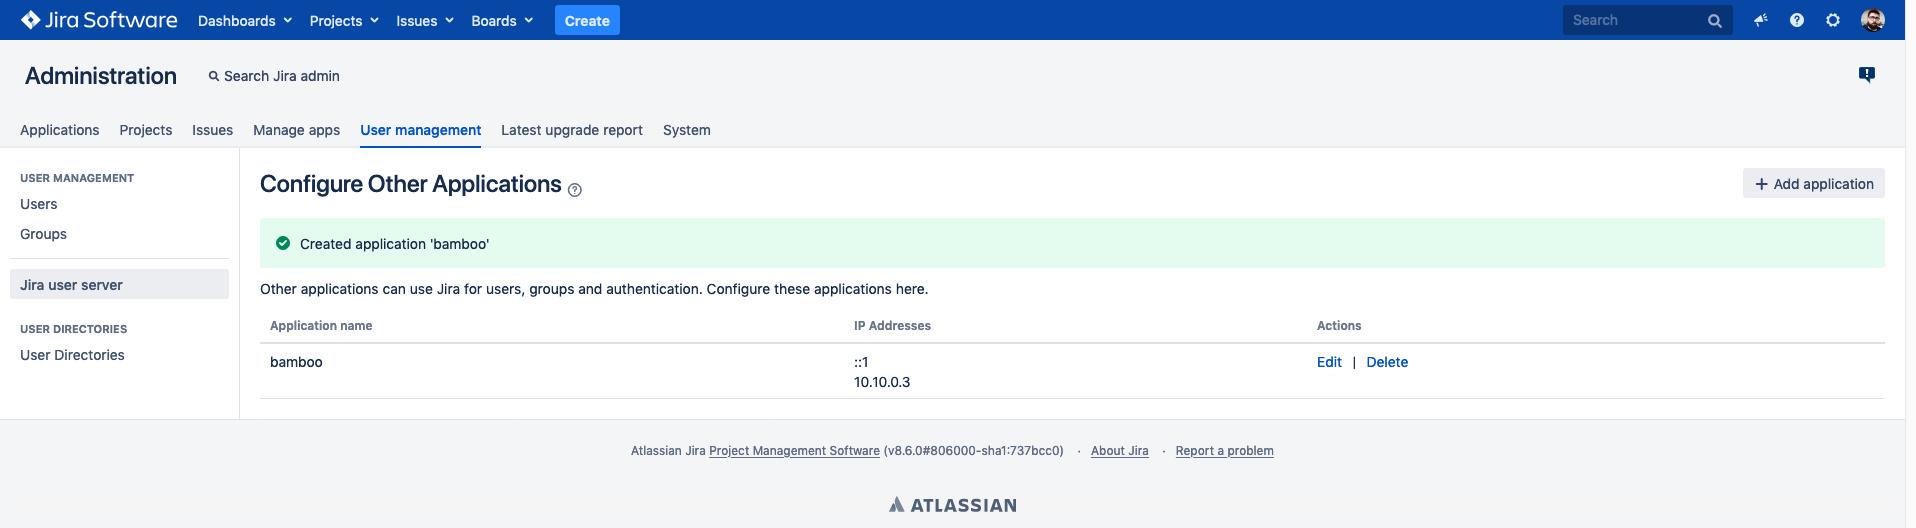
Create a "bamboo-admin" group in JIRA.
Create at least one admin user and add it to the "bamboo-admin" group. To avoid confusion and be able to check if the integration is working correctly, make sure there are no users with the same name in Bamboo. (Example: I added two users in JIRA "jirauser" and "secondjirauser" and assigned them to the "bamboo-admin" group.)
Add Bamboo under "JIRA User Server" with any credentials, these credentials are used by Bamboo application to login to JIRA. (Example: "bamboo" and "bamboo"). IP Addresses section lists the hosts that are allowed to connect to JIRA, since JIRA and Bamboo are sitting on the same machine in my local environment, I did not need to add any additional IP addresses here. Make sure to edit this list accordingly based on your environment settings.
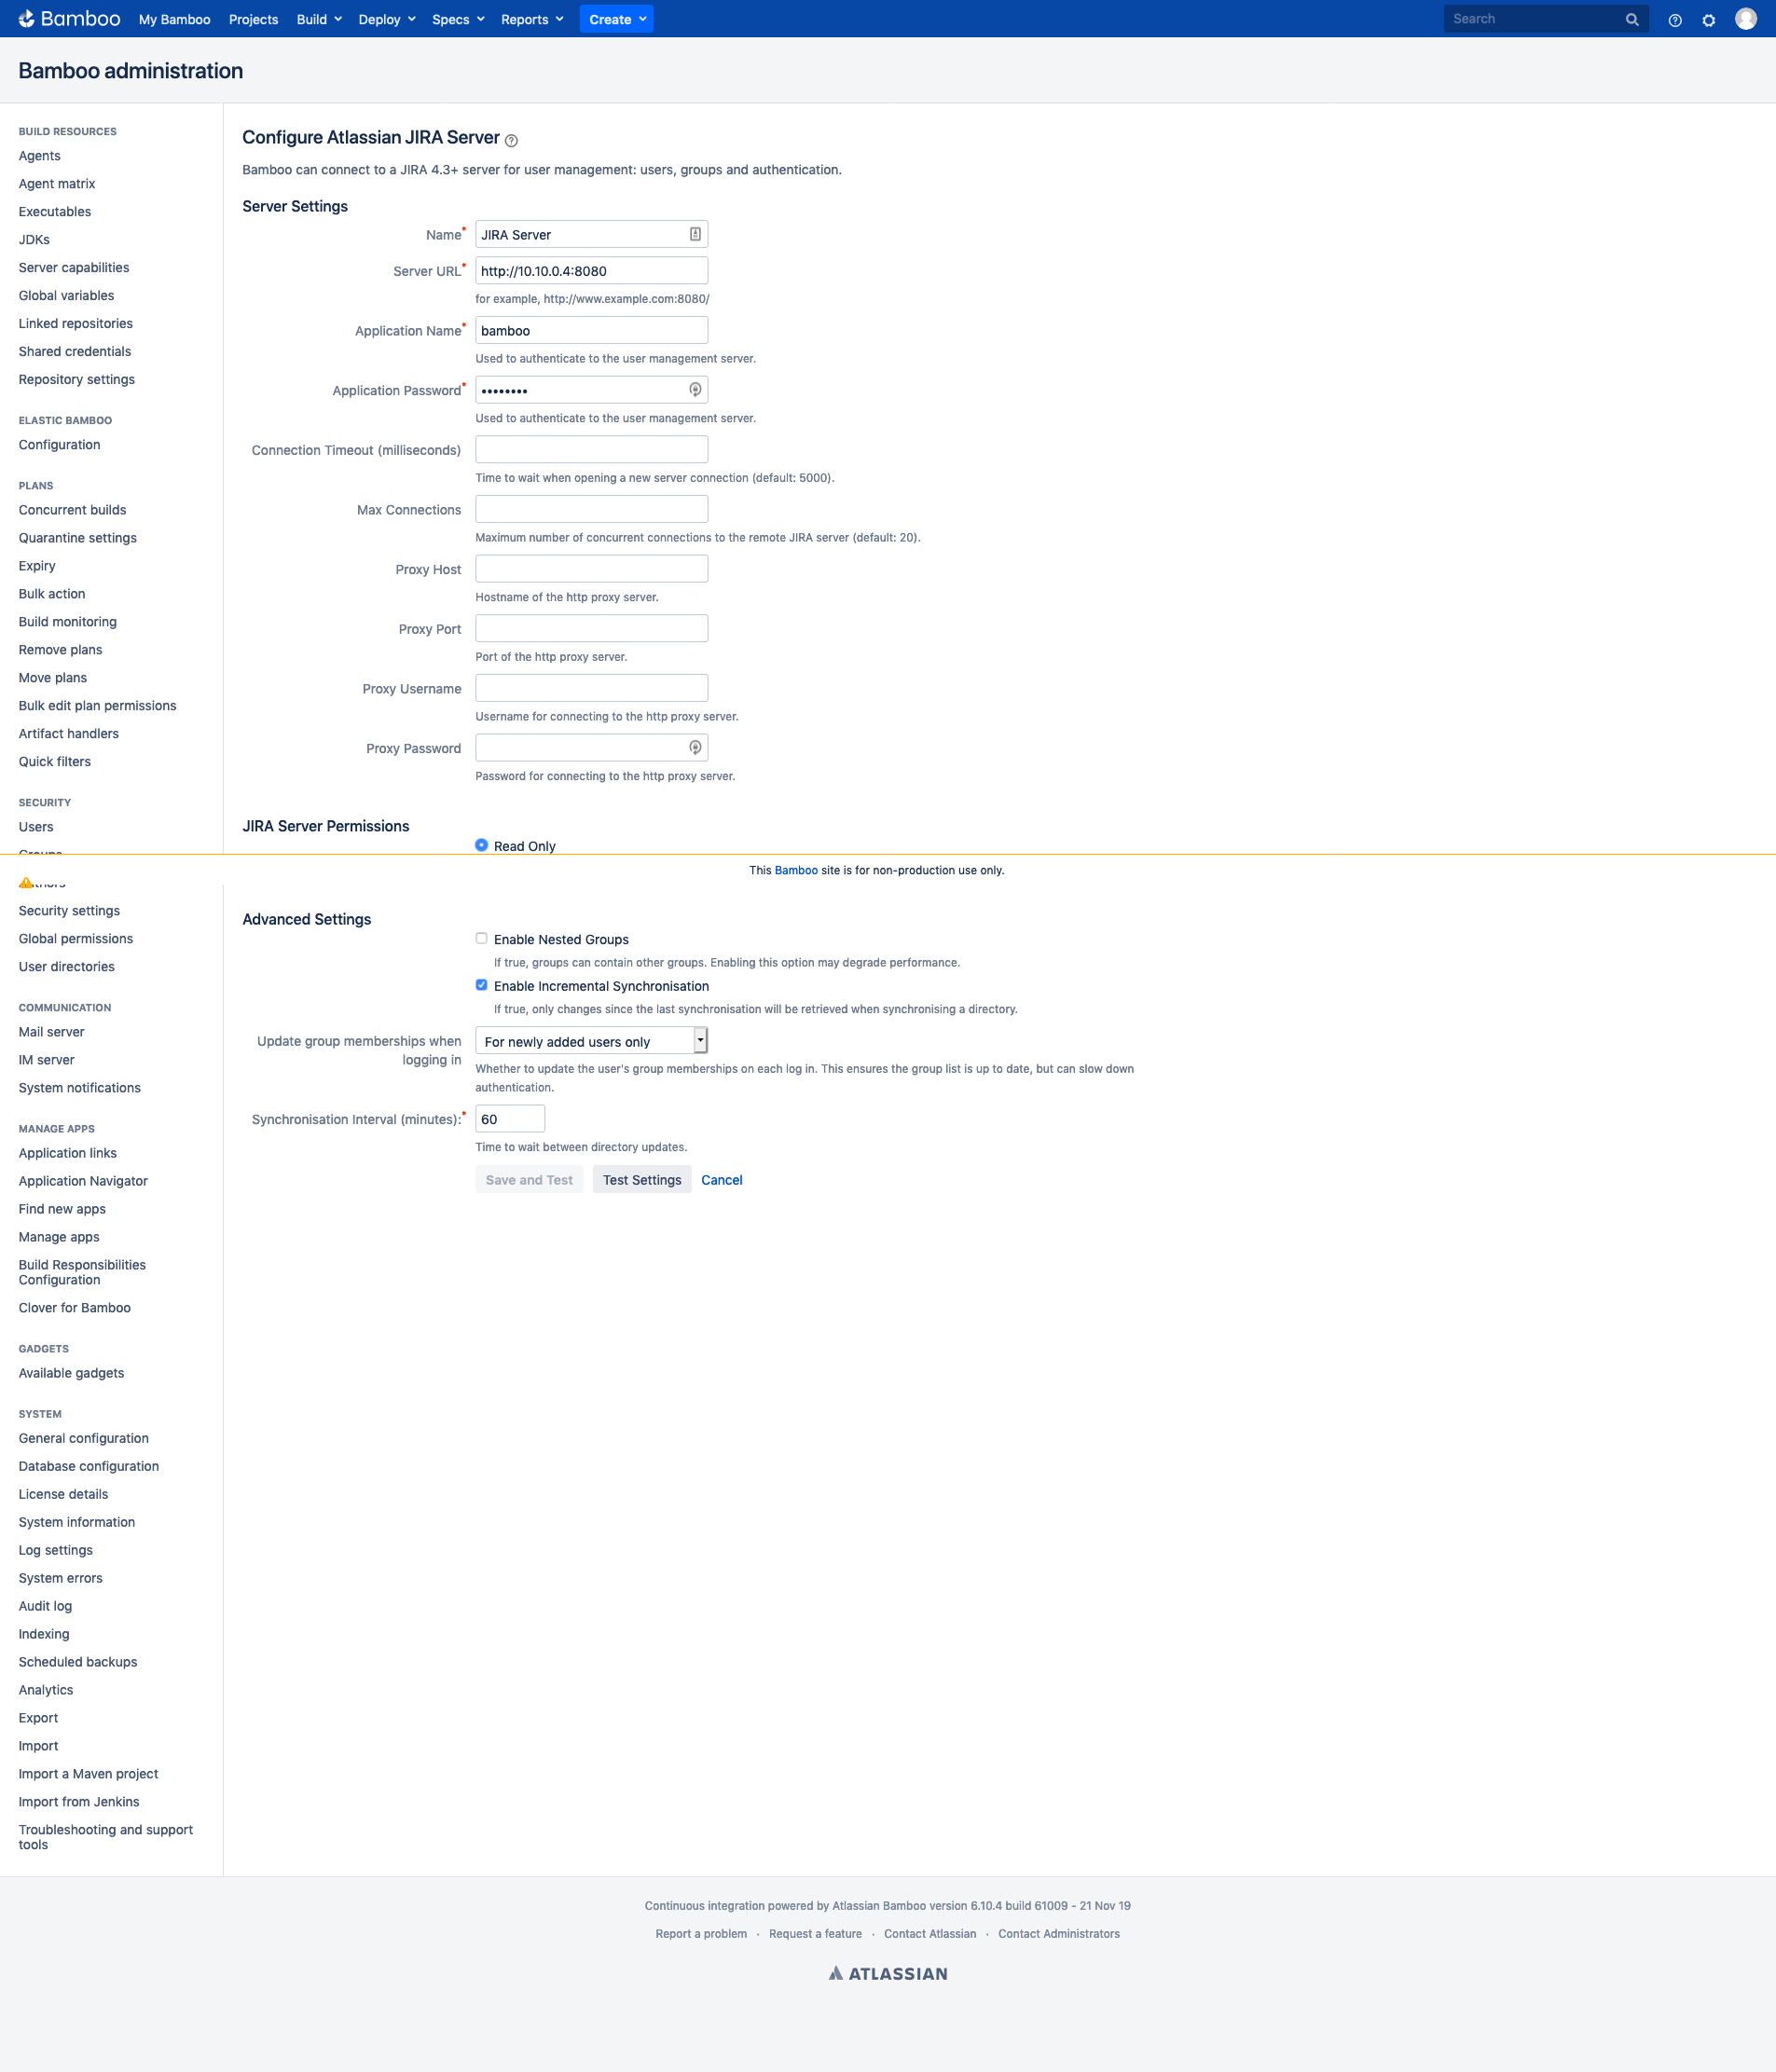
Switch to Bamboo and add JIRA as your User Repository:
Logging out and logging back in, you should be able to use the user(s) created in step two under JIRA's "bamboo-admin" group to have full administrator privileges in Bamboo now. (Example: I have admin permissions with both "jirauser" and "secondjirauser" that I created in JIRA in step 2).
To remove an admin user: Navigate to JIRA and remove the user from the "bamboo-admin" group. If logged in with this user, following warning shows up when the list of users and groups gets synchronized - based on the "Cache Refresh Intervals" configured under User Repositories page in Bamboo. (Example: Logged in with my secondjirauser" in Bamboo that I removed from JIRA's "bamboo-admin" group, I saw the following after the 1 minute I had added for the Cache Refresh Interval):
Upon refreshing the page, the user will be logged out with an "Access denied" message:
Side Notes:
To limit the access of "Anonymous" and "All logged in users", make sure to uncheck the access box under Bamboo Administration - > Global Permissions. (Example: I unchecked these boxes to completely block the access of my old admin user to Bamboo ("secondjirauser")).

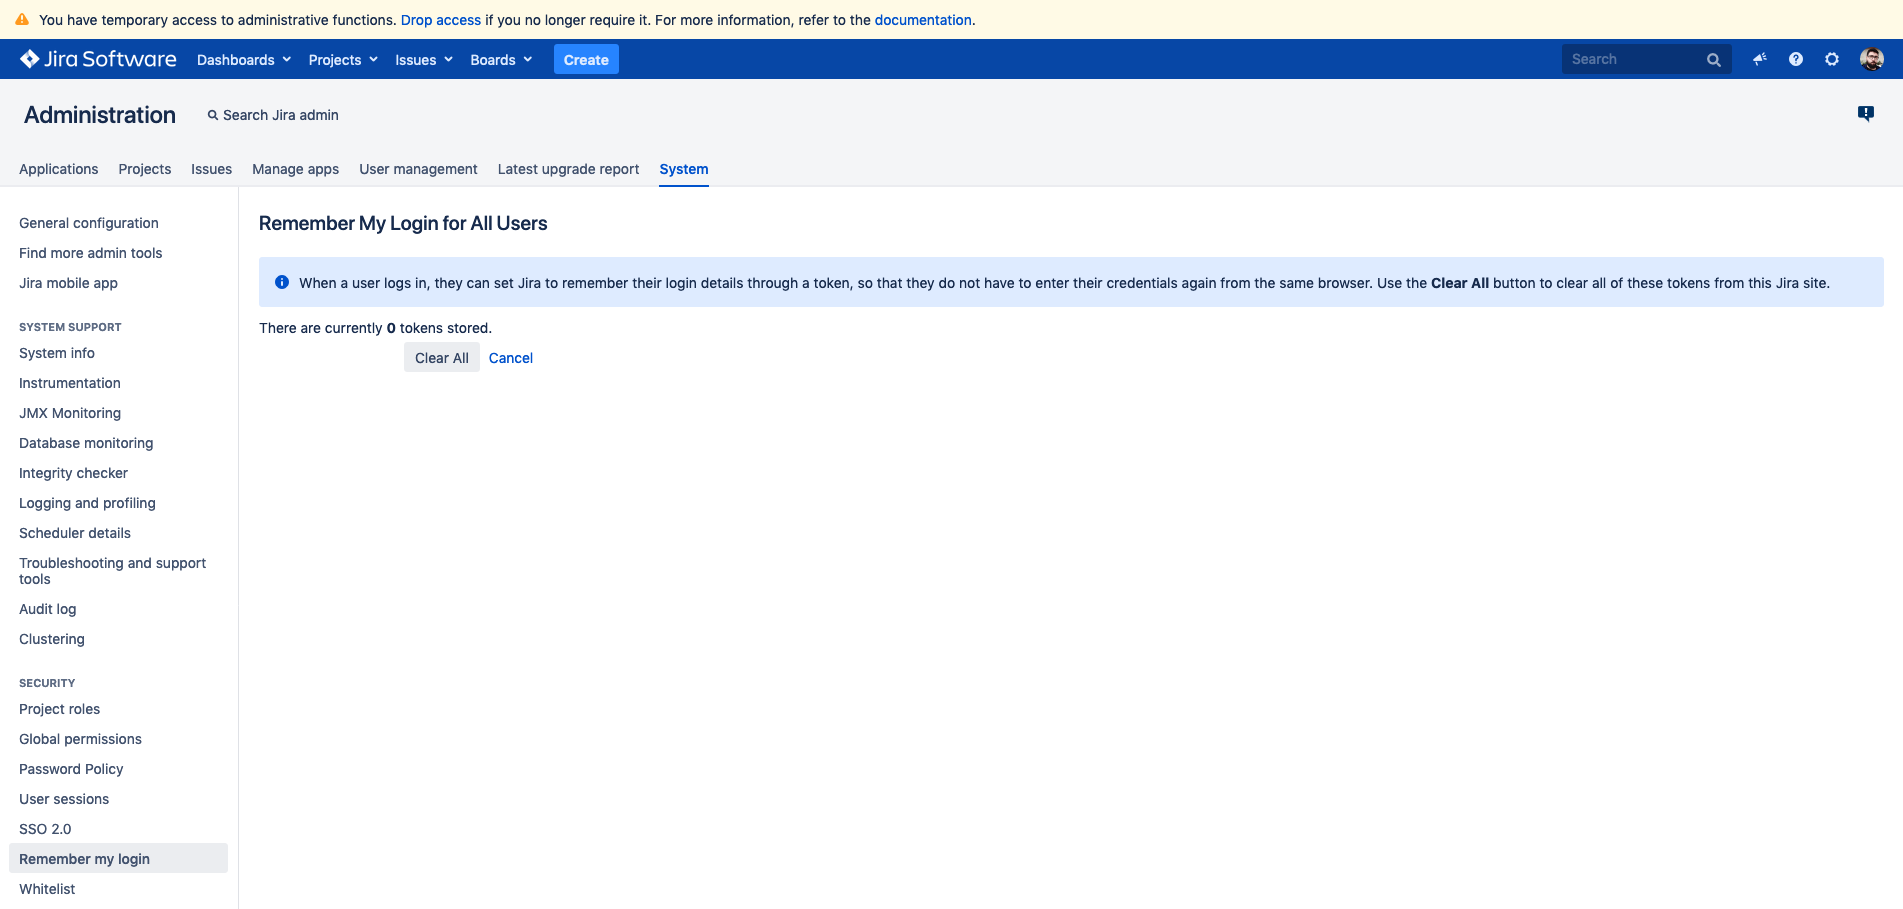
Use the following feature in JIRA to manage "Remember My Login" information:
There is no need to remove the admin user from "bamboo-admin" group in Bamboo. Bamboo reads the changes from JIRA if configured correctly.
Was this helpful?