Find the date difference between rows
Platform Notice: Cloud Only - This article only applies to Atlassian apps on the cloud platform.
Summary
When wanting to calculate the difference in time between two date columns, the Date difference formula option in the “Formula column” step or “Apply formula” step can be used.
In the event you only have one date column but would like to calculate the difference between each row, you can instead use the DATEDIFF function in a custom formula.
Solution
Using the LAG function
An easy way to do this is to use the LAG function—which conveniently is a guided formula you can use—in your “Formula column” or “Apply formula” step to create a start column to use as part of your date calculation.
In the following example we’ll calculate the number of days spent in each status for a given Jira issue.
First, query the columns Started At and Status from the Issue status history table containing the status dates and status names. Additionally, add a filter for Issue Key and choose one issue in particular. Now, run the query.
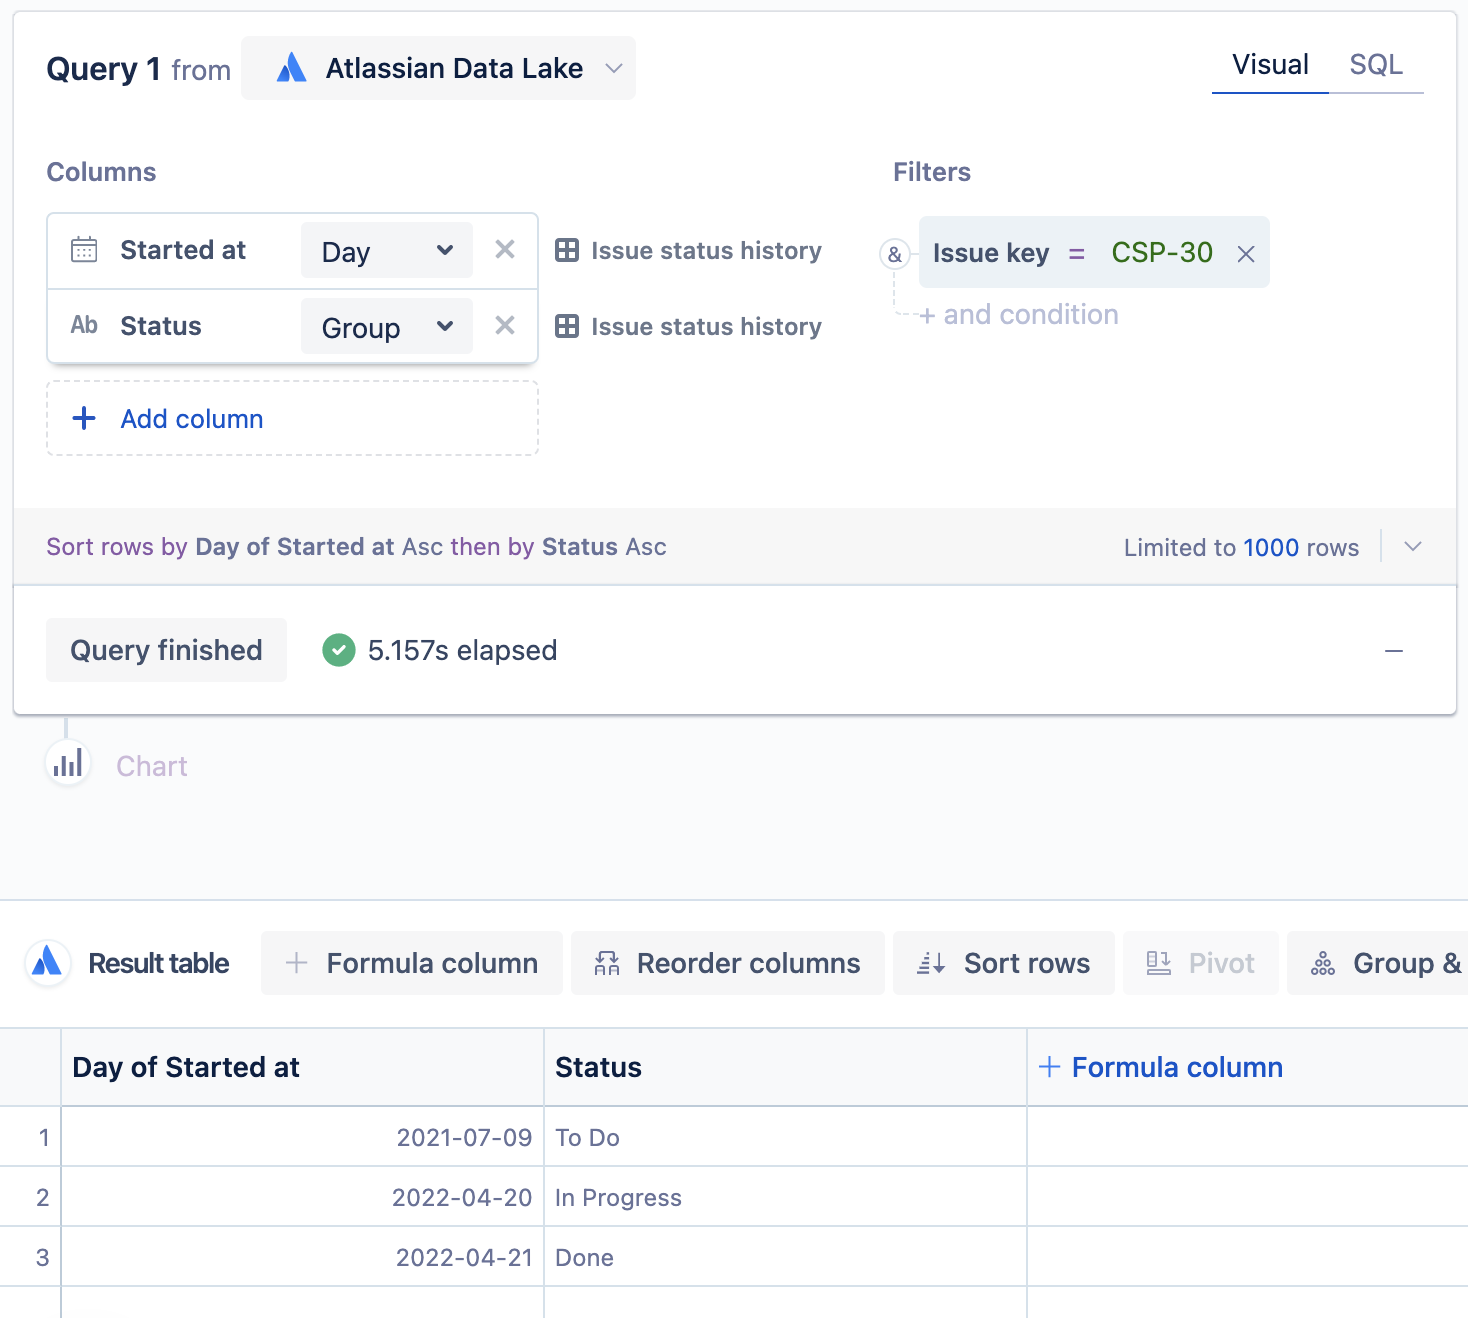
Optionally, rename the “Started At” column to Date of Status Start.
Add a “Formula column” step, which will act as the start date to calculate the date difference. We’ll then select the Lagguided formula, select the Date of Status Start column, and set a row offset of
1. Select Save to save the step.
After creating the offset column, we’ll want to create another column to calculate the number of days between when the status changed. To do this, add another Formula column and select the date difference guided formula. Then, select the start and end columns as well as the unit of time. For this example, the start date column is Lag, the end date column is Date of Status Start, and the unit of time is
day. Click Save to save the step. Now you have the time the issue was spent in each status.
Instead of the guided formula option, you can also use the DATEDIFF formula below as part of a custom formula, replacing Start Date Column and End Date Column with the names of your columns and unit with the unit of time you’d like to calculate (the unit argument is optional):
DATEDIFF("Start Date Column","End Date Column",'unit')Note: If you choose not to specify a unit in the formula, it will default to calculate days.

Using the LEAD function
Another option is to skip adding an additional lag column and use the LEAD window function in place of the end column in your DATEDIFF formula. This function acts similarly to the LAG function we used in the previous example and will populate with the end date automatically.
To do this, add a “Formula column” step, select Custom as the formula type, then use the following formula replacing Date Column in the formula with the name of your date column (the ORDER BY clause is optional):
DATEDIFF("Date Column",(LEAD("Date Column", 1) OVER (order by "Date Column")))where the ORDER BY clause in the OVER clause is optional; you could simply use ORDER() to use the current order of rows in the selected column.
Here, we simply wanted to keep the current order of date rows; therefore, we omitted the ORDER BY clause from the formula as follows:
DATEDIFF("Date of Status Start", (LEAD("Date of Status Start", 1) OVER ()))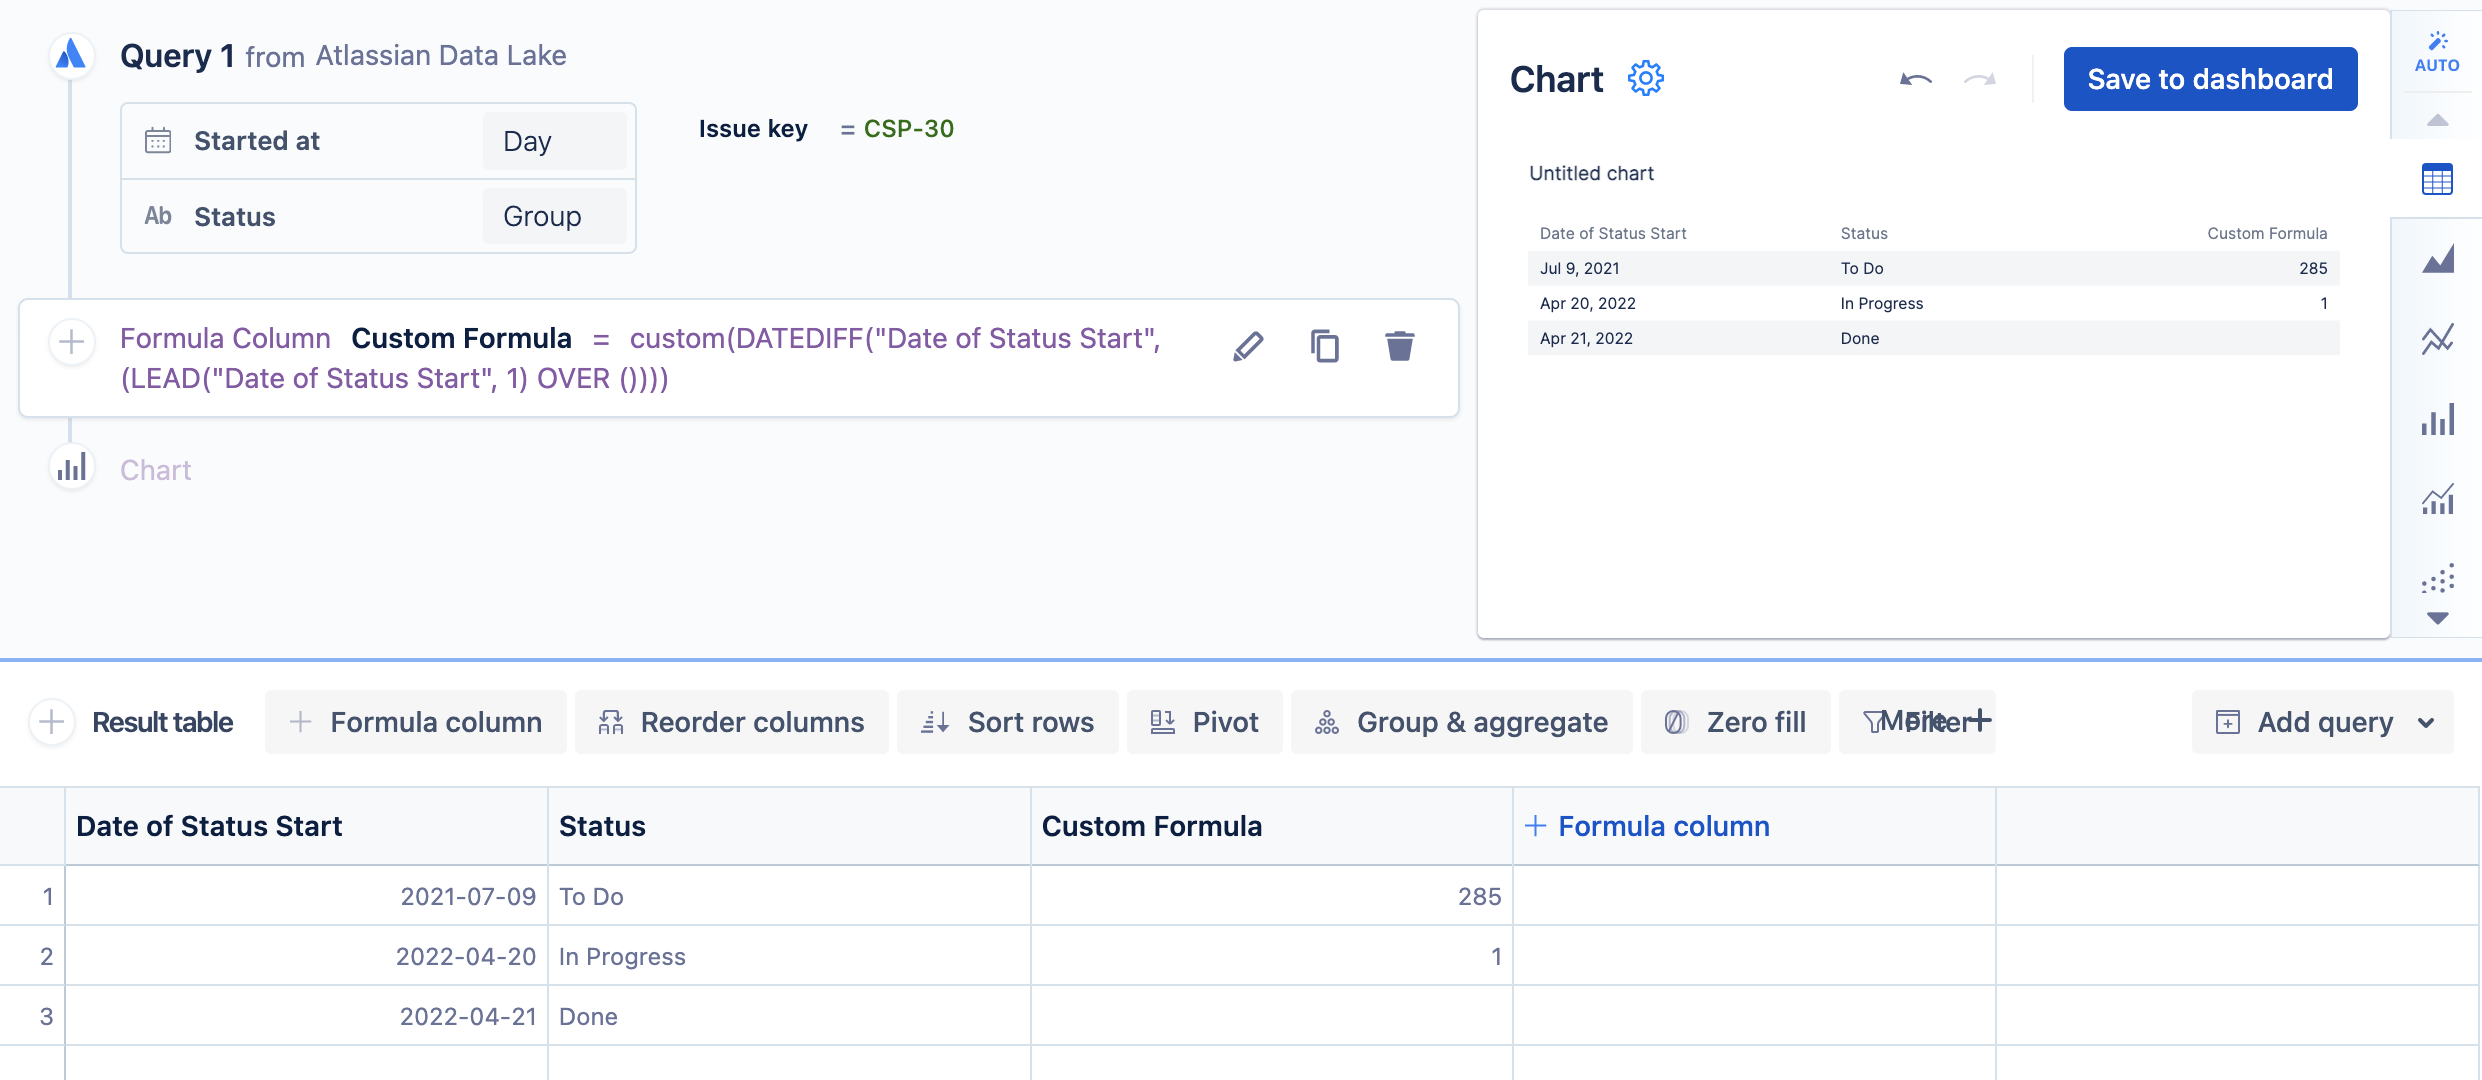
You now have the number of days between the dates the Jira issue status changed and can perform additional calculations as needed.
Read more about datetime calculations you can do in Visual SQL.
Was this helpful?