How to Enable Detailed JQL Logging in Jira Server and Data Center
Platform Notice: Data Center Only - This article only applies to Atlassian apps on the Data Center platform.
Note that this KB was created for the Data Center version of the product. Data Center KBs for non-Data-Center-specific features may also work for Server versions of the product, however they have not been tested. Support for Server* products ended on February 15th 2024. If you are running a Server product, you can visit the Atlassian Server end of support announcement to review your migration options.
*Except Fisheye and Crucible
Summary
This KB article instructs how to enable detailed JQL logging inside of JIRA. This can be used for any of the following:
Understanding what JQL is submitted for different actions (such as gadgets, JIRA Software boards and so on)
Reverse-engineering GUI actions to determine what JQL is submitted for certain user actions or searches
Solution
Log into JIRA as an Administrator.
Go to Administration > System > Troubleshooting and Support > Logging and Profiling.
Search for
com.atlassian.jira.issue.search.providersand set it toDEBUG: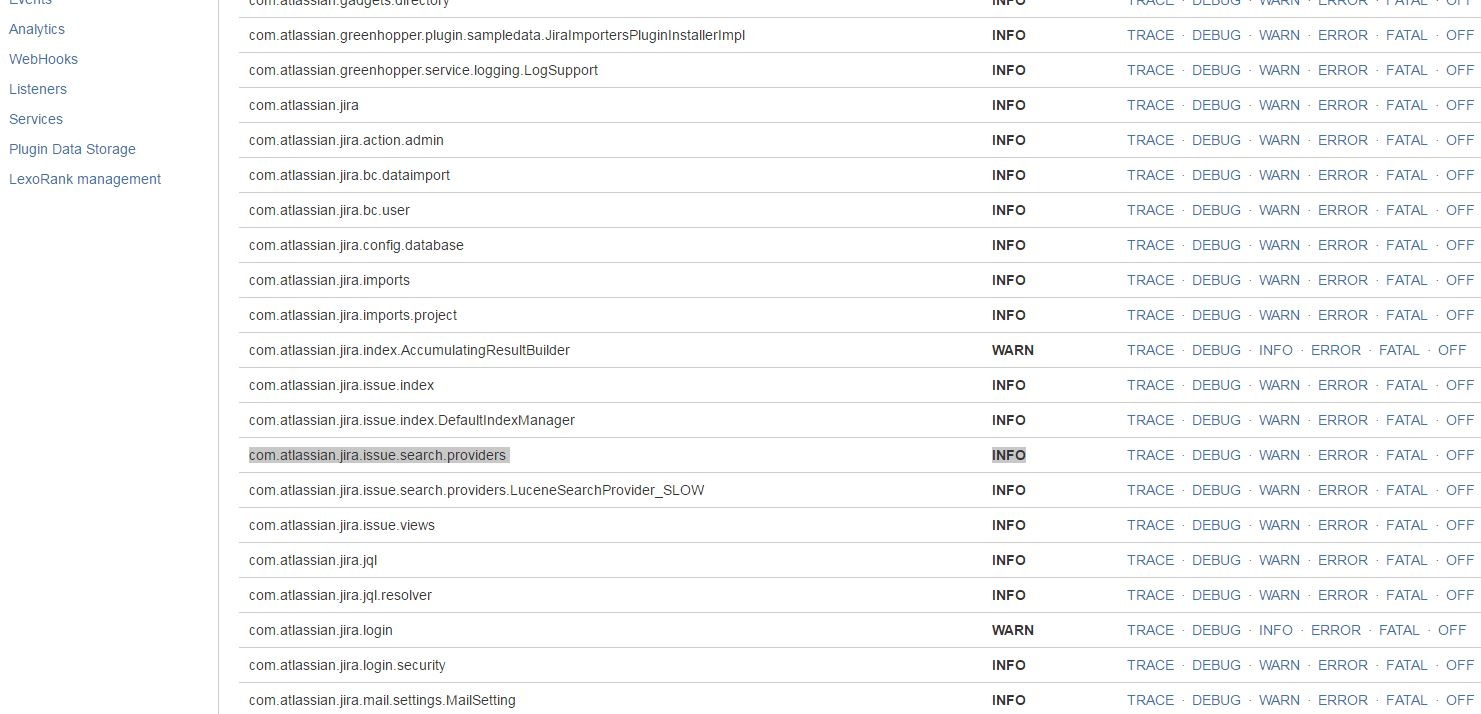
ℹ️ The resulting logs will be in
<JIRA HOME>/log/atlassian-jira.log.
These settings will be lost on restart, as they're stored in memory. To have JIRA persist the settings they can be changed in the log4j.properties file. For example:
log4j.logger.com.atlassian.jira.issue.search.providers = WARN, console, debugWas this helpful?