How to change the icon for Issue types
Platform Notice: Data Center Only - This article only applies to Atlassian apps on the Data Center platform.
Note that this KB was created for the Data Center version of the product. Data Center KBs for non-Data-Center-specific features may also work for Server versions of the product, however they have not been tested. Support for Server* products ended on February 15th 2024. If you are running a Server product, you can visit the Atlassian Server end of support announcement to review your migration options.
*Except Fisheye and Crucible
Summary
Jira Cloud
For Jira Cloud, please see How to change the Icon for Issue Types
This page explains how you can change the icon for Issue types.
Environment
Jira 8.x, 9.x, 10.x
Solution
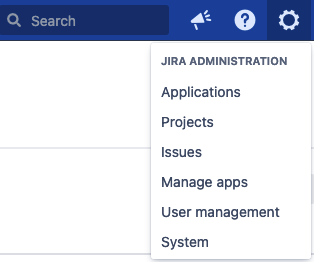
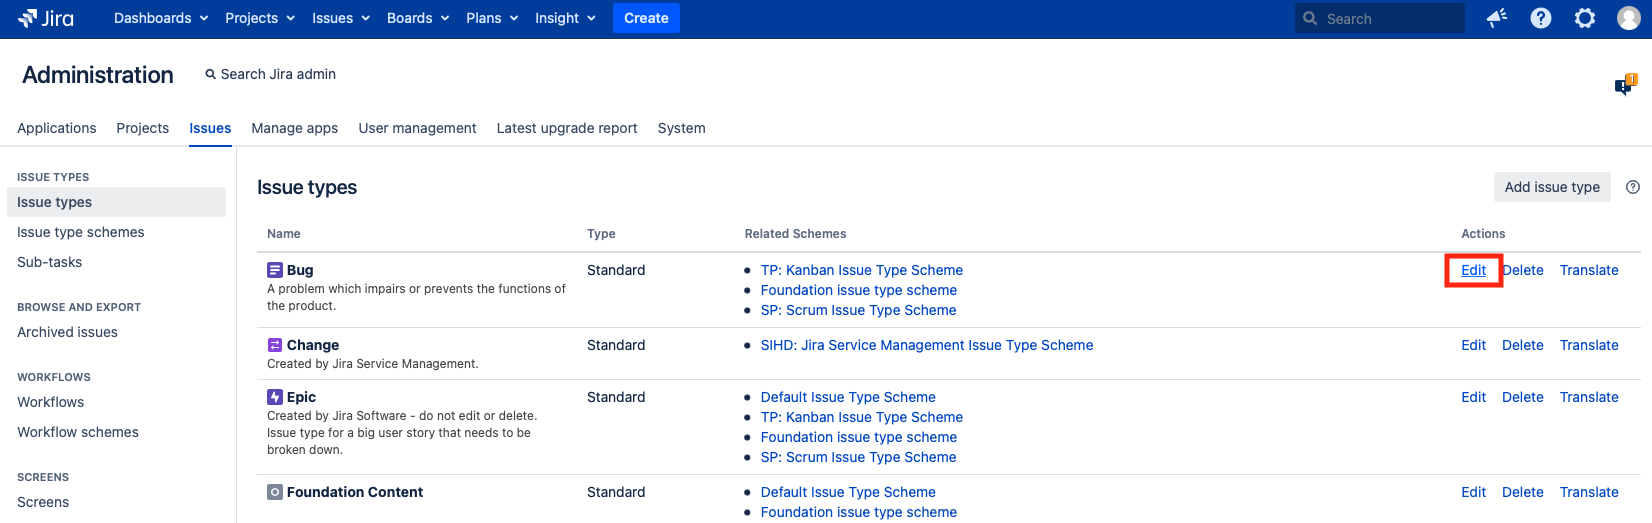
1- Navigate to JiraAdministration > Issues > Issue types
2. On the Actions column, click on Edit next to the Issue type you would like to change
3. On Issue Type Avatar, click on select image
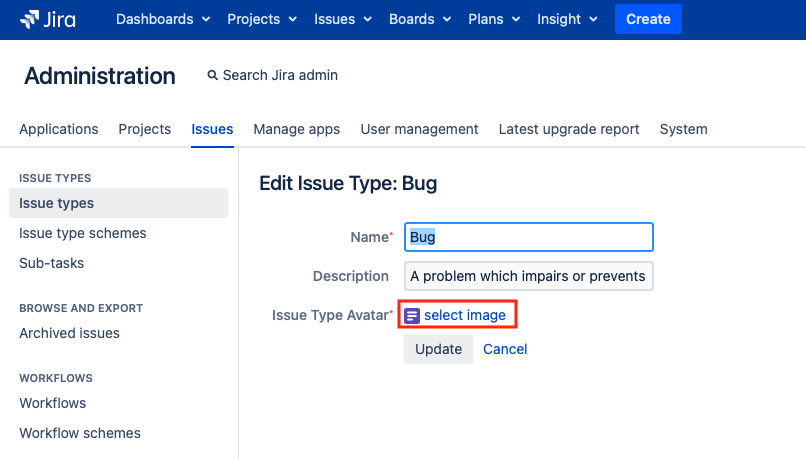
4. You can use one of the existing icons or upload a new one

MUST have a recognizable image extension (jpg, jpeg, gif, png)
Note: Due to an existing bug JRASERVER-63448 - Custom Issue Type Icon Not Showing in Issue Creation when changing the issue type icon to a custom image, the custom image is displayed everywhere in Jira (issue detail page and issue navigator) but not on the Issue create screen. It shows the default or previous image.
Workaround: Restart Jira after changing the icon.
Note 2: The icon will be changed for the issue type in all projects. It is not possible to have different avatars for the same issue type. Changing the icon will, therefore, affect all projects using this issue type.
Was this helpful?